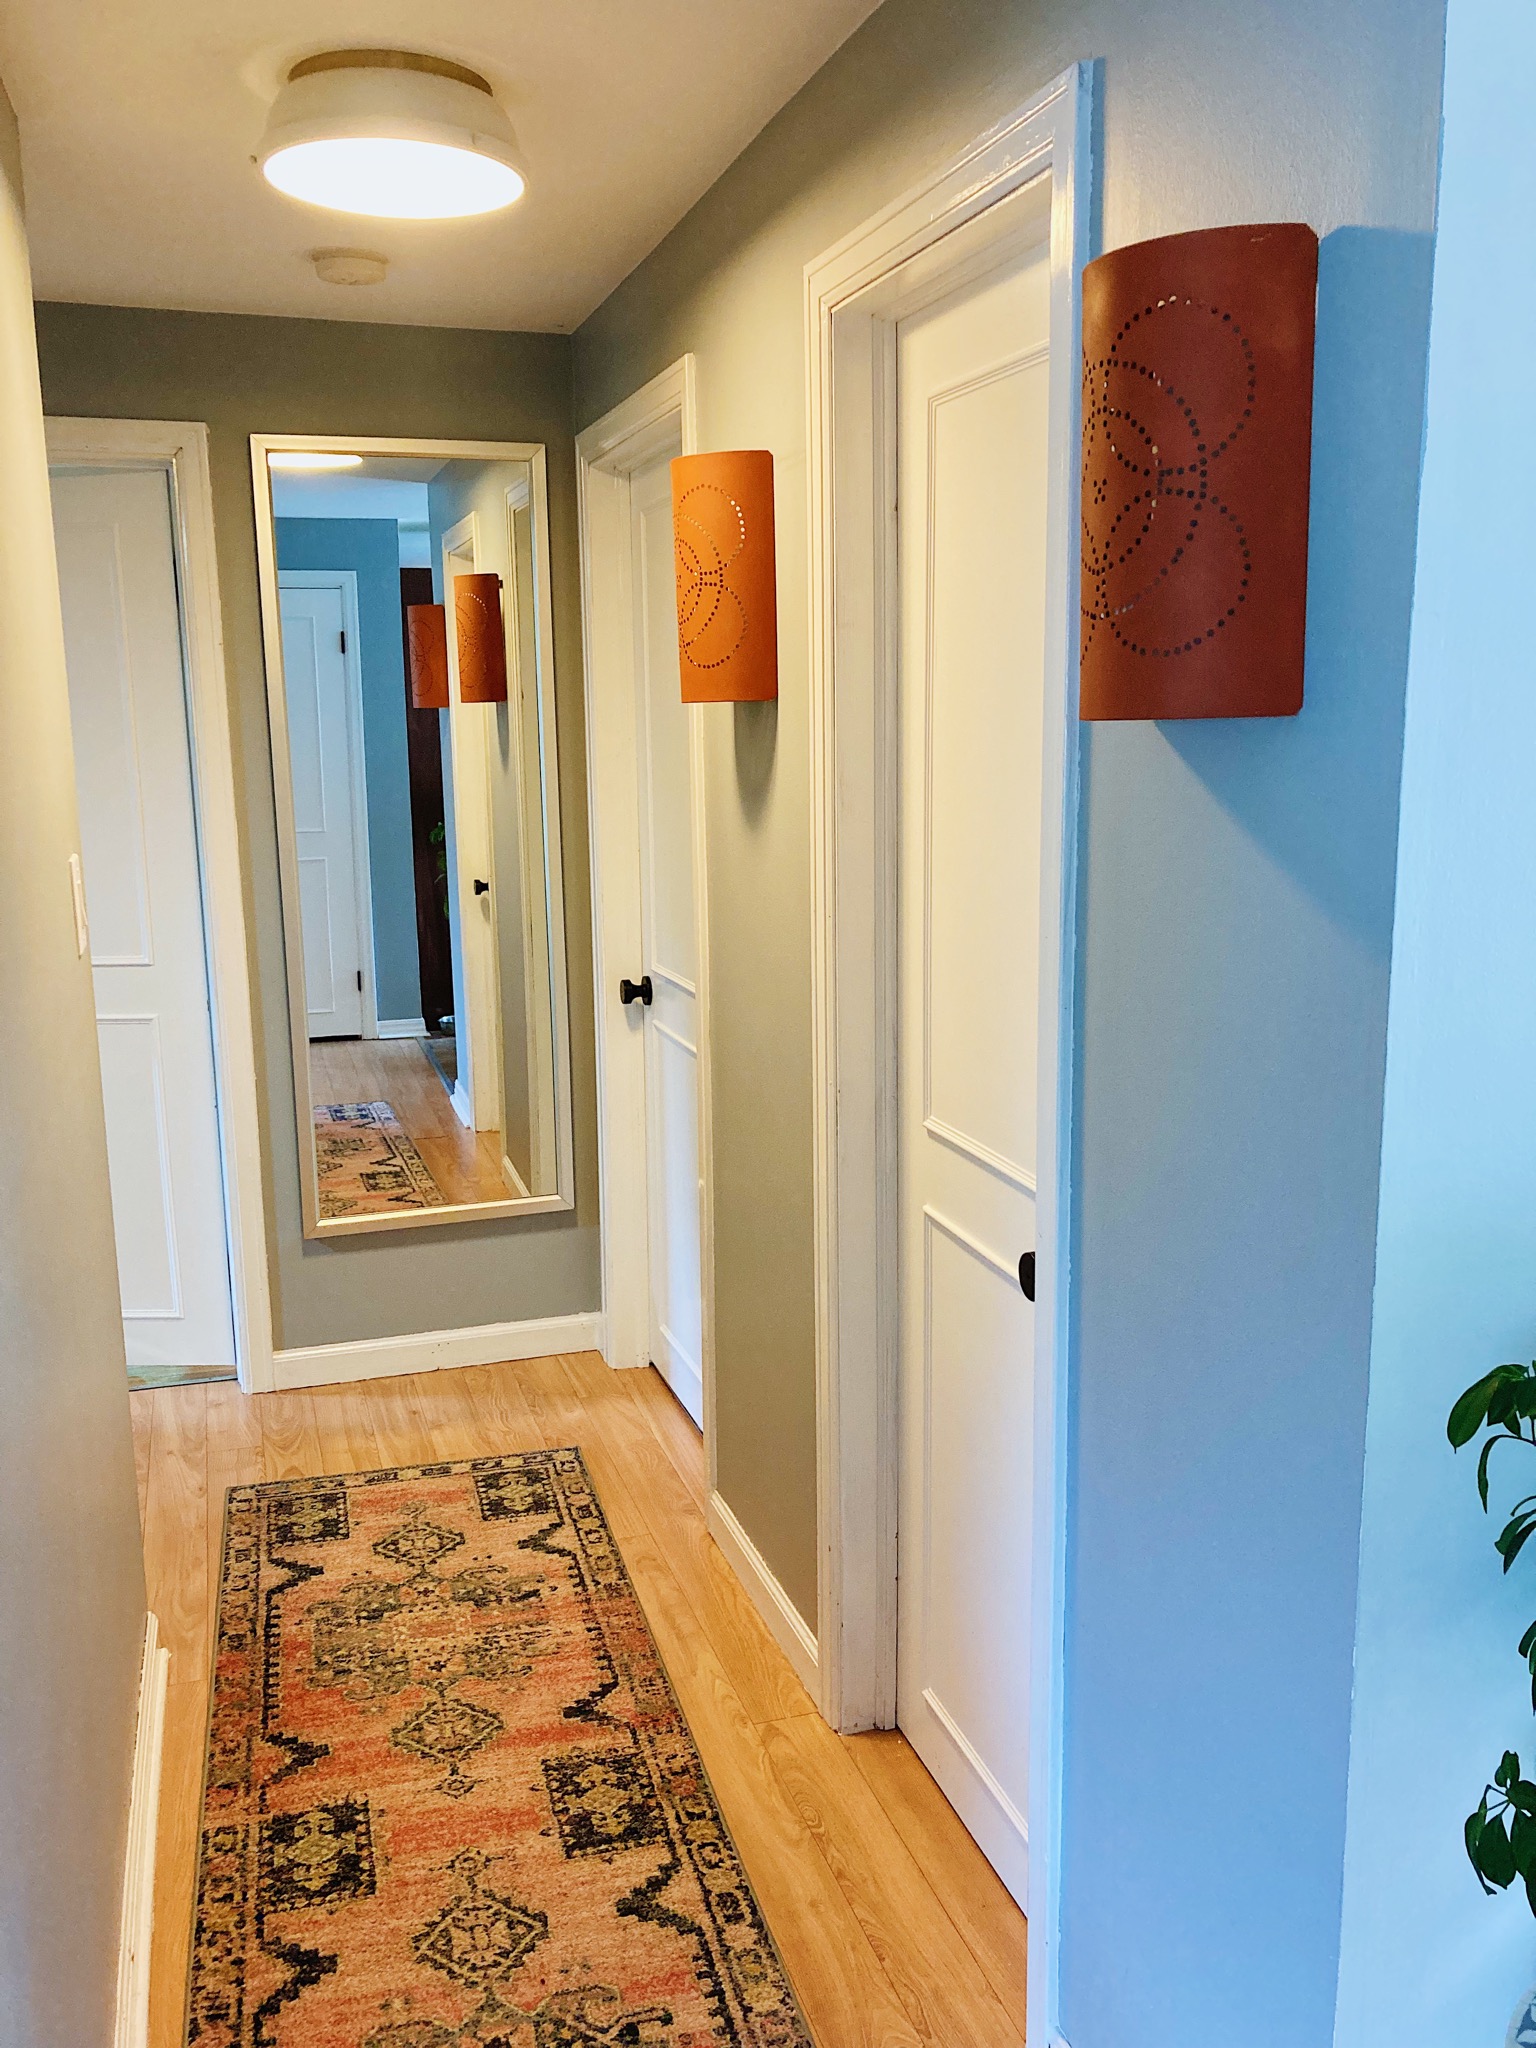
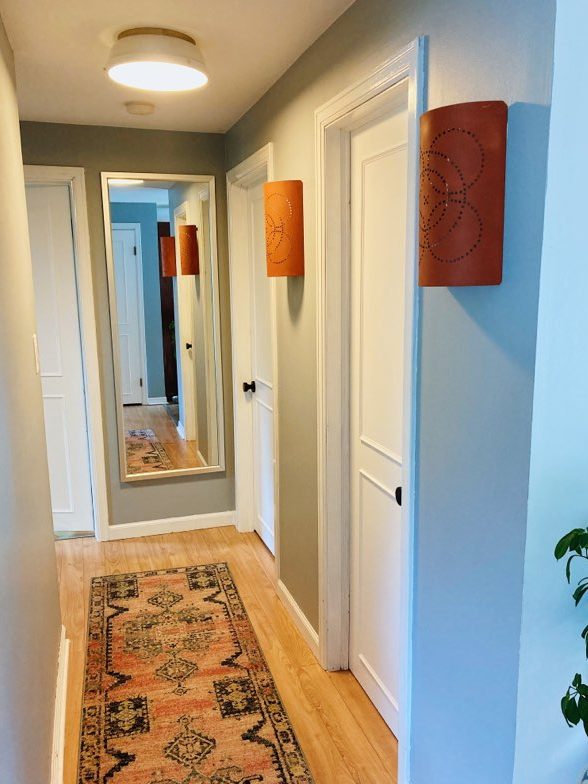
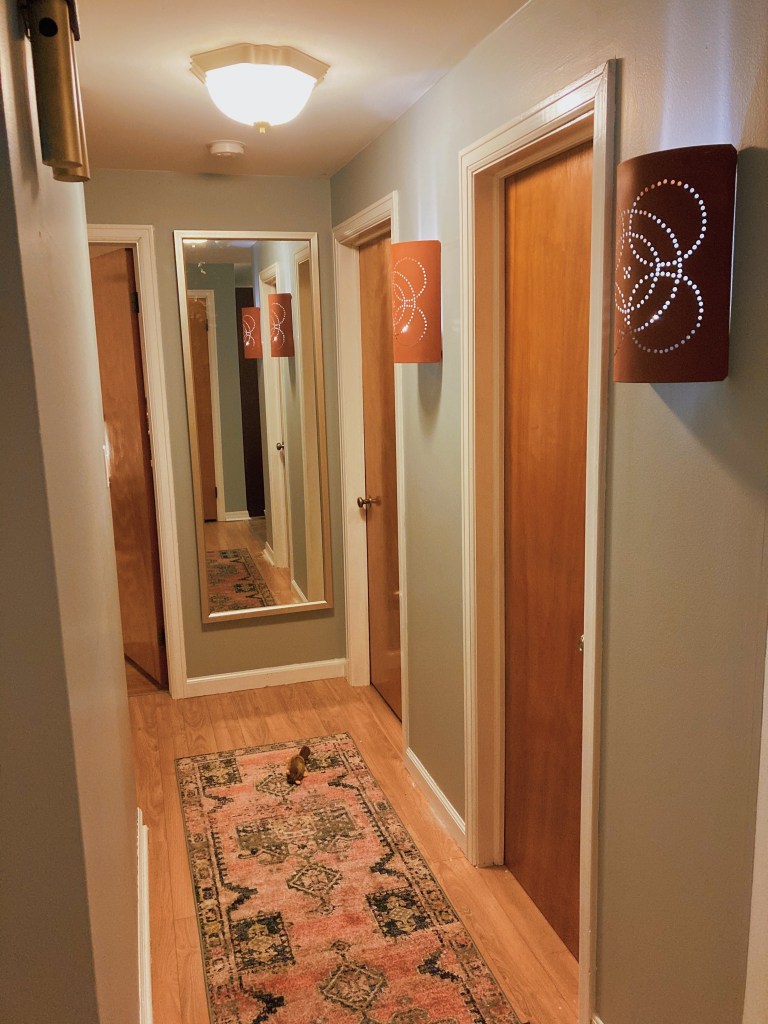
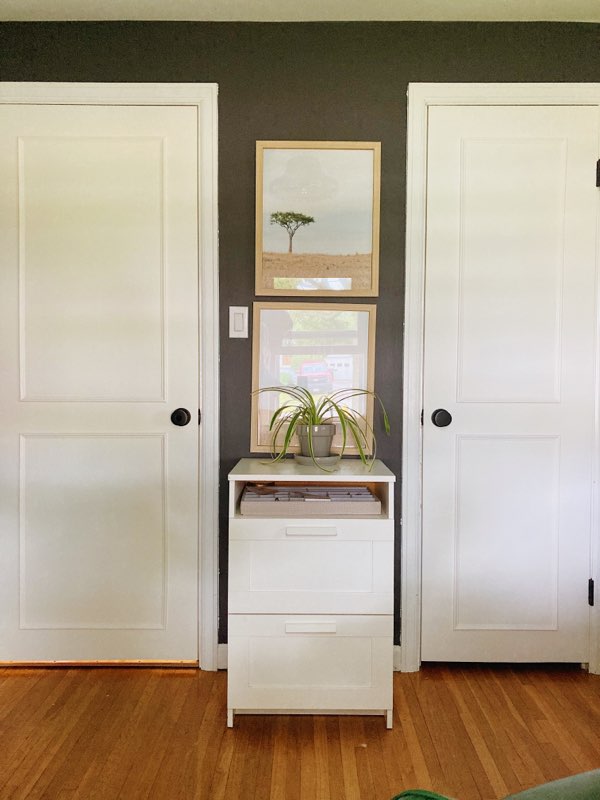
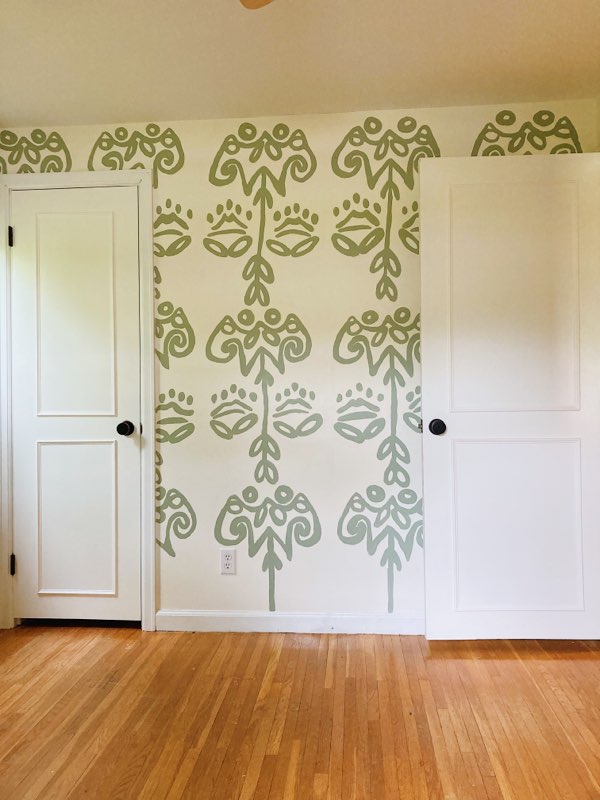
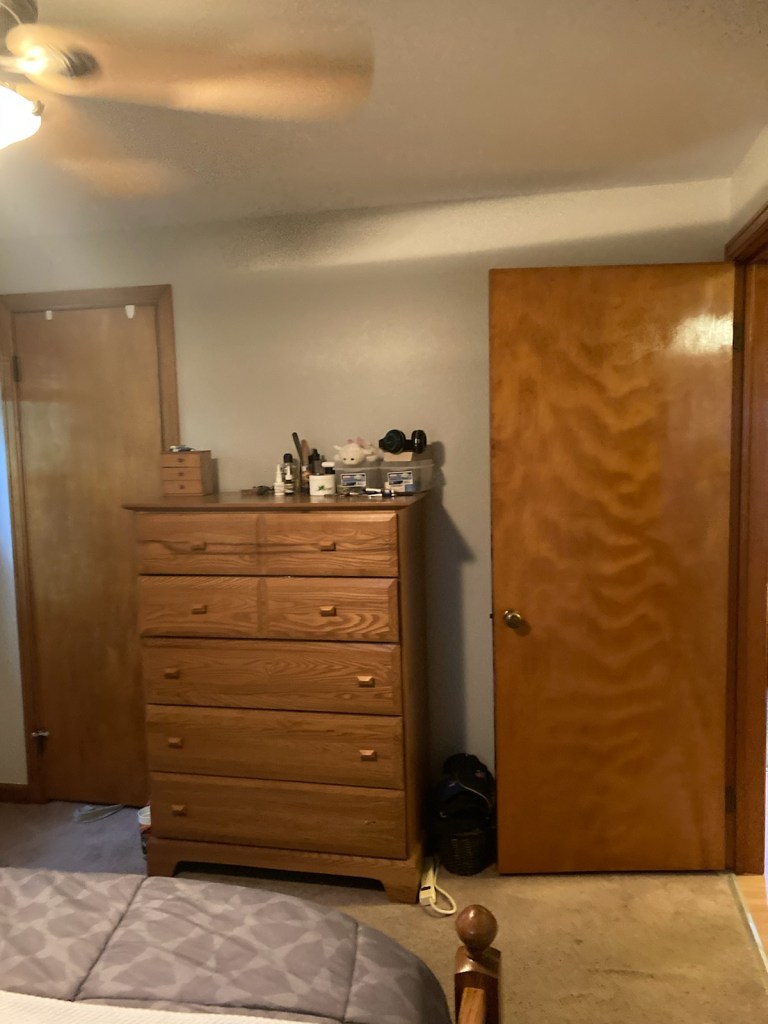
Doors and hardware can make such a huge difference in your home! After moving in, Nick and I realized our doors were in need of a major overhaul. We decided to look into the cost of replacing them and soon realized that new doors were out of our budget. I took to the internet and started searching “ways to update interior doors”, and found there were so many helpful tutorials! Feeling confident with the knowledge I gained from these tutorials, I decided that upgrading the doors was a project I wanted to take on myself. I am so glad I did! Below is an image of our hallway with the new (updated) doors and an image below with the old ones. See the difference?
Here Is a (light) Rundown on how we Achieved this Look:
- Remove the doors from their hinges and take off all hardware, including the door knob
- Sand down the entire door
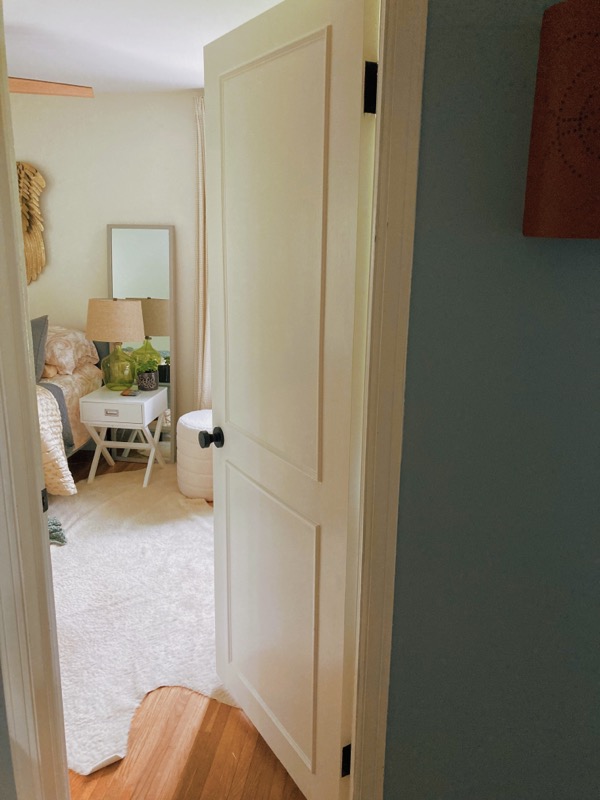
- Measure and mark 4.5″ in from all sides of the door and draw lines to connect these marks (I used a large T Square). This will create a rectangle drawing the shape of the door but smaller. At the center of the knob, measure and mark 2.25″ up and 2.25″ down (total 4.5″) for the distance between the top and bottom panel. Draw straight lines from the marks to create two separate (upper and lower panel) rectangles.
- Cut trim wood the length of the marks. We purchased our trim pieces from Lowes, they have so many options so you can customize the look you would like. We used a handheld miter cutter, to make 45 degree angles, that we found at Lowes. It was SO helpful and inexpensive!
- Use wood glue to adhere the trim pieces to the door
- Use painters tape to keep the glued pieces from shifting
- Put a flat surface on the glued pieces and weigh it down- make sure there is even pressure
- Caulk where the trim pieces meet the door
- Prime door
- Apply three coats of paint (paint works best in thin coats that are built upon one another)
- Install doors on hinges
- Install knobs
- Enjoy your beautiful doors!
Some helpful Tips!
- Work room by room when updating doors. I liked to complete a set of doors, then move on to the next room. This prevents multiple rooms from having a door, at one time.
- A light sanding between each coat of paint can help for a smooth finish
- It is important to let each coat dry before applying the next – follow the instructions on the paint
- Use a foam roller
For paint we used Benjamin Moore Advance in Chantilly Lace. I find the Advance line to be the best paint for doors, cabinets, and furniture.

Part of upgrading the doors was installing new hardware. We chose these beautiful matte black knobs from Lowes that unlike our previous knobs, actually have locks for the bedrooms.
I hope you found this article helpful! Let me know what project you would like to take on at your home.

Grace!!!! You are totally rocking it!!! I love the doors – THEY are a huge upgrade!!! Good work. Love the paper in the guest room!! Thanks for the tips!!
LikeLike
Thank you Lisa!! The guest room is actually hand painted on from a stencil I made. It will be in a blog post soon! Thank you for reading 🙂
LikeLike
Excellent blog, your looks are all stunning. I am inspired!
LikeLiked by 1 person