When we purchased our home, one of the first things on my to-do list was to save money for a bathroom renovation. I felt like there was no way we could make the existing space work for our family, and that a renovation would take us from tiny dungeon bathroom to bright and organized oasis. One of the best pieces of advice I received when speaking with homeowners was to live in a space for a while and see how it functions for your family before deciding on any construction projects. I am so glad we listened to this! After living here for just a short time, I realized that our bathroom really only needed some small tweaks to make it a beautiful and functional space. Here, I will outline some of the things we did to maximize storage, and change the entire look of our room, without investing in a renovation.
- Painting
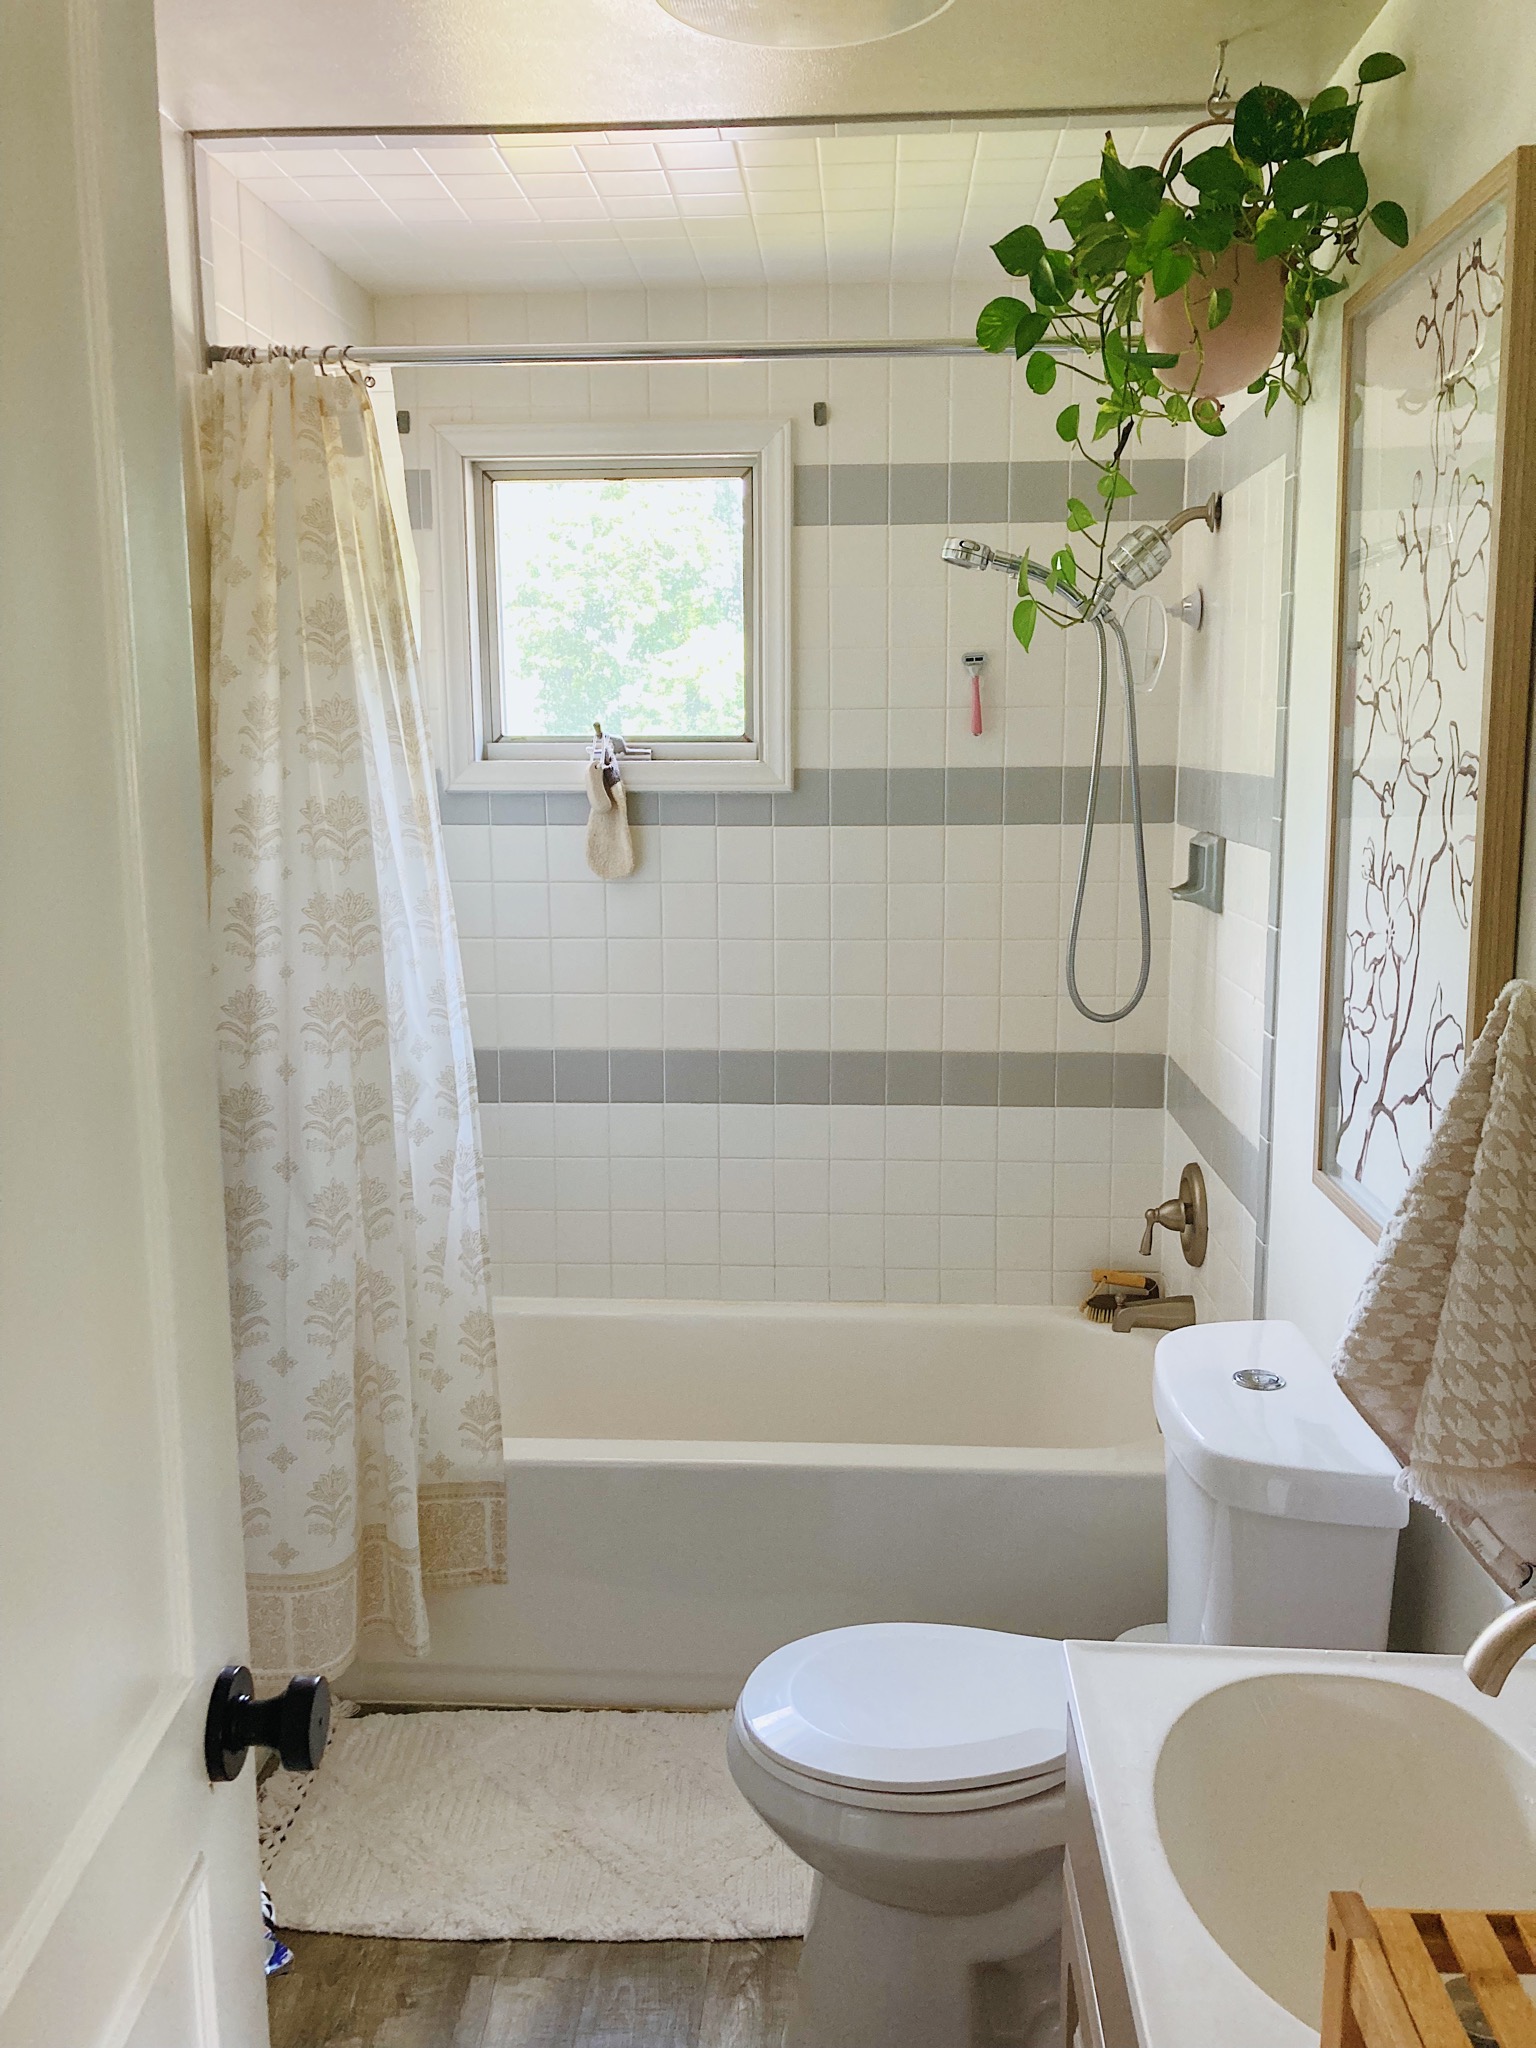
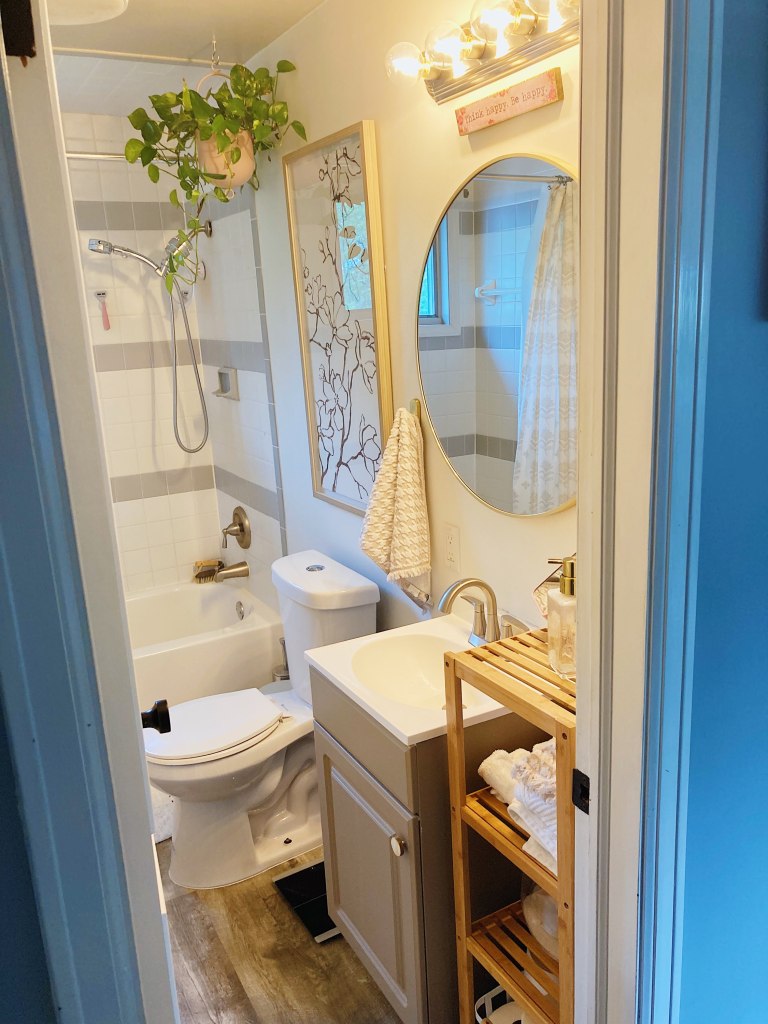
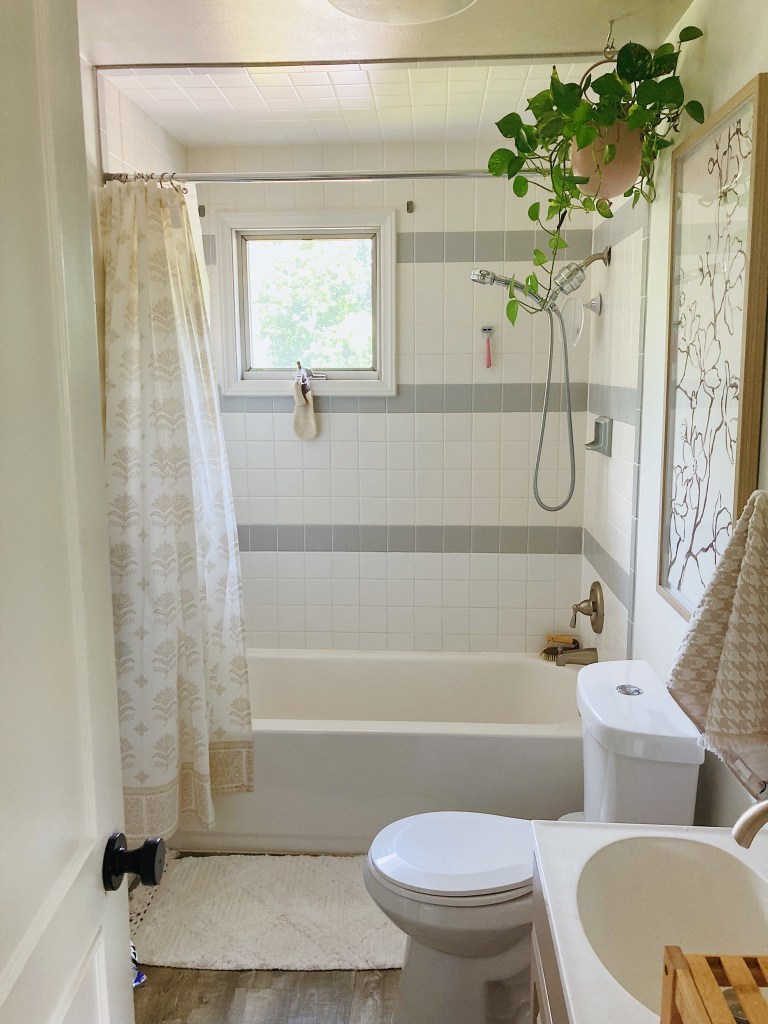
First things first, we chose paint to transform the room. The gray on the walls was only making the tight space feel smaller and darker. A crisp white (Pure White by Sherwin Williams) instantly brightened the room and made the space feel fresh. See the images for a before and after of the space. Paint made a huge difference!
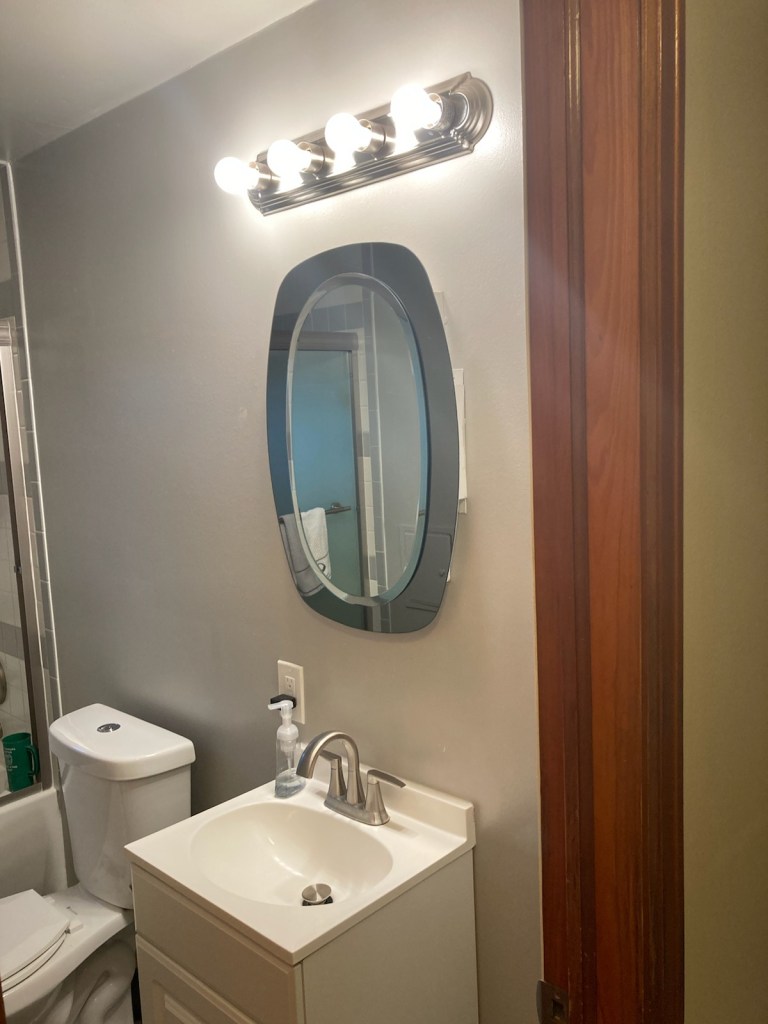
2. Remove Glass Shower Door
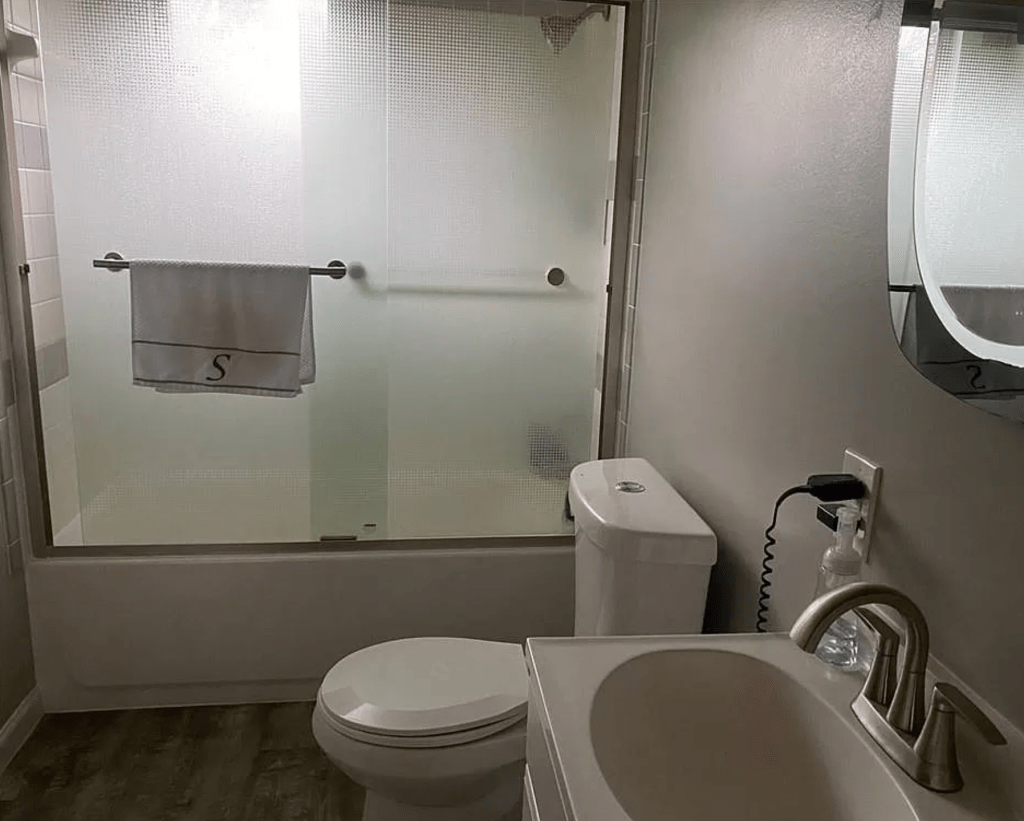
Removing the glass shower door made our bathroom feel twice the size! Having the etched glass blocking light from the only window kept the room dark, and stopped the eye before the room ended. Taking the door off also made showering more enjoyable- no more hitting elbows on the glass while shampooing, or bumping shins on the metal rails while getting in and out. We also swapped out the shower head for one with a filter (this makes your hair and skin feel great!) and a hose. Here is a before and after with the glass door taken off.
3. Closet Organizing
Deciding to get this closet organized has given us much more space, and less headache! Each basket is labeled so nothing is ever lost. We decided to organize by the following categories: self care, medicine, first aid, dental care, Grace, Nick, Peppermint, hair tools/ clippers, extra product, and then toilet paper and towels on the top shelf. Extra tip-stackable baskets with flat tops like the ones we found at Homegoods maximize storage capacity.

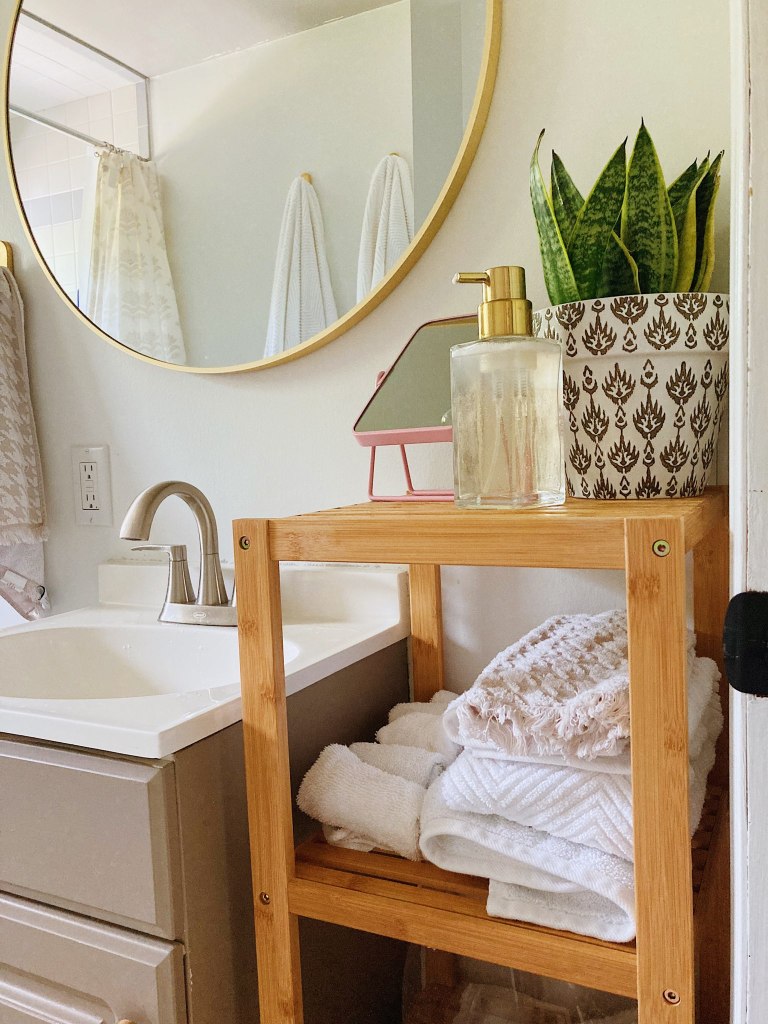
4. Add a Shelving Unit Next to The Sink
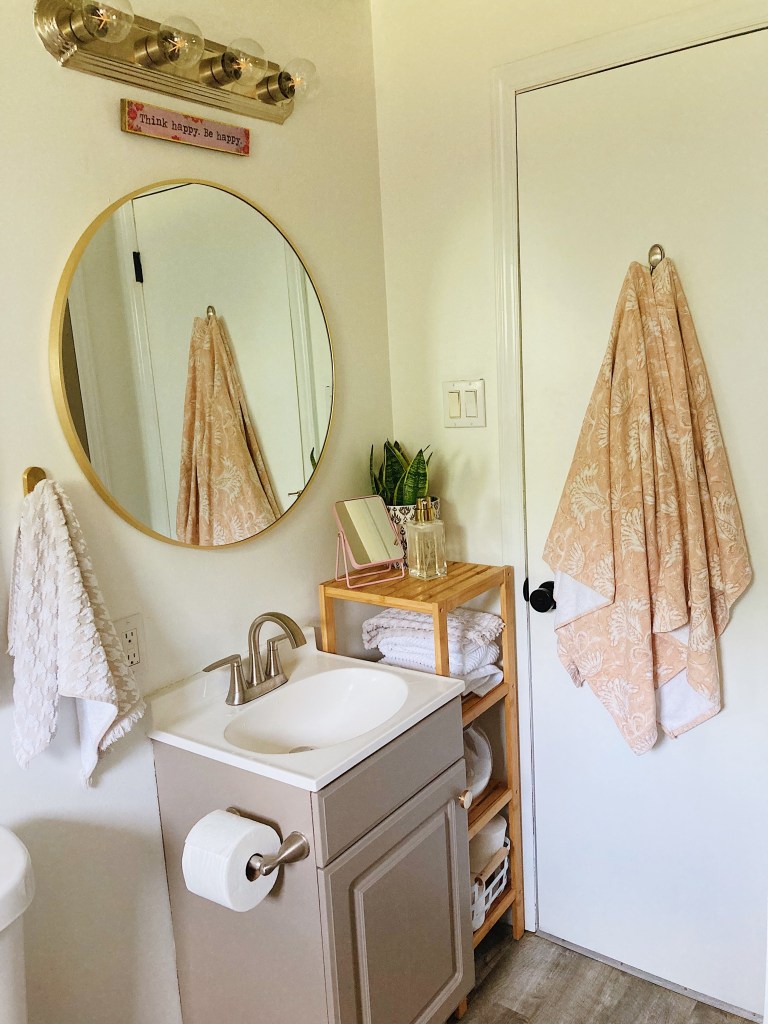
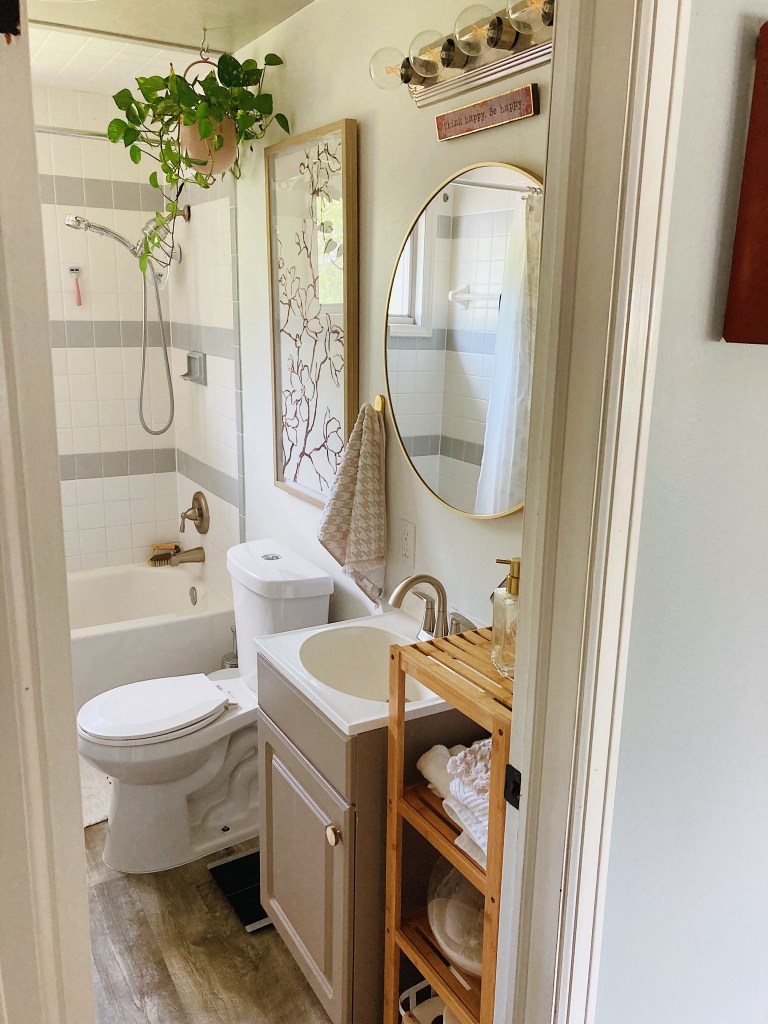
Have you ever gone to wash your hands and knocked the soap right off the sink just trying to turn the water on? Our little sink cabinet was a big culprit of this and one of the main reasons I believed we “needed” to renovate. Instead of spending a few hundred dollars on a new vanity, I decided that a shelf next to the sink could solve our soap problem and give us more storage. We purchased this piece from Amazon, I loved that the bamboo reminded me of a spa, and brought warmth into the room. On the top shelf we keep soap, a mirror, a plant, and when I am not photographing my bathroom for the internet, our toothbrushes. Below that is a shelf with extra towels, followed by a shelf with bath salts and on the bottom is extra toilet paper. Keeping our bath salts in an open jar makes them easily accessible and smells so good! Bonus- we also hung a hook for a hand towel next to the sink. No more drying your hands on whoever’s bath towel is closest!

Extra Changes we Made to Upgrade the Look and Function
-Swapping the vanity light bulbs for clear, round ones
-Adding plants- a lot of plants thrive being in the humidity of a bathroom
-New mirror over the sink
-Large scale artwork
-Extra towel hooks
-Painted vanity