
If you’re anything like me, you may have a list of projects that need to get done but always seem to fall last in the priority line. These are typically the same projects that once completed make you think “Why did I wait so long to do this?”
At our house, the task was hemming my curtains. I put it off for so long, mainly because the process intimidated me. I don’t own a sewing machine and the thought of stitching the panels by hand felt daunting. Then I discovered hem tape and got right to work. Here, I will walk you through the quick and easy process of using hem tape to custom tailor your curtains.
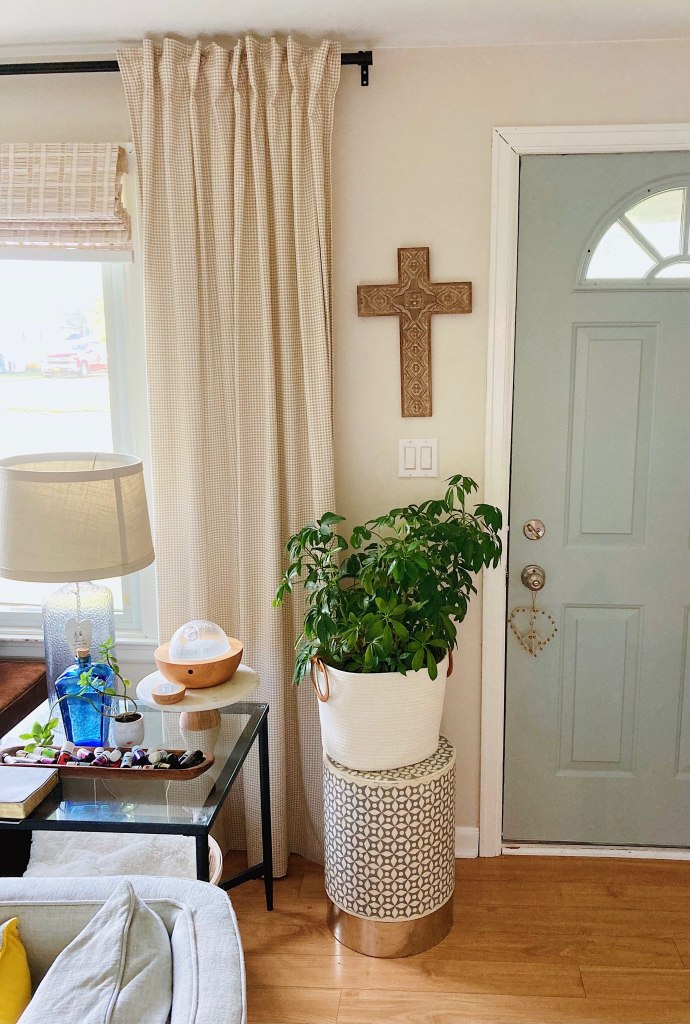
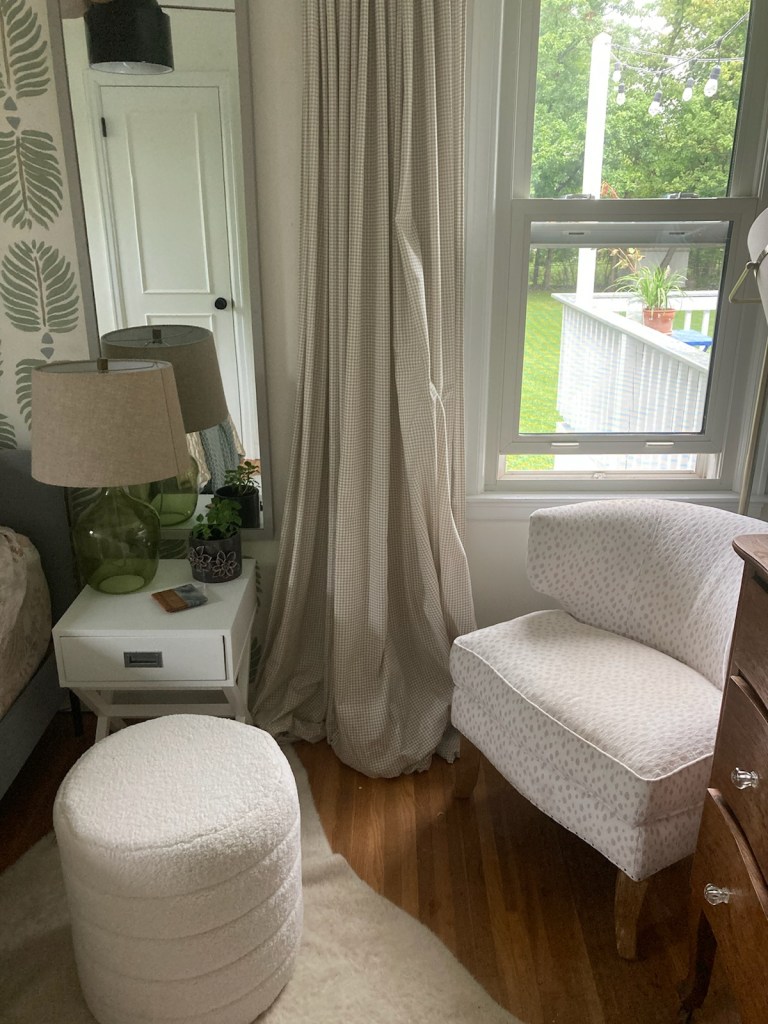
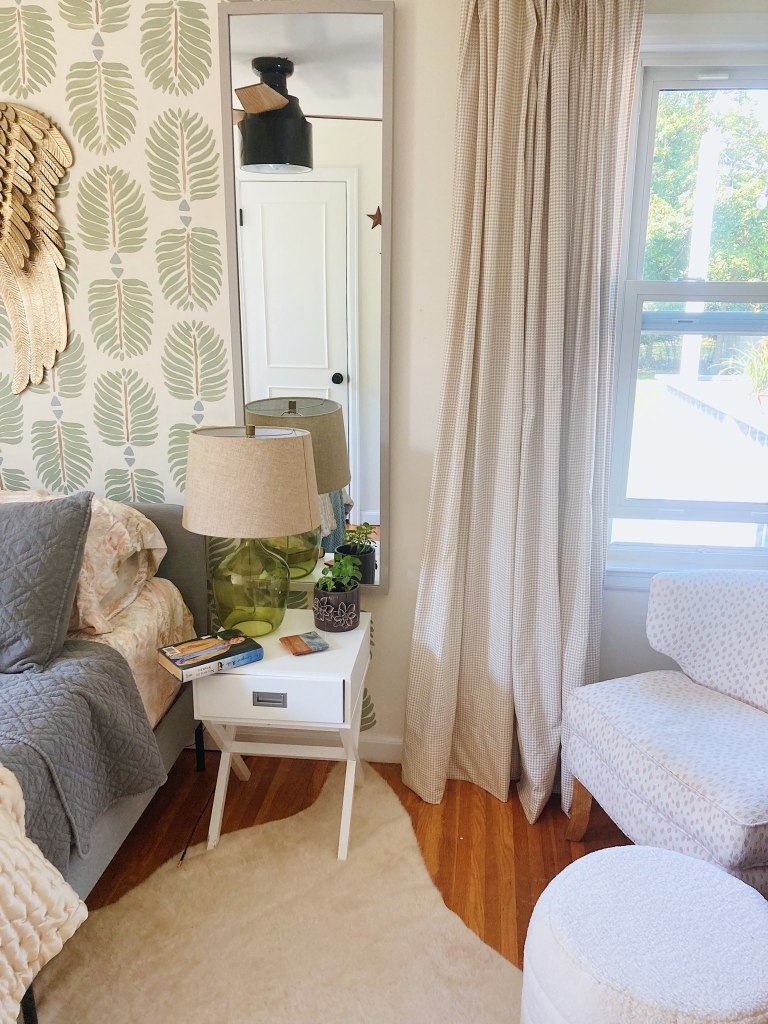
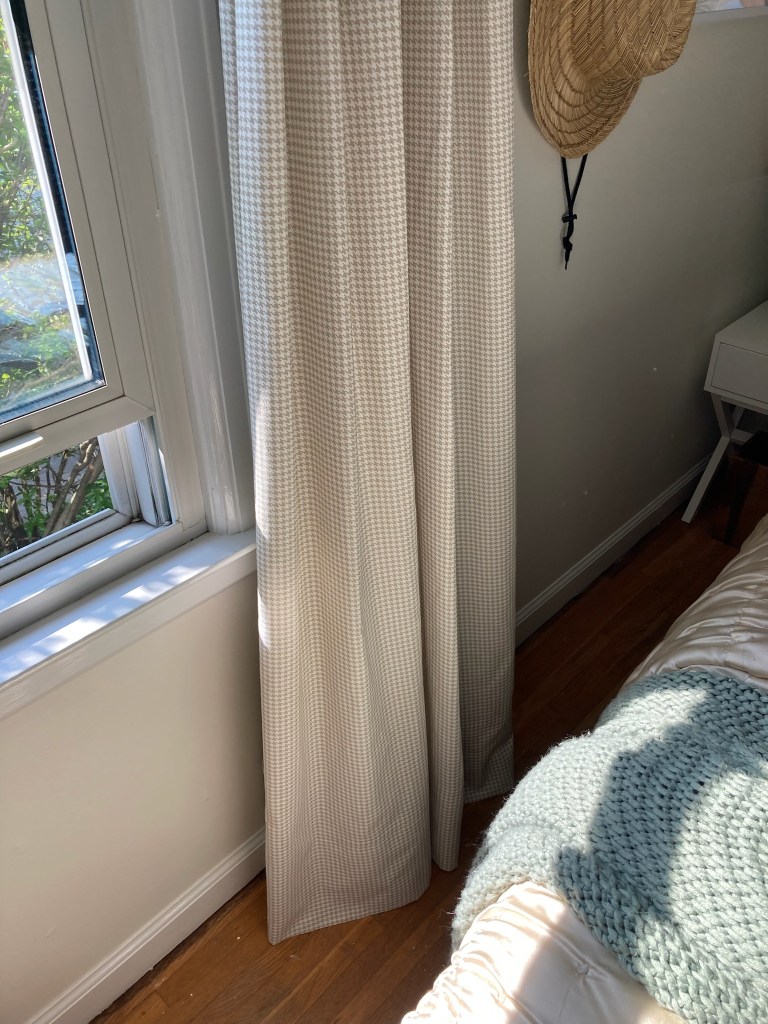
As a rule of thumb, a window shouldn’t look like it is wearing “floods,” or have curtains that are too short. On the other hand, ones that are too long will create puddling on the ground, and have a romantic, relaxed feel. At first, I was okay having this look in our home, but after months of vacuuming and cleaning underneath them, I came to realize they were dust traps! Ideally the curtains should “kiss the floor” for a perfect length. Below is a before of the curtains puddling in our bedroom followed by an after, once they had been hemmed.
How To:
Step 1. Find Your Length
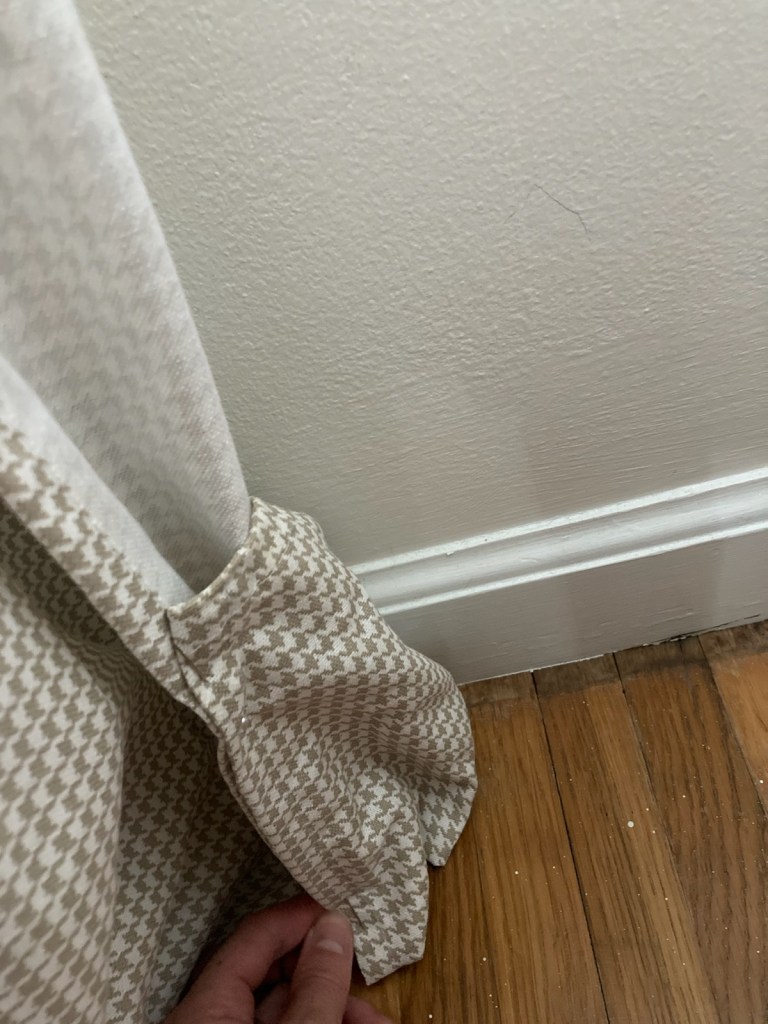
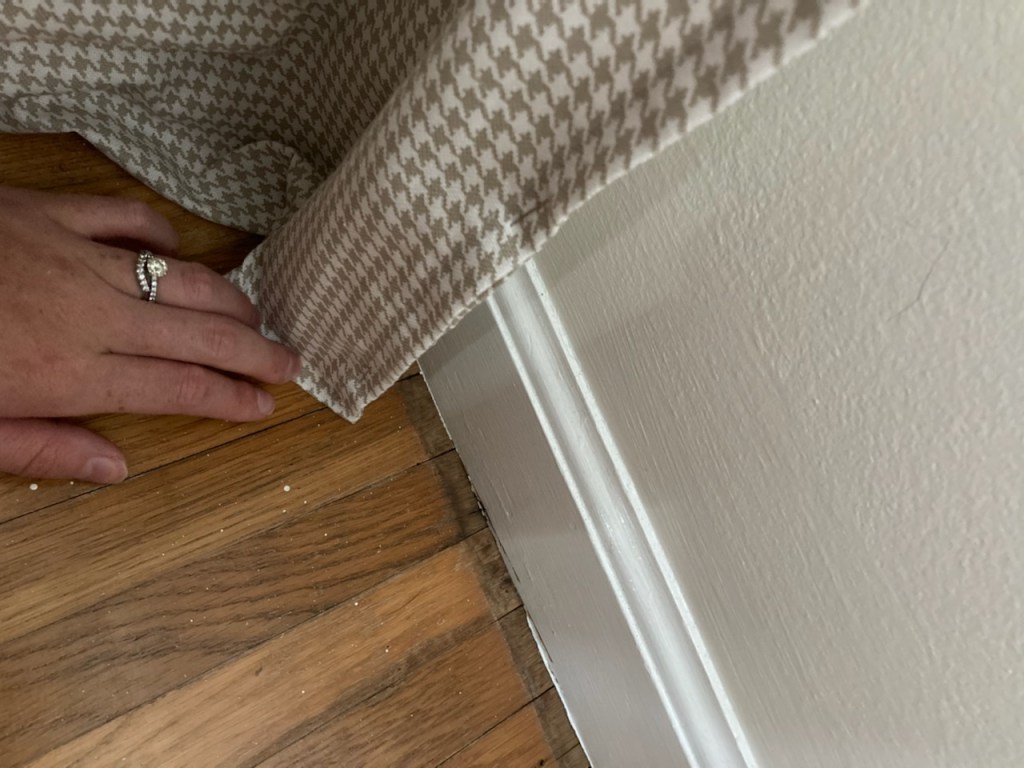
While I am sure that measuring and marking is a trusty process for determining length, I simply pulled the curtains taut to the ground and pinned them up where they just met the floor. I placed one pin at the bottom of the fold, and one at the top where the flap ended. Do this for both sides and hold them to each other, making sure they are even.
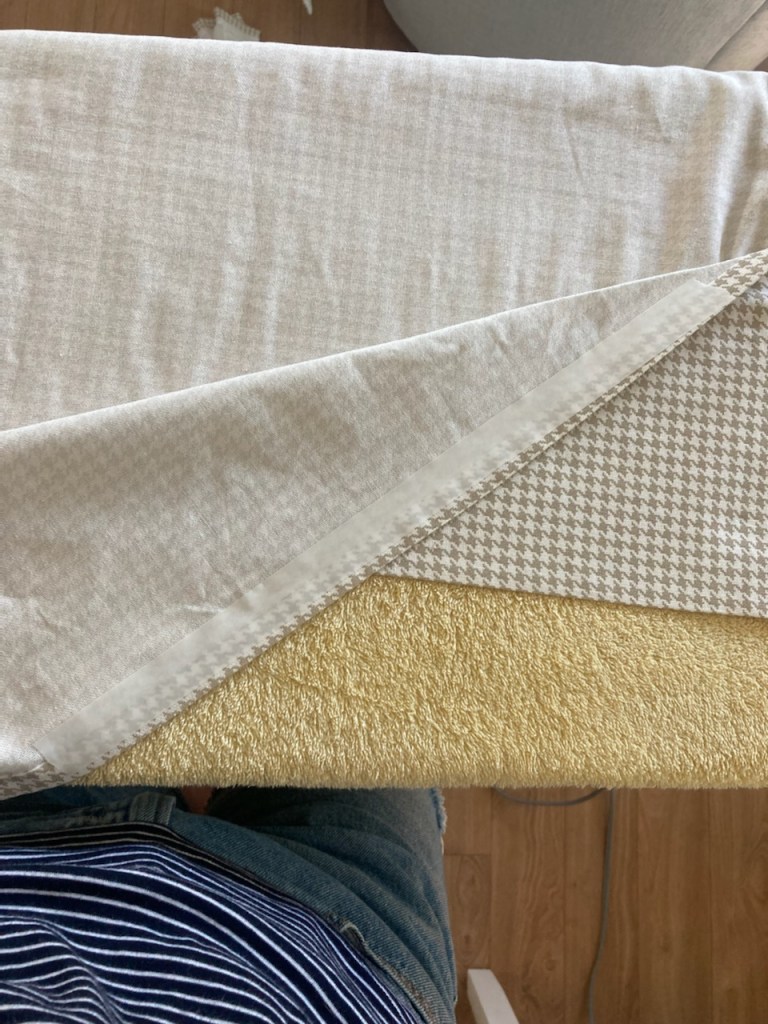
Step 2: Iron on Hem Tape
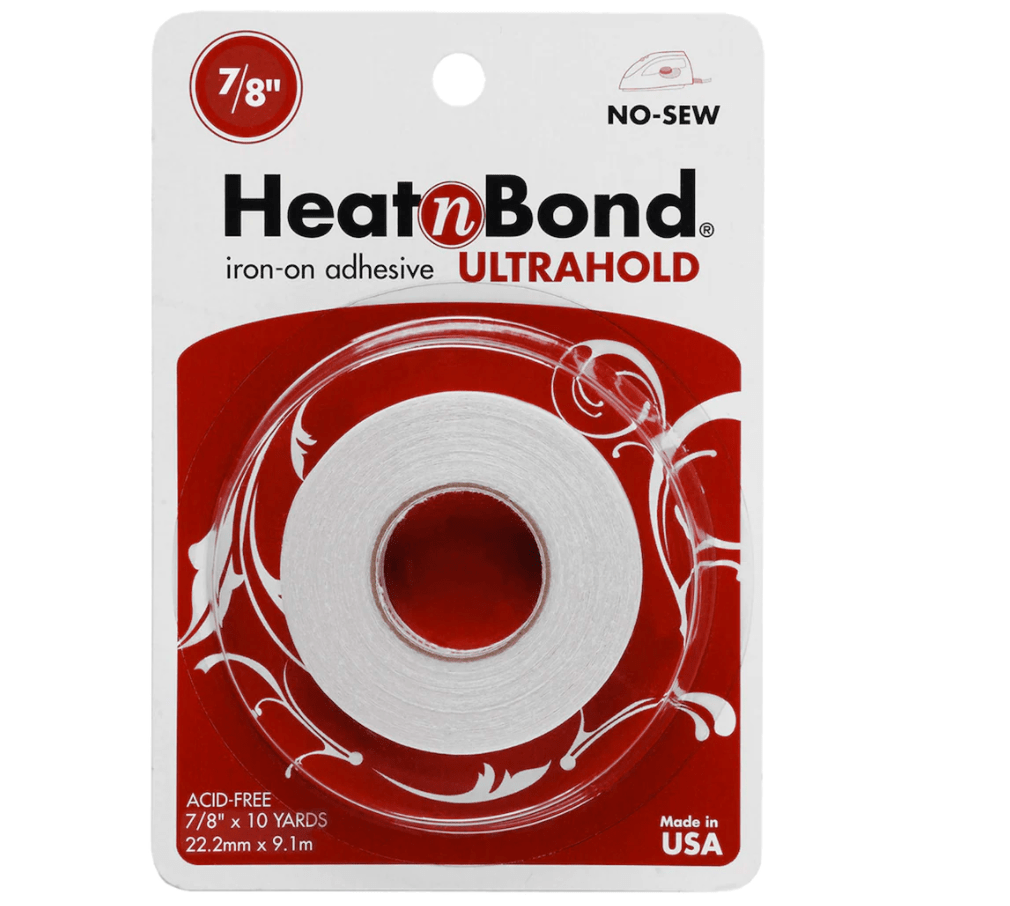
I used this product from Michael’s and followed the instructions on how to apply the tape. I began on the left then the right side of the curtain and did the middle last, as to ensure I stayed level. I also worked in about 12″ strips at a time.
*Tip: Before ironing on the hem tape, begin by ironing the crease at the bottom of the fold for a crisp line, and to make sure you stay level.
Step 3: Hang Your Curtains Back Up and Enjoy!
How easy is that? A customized look for a $3.99 roll of tape and an iron.
Thank you for reading! Who knew there was such a simple way to make an alteration?

Grace, I am so enjoying your blog. I look forward to each weeks posting.
LikeLike
Thank you! I am so glad you are enjoying reading.
LikeLike
What a great idea! I love the length you chose. I too love the look of puddling drapes, but the dust consequences don’t work for me either. In our new kitchen — because it’s a kitchen, dining room, entrance, and high traffic area all in one — I even bumped the curtains up a bit off the floor, to help them stay clean and make it easy to clean under and around.
LikeLike
I agree, off the ground is ideal for high-traffic areas. My kitchen curtains were the ones I was most excited to hem, they were right behind our dining table and in front of our sliding glass door. Thank you for reading!
LikeLike