When we first purchased our home, just under three years ago, I couldn’t wait to get my hands on it! At the time, I was working for an interior design firm and was used to putting together plans for clients. Finally, I had my own space where I could experiment with colors, DIY’s, wallpapers, and thrifted finds. I enjoyed every minute of being creative with my new 900SF canvas.
Fast forward a couple years later with a baby, dog, and husband that works from home, all under the same roof, I began to crave simplicity. So, I started the process of giving our home a “make-under” or in other words, simplifying. Starting with the living room.

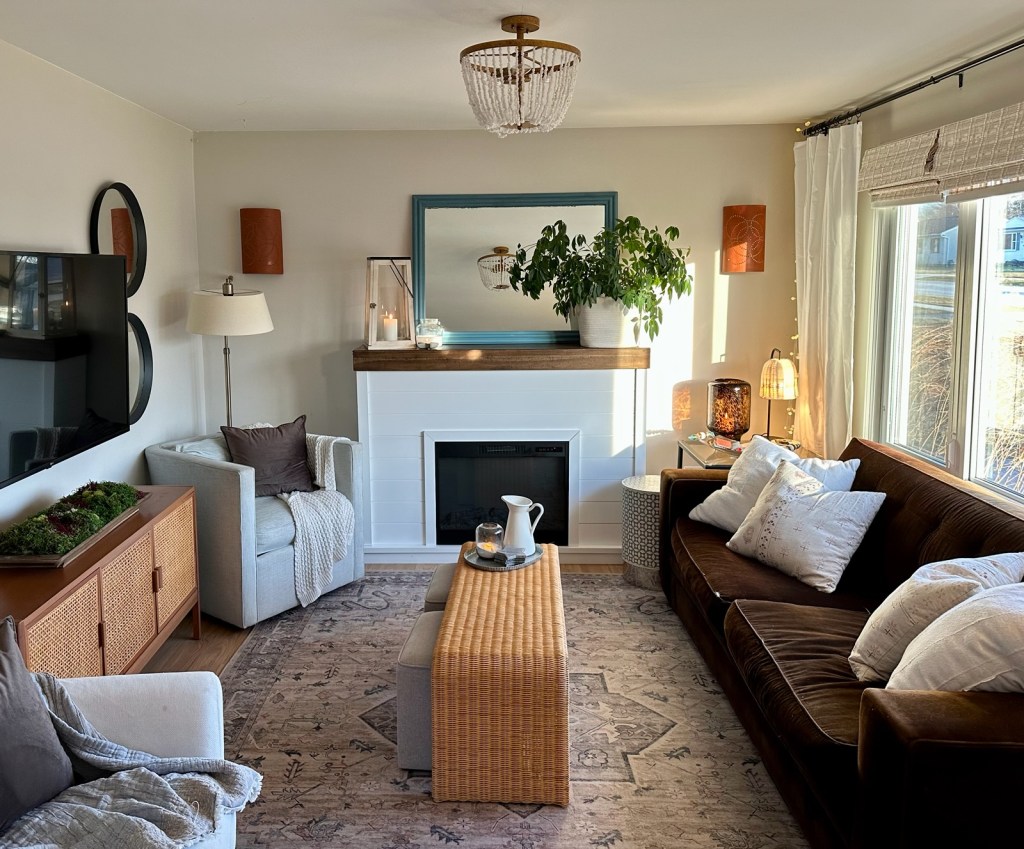
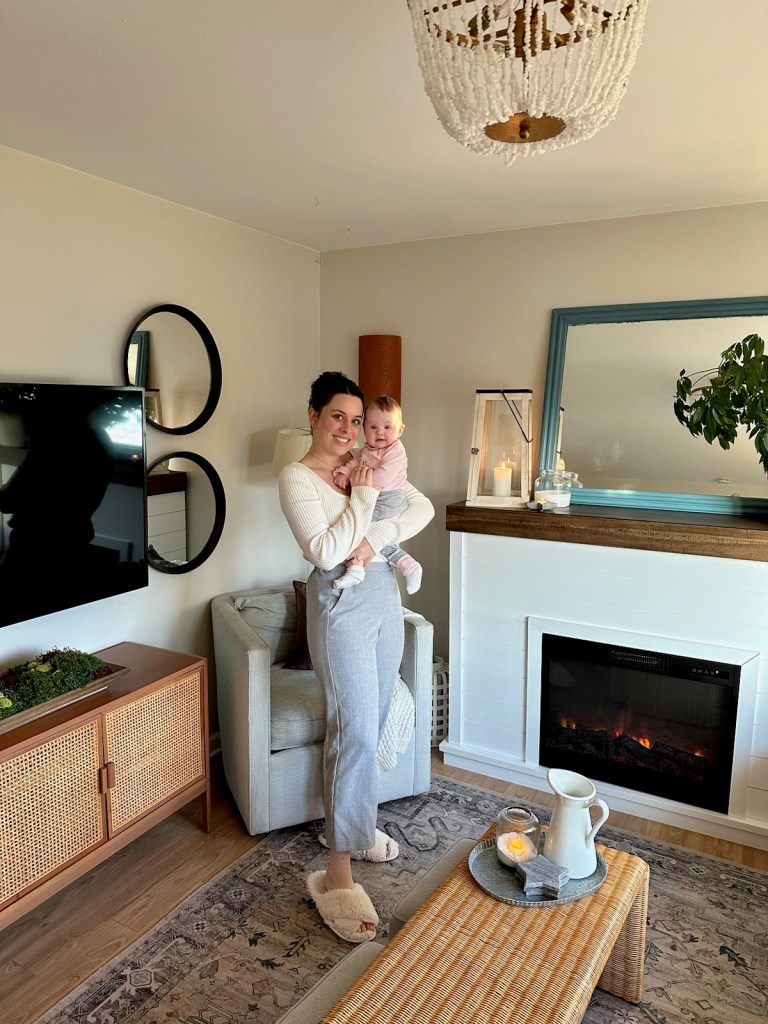
Below are some photos, along with a step by step process of how I tackled this project!
Step 1: Take inventory of the non-negotiobles
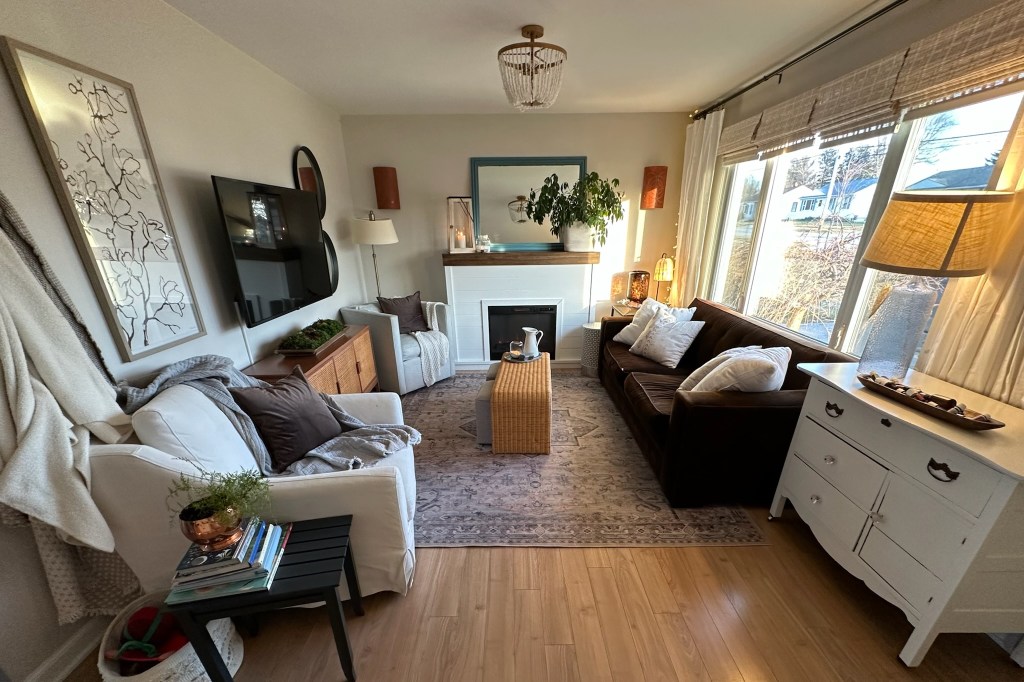
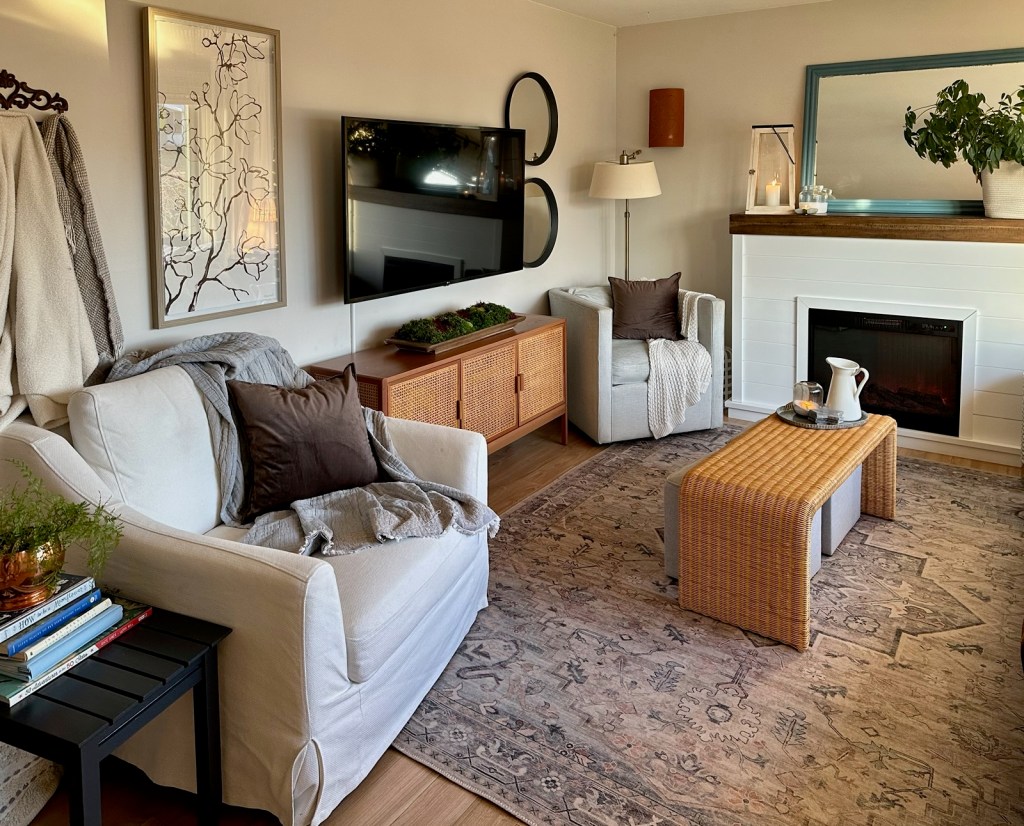
This project was all about simplifying and saving money. I knew I didn’t want to replace large, expensive items so most of my furniture had to stay the same. The area rug, sofa, chairs, and cased goods set the pallette for the design.
Step 2: Start decluttering
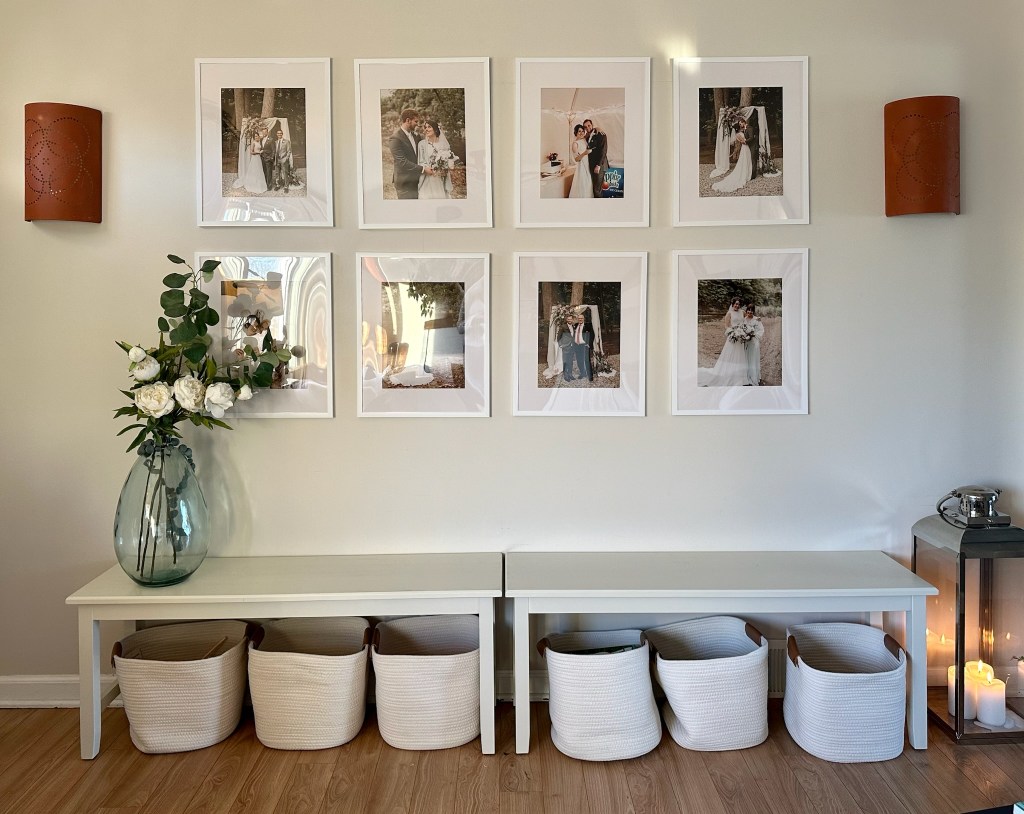
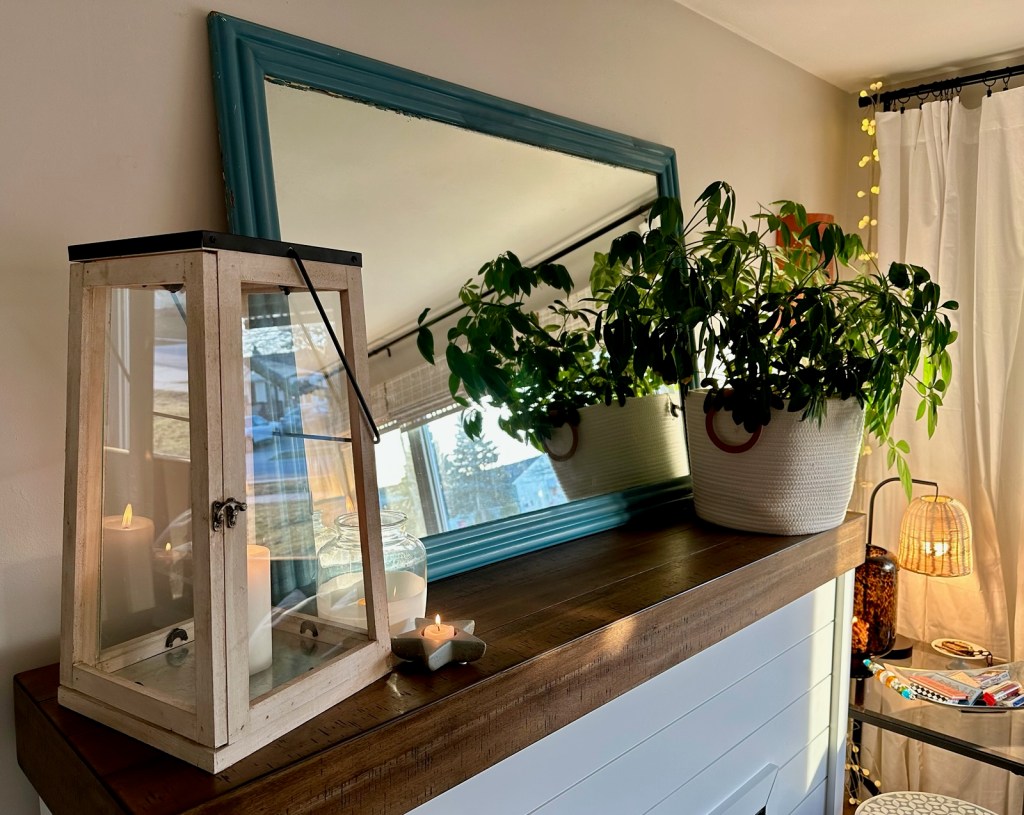
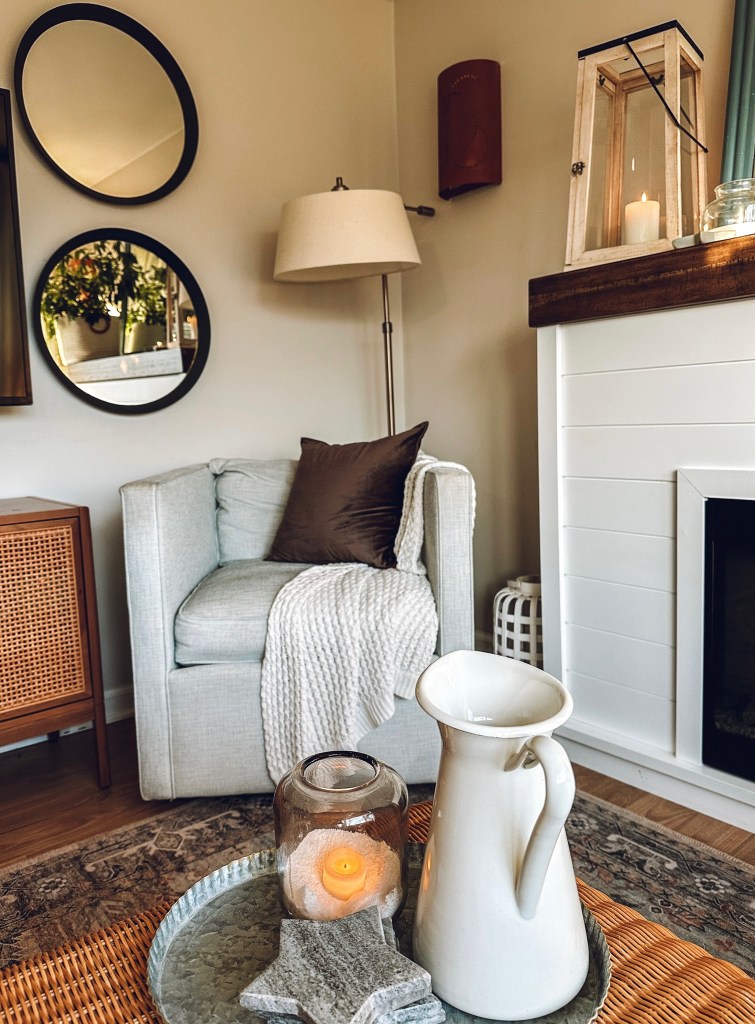
I try to keep my surfaces to about 3 items max – usually opting for fewer, but larger pieces of decor. Anything that didn’t fit the current pallette, wasn’t useful, or I didn’t love, was donated.

Step 3: Make what you have work
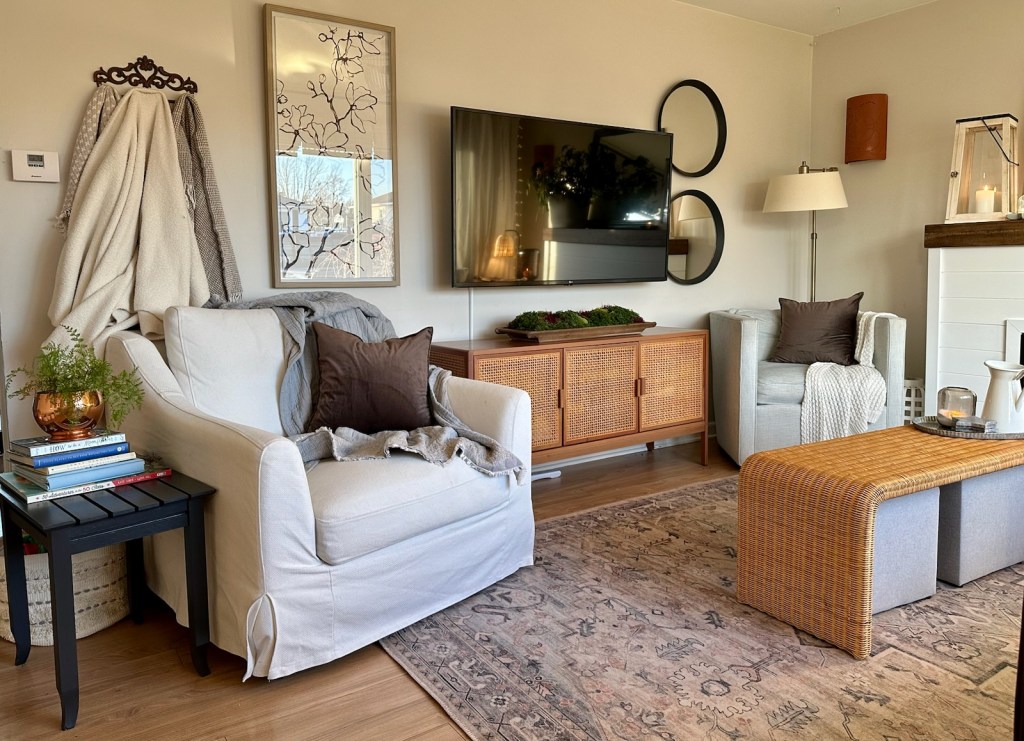
Instead of buying new furniture and accessories, I used the power of paint and some pillow covers to start tying things together. I opted for brown velvet pillows to match my sofa, and a deep navy paint on my mirros and end table to tie in to my rug.
Step 4: Shop for missing pieces
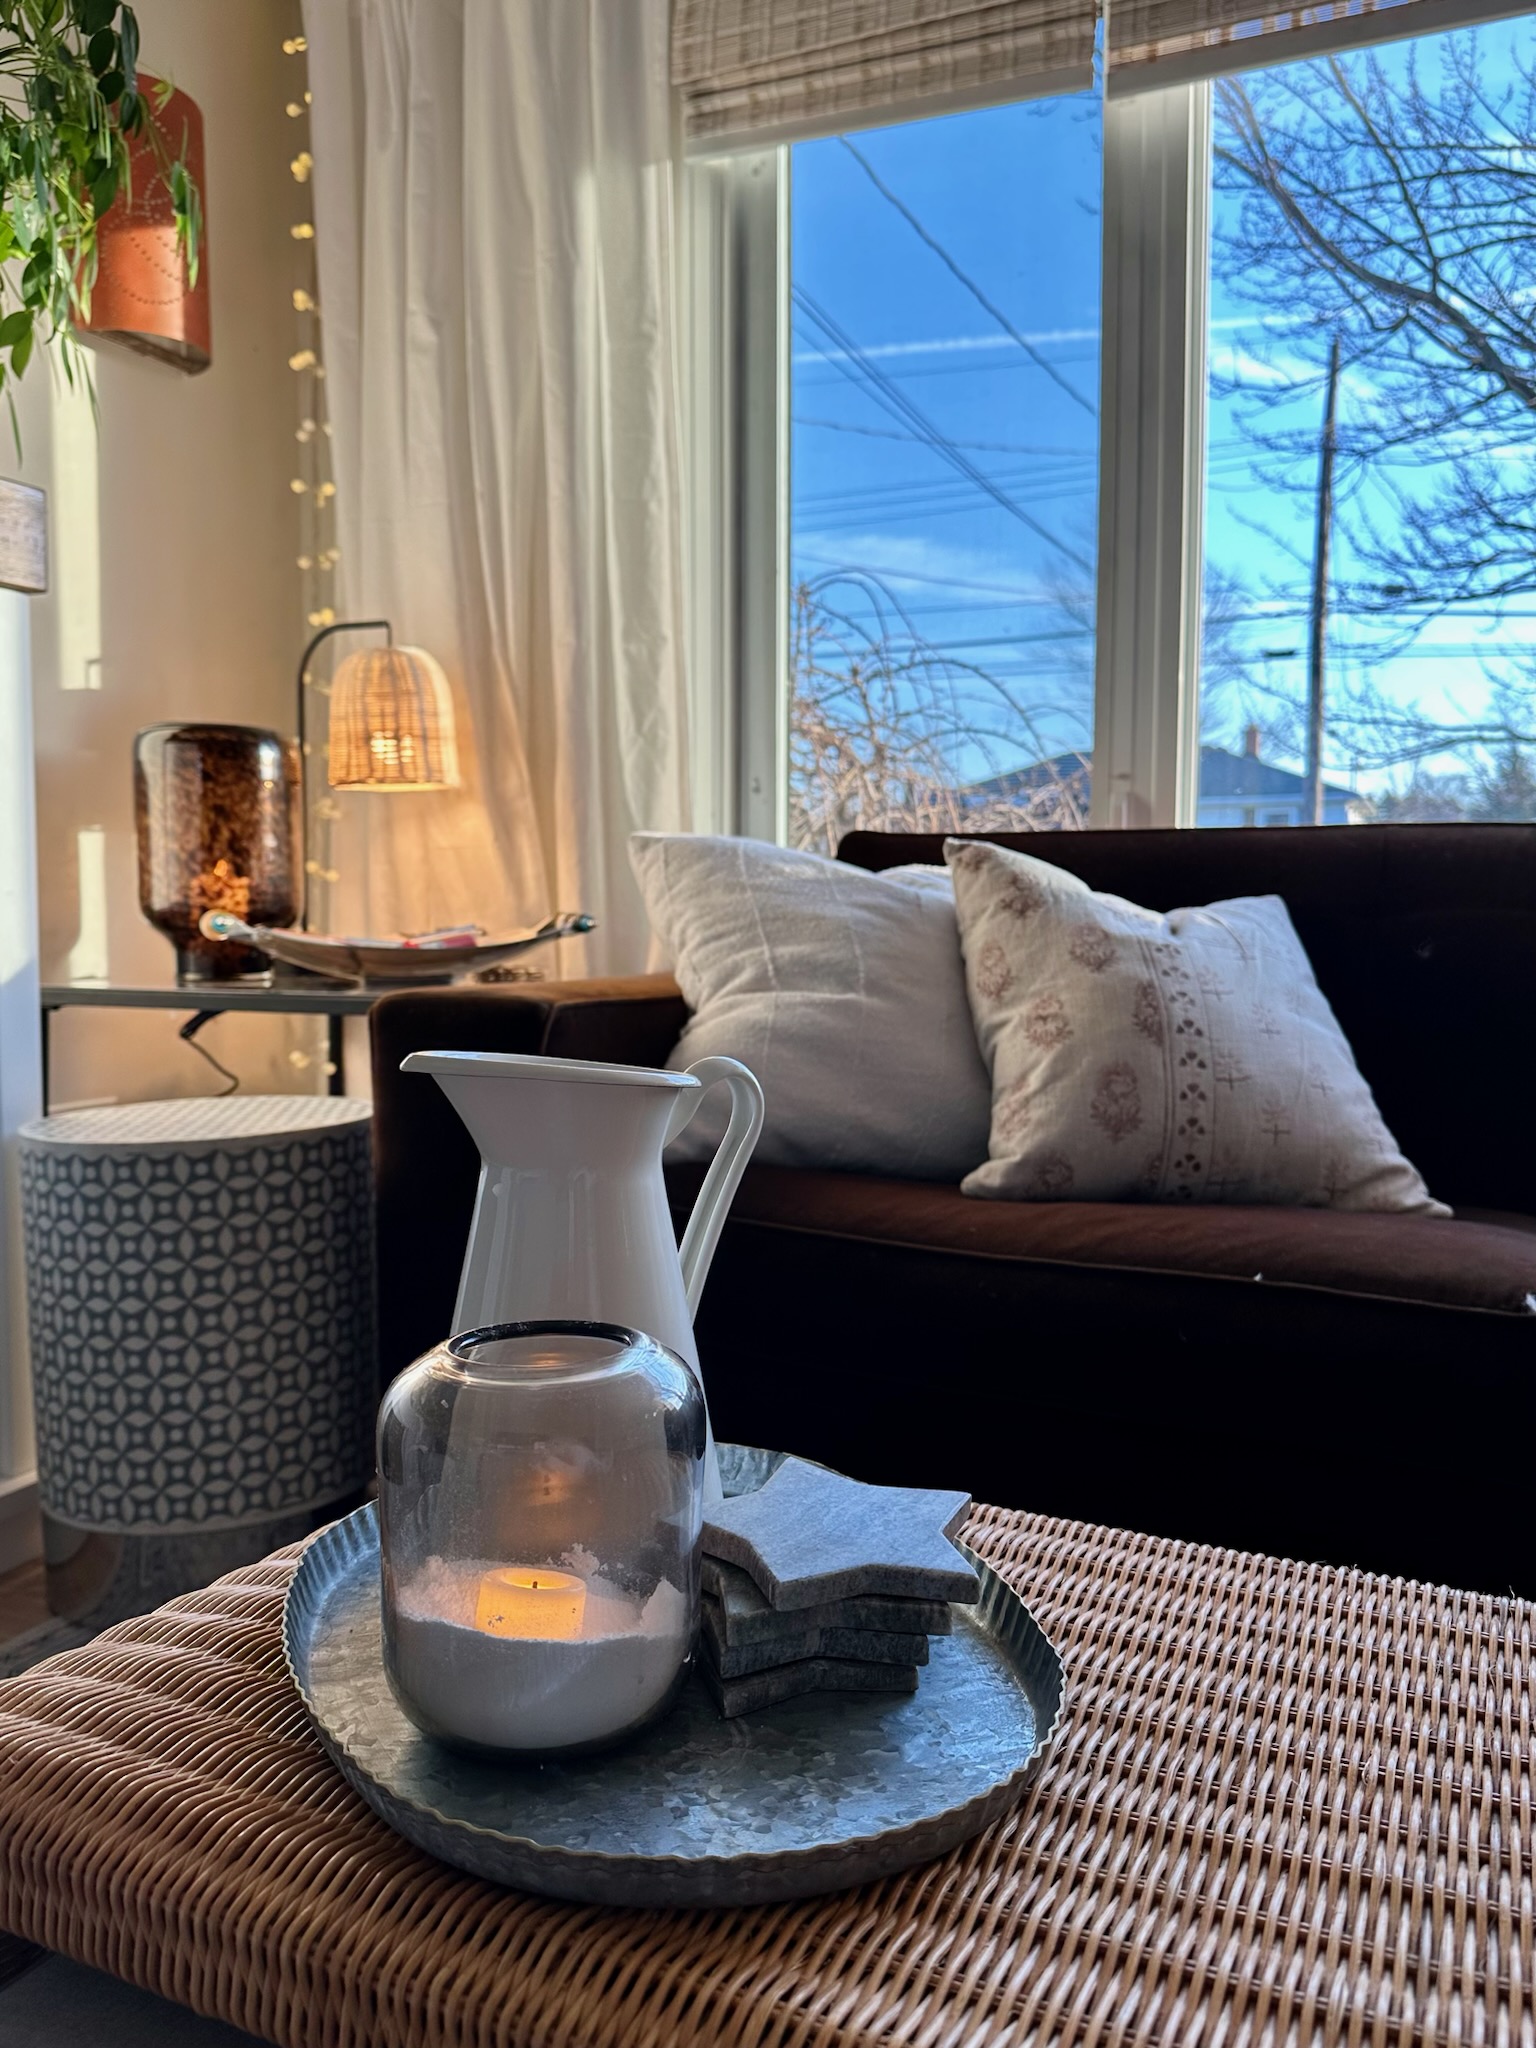
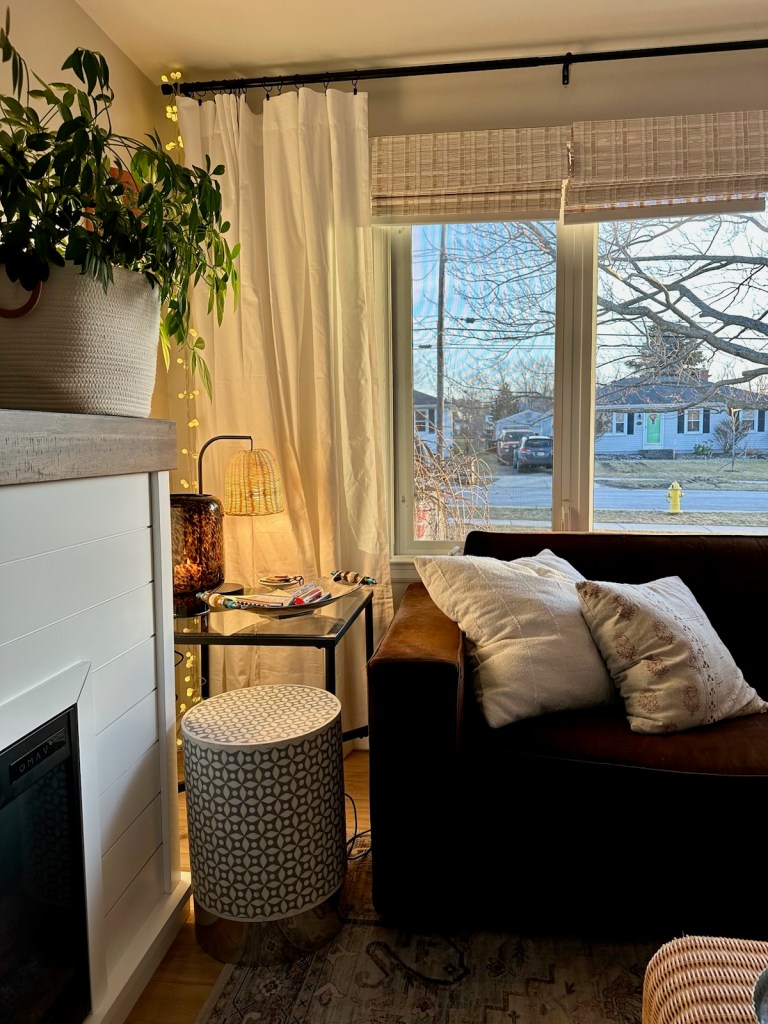
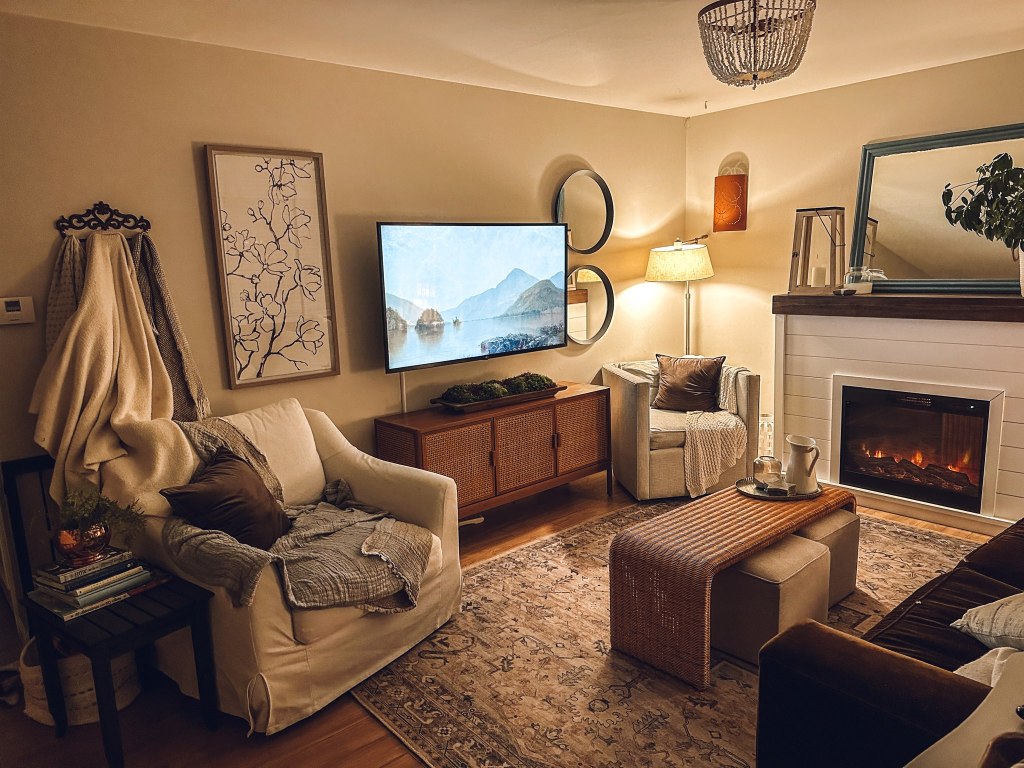
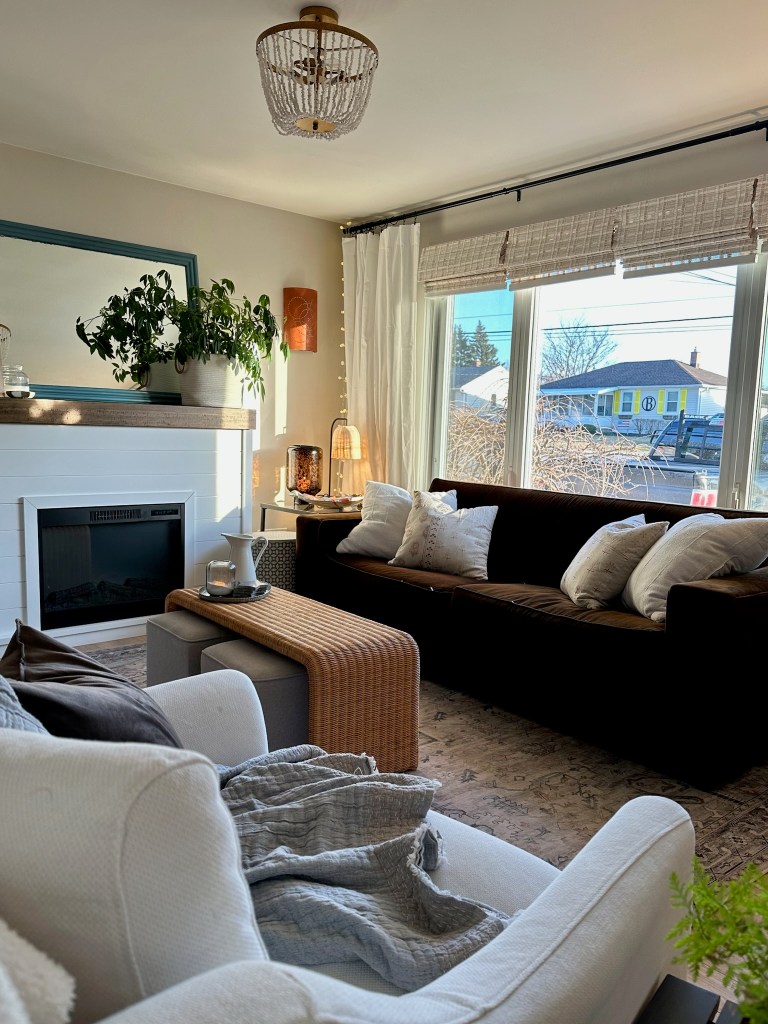
After simplifying and making what I had work, I took inventory of what missing pieces could be added to tie everything together. I went for a new lamp in the corner that matched my coffee table and shades, and some white curtains and pillows to match…well, most other things in the room. The final touches I added work in every space: plants, and candles.

Bonus Tip:
Get creative with decor! Instead of tossing our throw blankets in a basket, I hung them on the wall for texture and warmth. Another great trick I have been using is to set the TV to display a piece of art by searching for art on youtube.
I am adding some Amazon links for things I have purchased for this room, or similar items in case you are interested in shopping this look! I am a member of the Amazon Affiliate program.
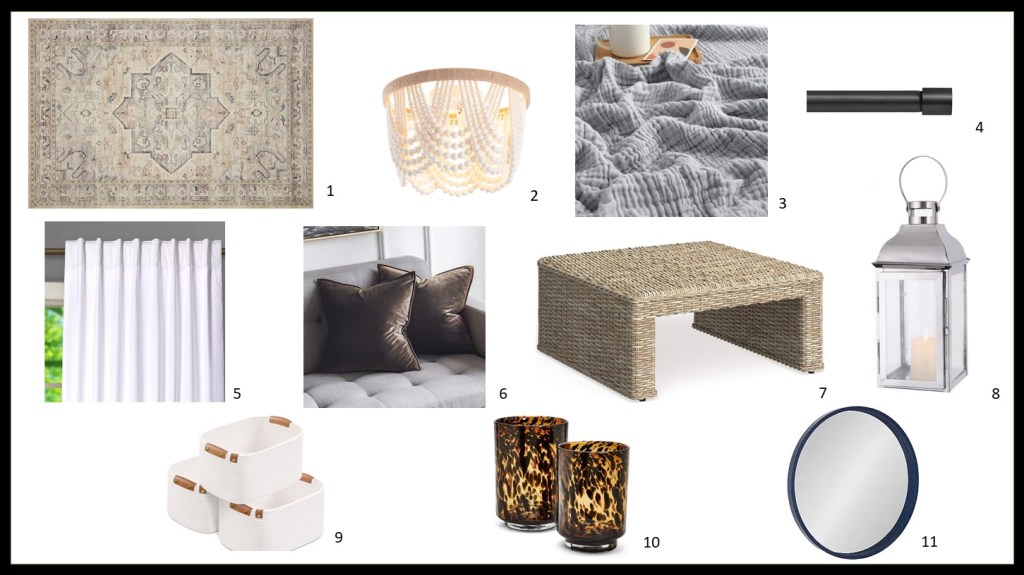
- Rug 2. Light 3. Blanket 4. Curtain Rod 5. Curtain Panels 6. Pillow Case 7. Coffee Table 8. Lantern 9. Baskets 10. Tortoise Glass Candle Holder 11. Round Mirrors
Thank you for reading! I hope you found some of these tips helpful. What are you working on in your home right now?

Such a cozy space! I love the blankets hanging on the wall. Gotta see all my snuggle options. I wish I could declutter like you, I love my knick knacks! 🙈
LikeLike
Thank you! You do have a great collection of treasures 🙂
LikeLike