We Moved!

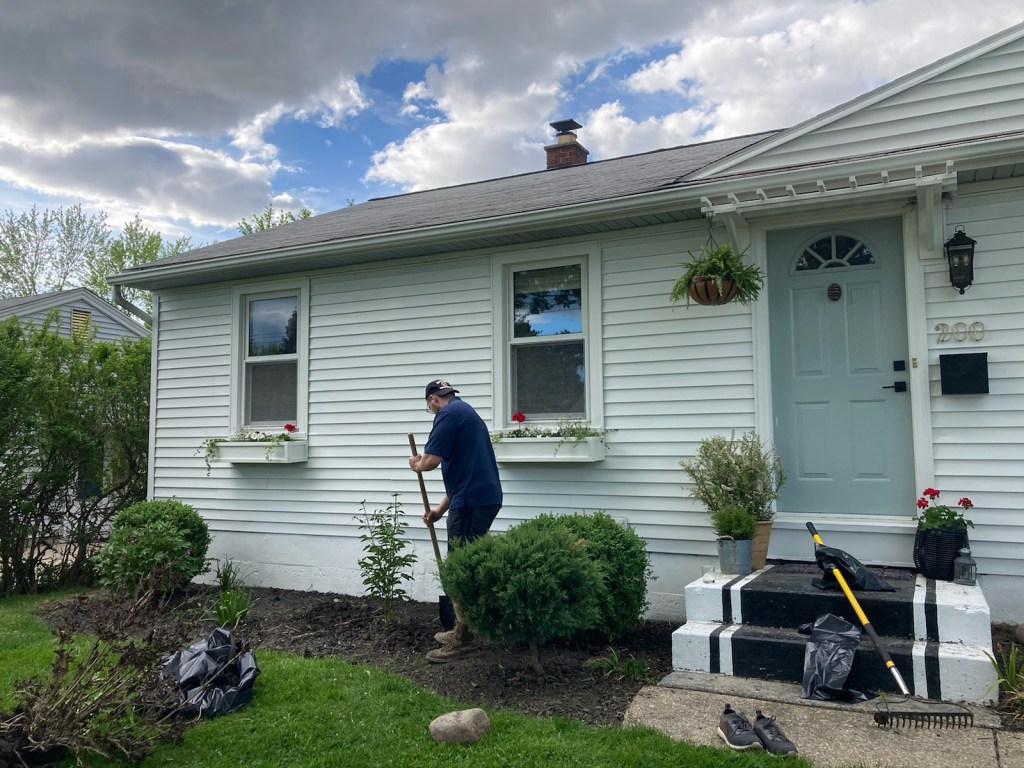
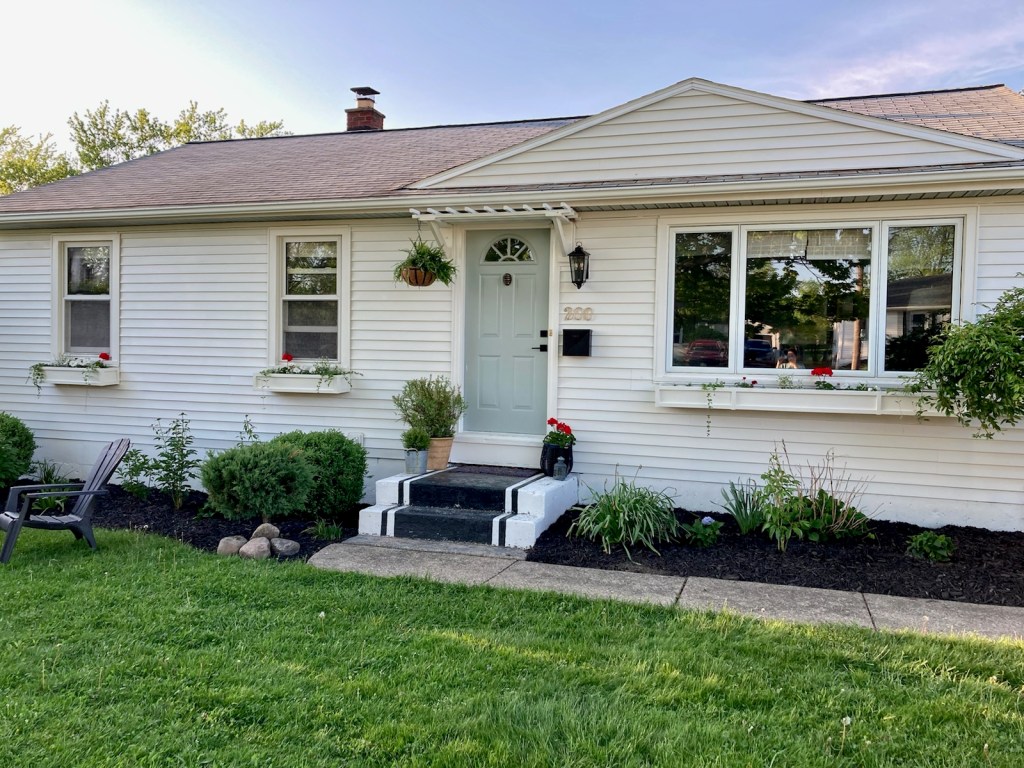
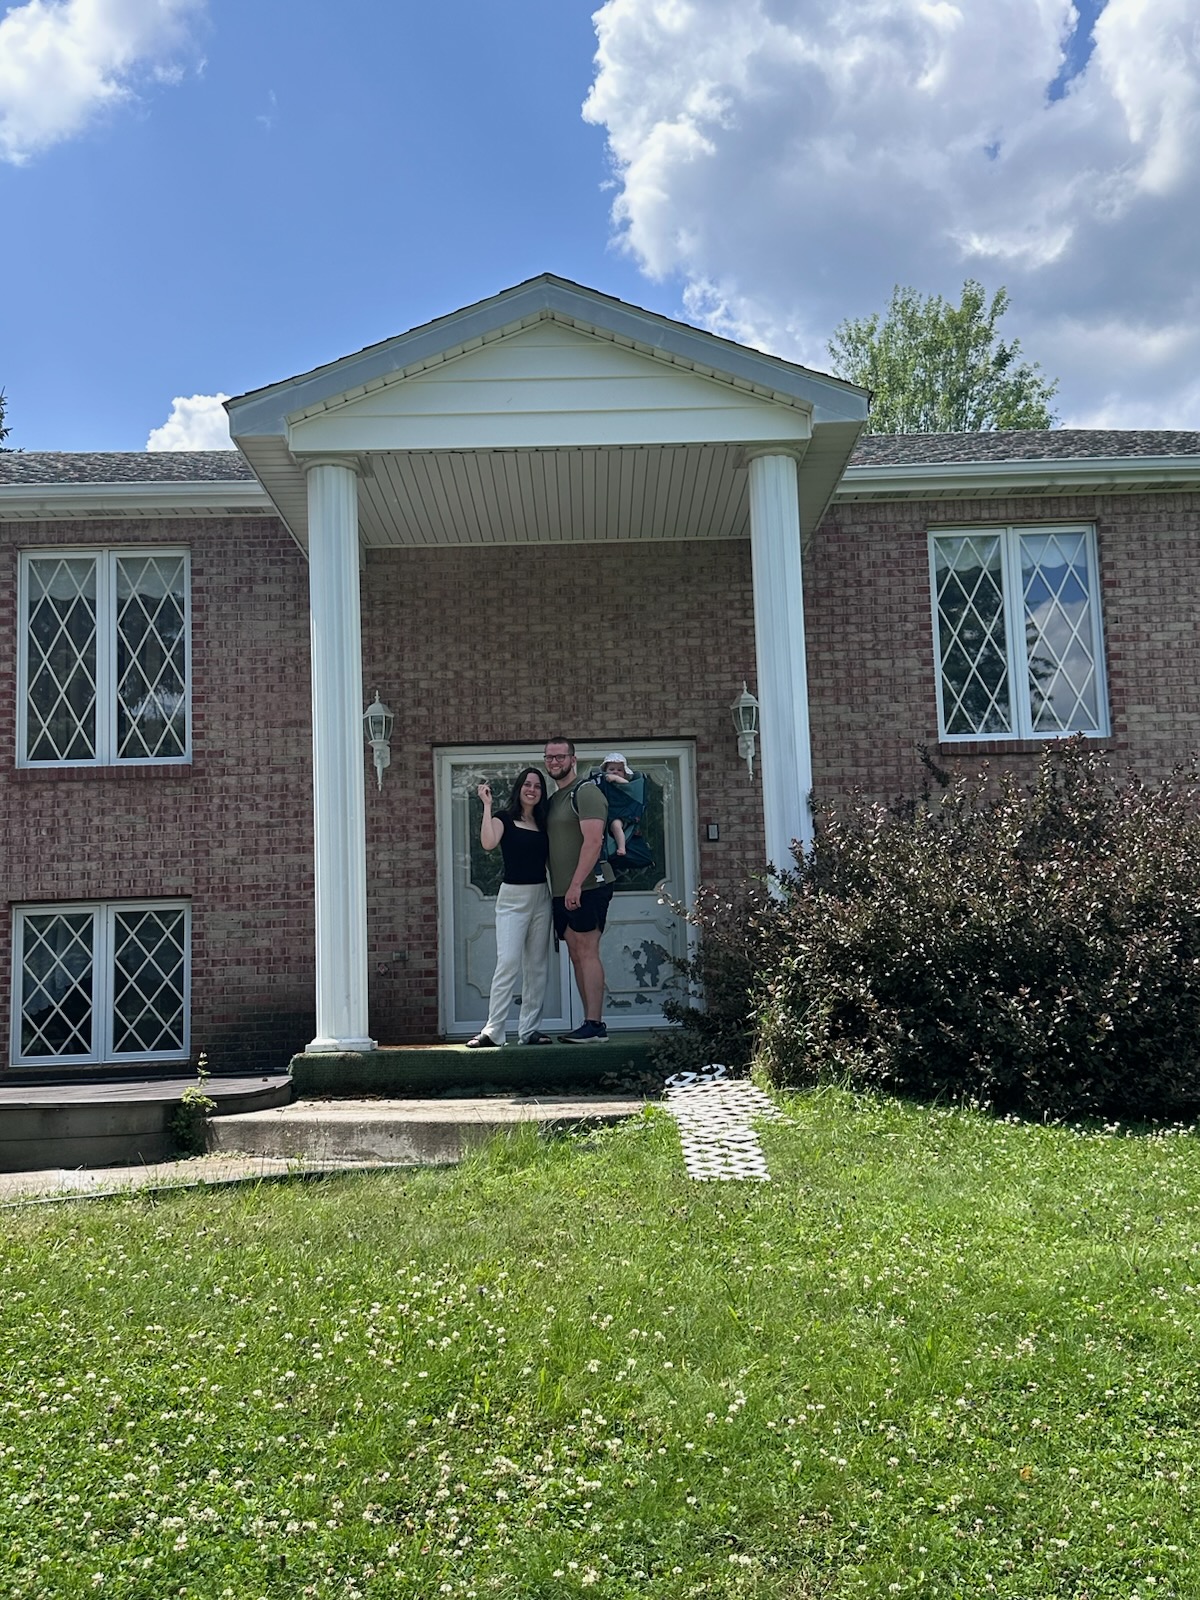
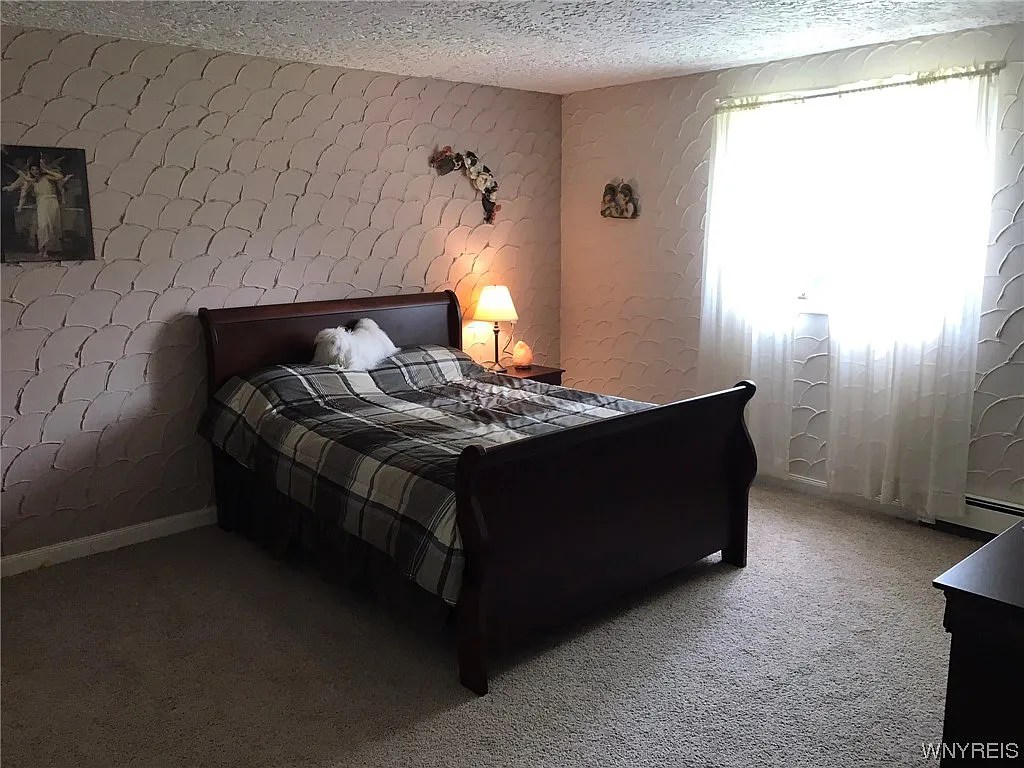
We bought our dream home! Well, future dream home…right now it’s our “oh boy, we have our work cut out for us” home. Somedays it feels like our “what have done?!” home. But I know one day it will be great! I have always wanted to buy a fixer upper. Restoring homes to their full potential is one of my greatest passions in life. Now that we live in one, the reality is sinking in that even though I have grand ideas in my head, having the time and money to execute them is another story.

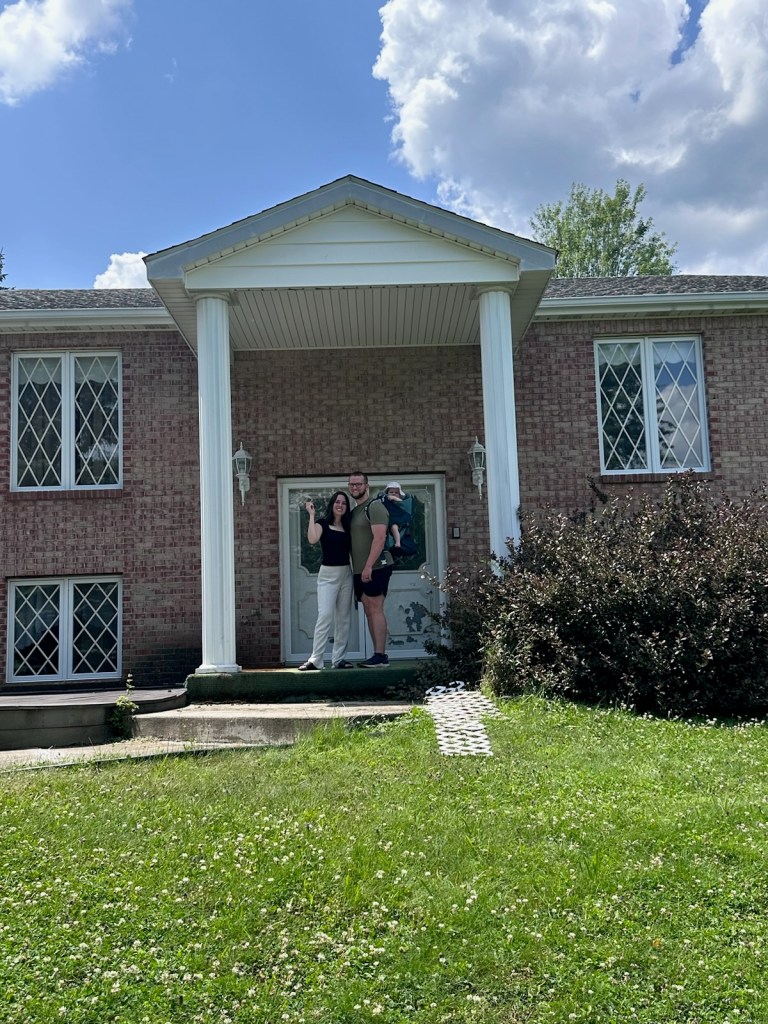
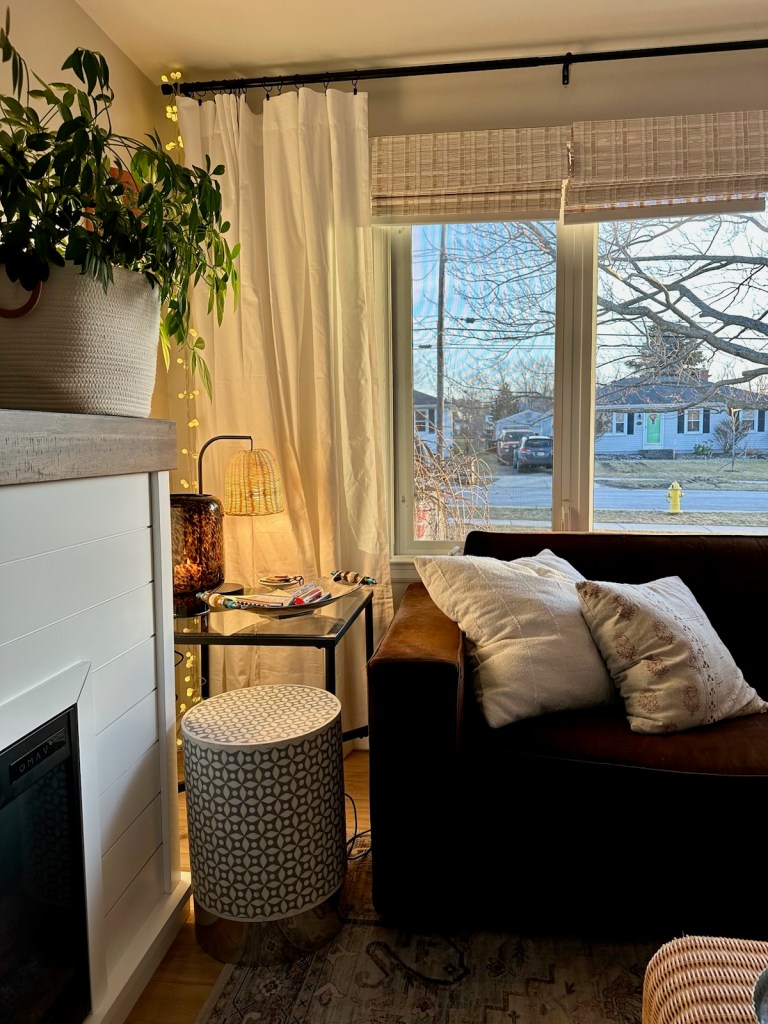
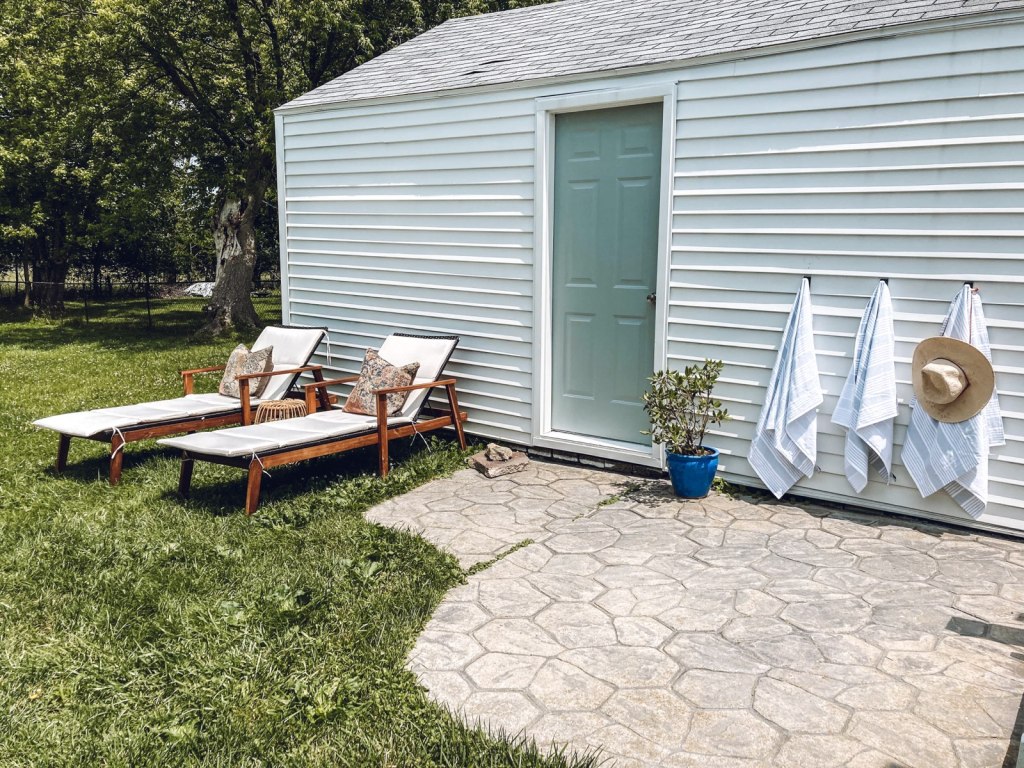
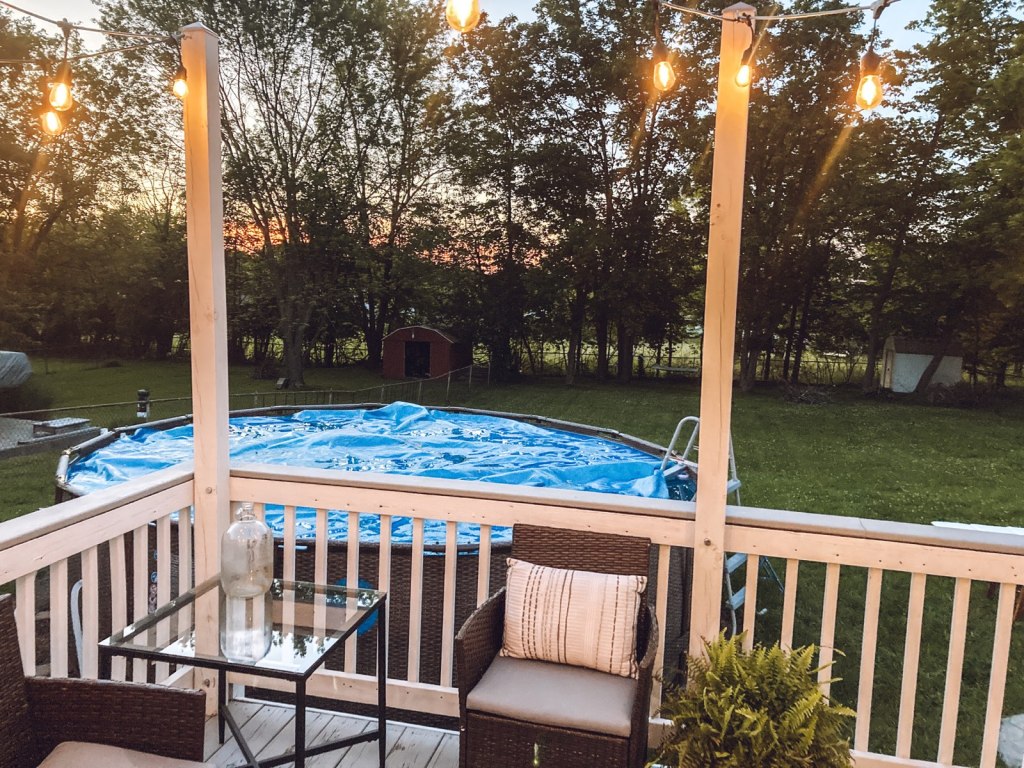
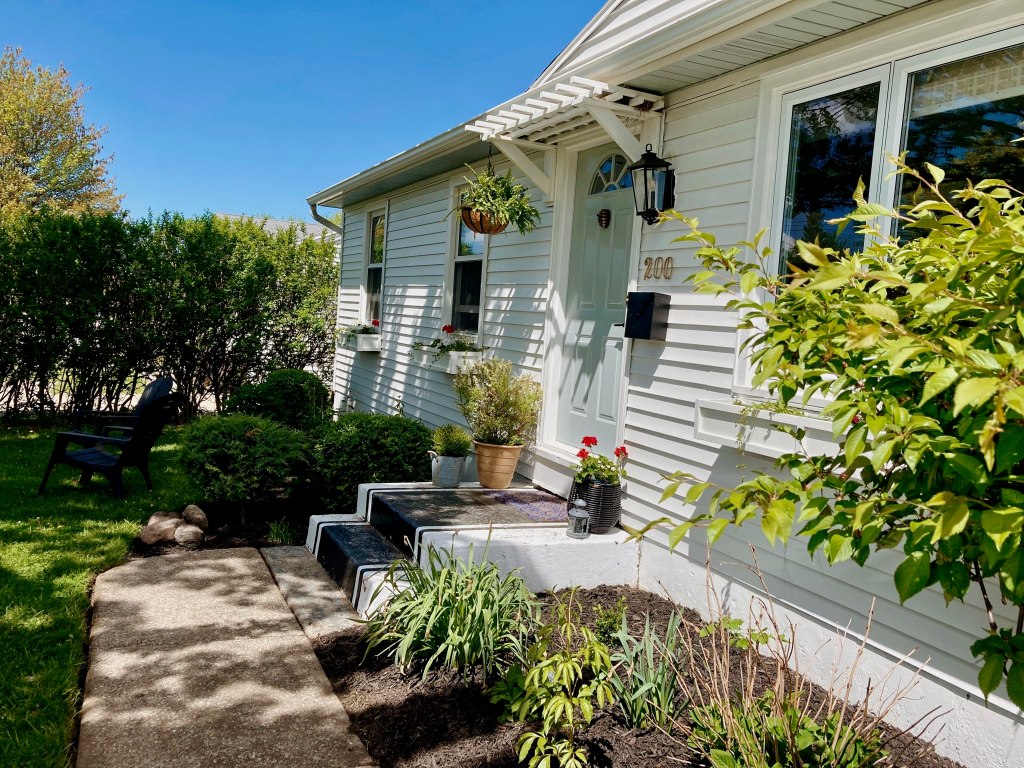
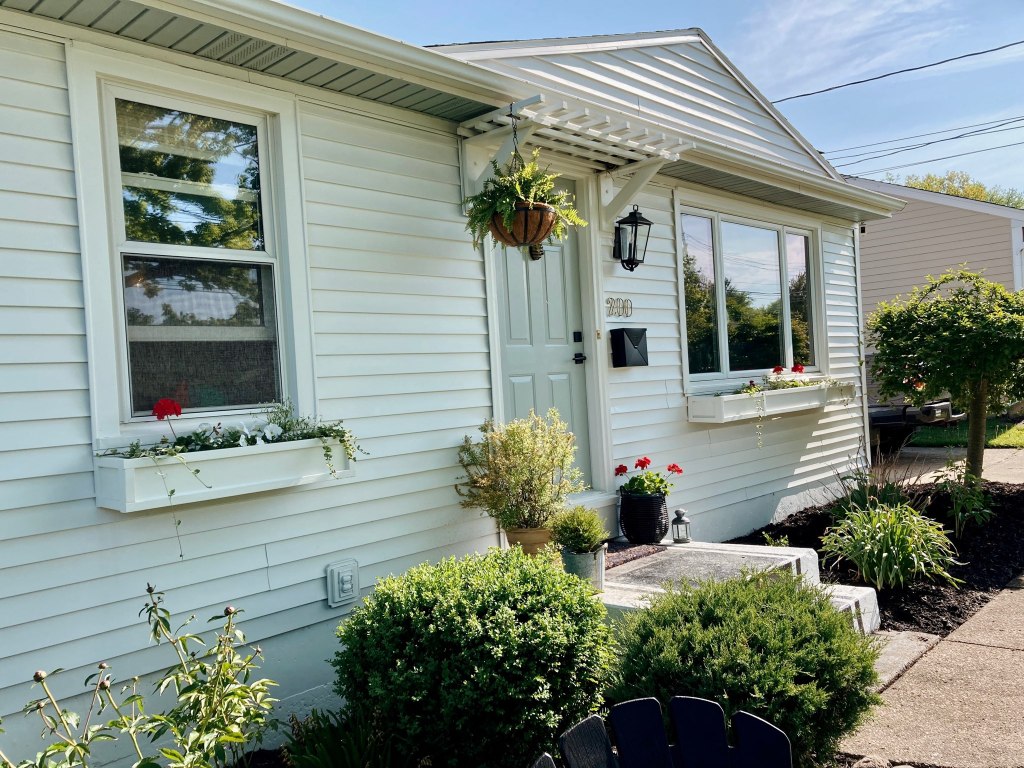
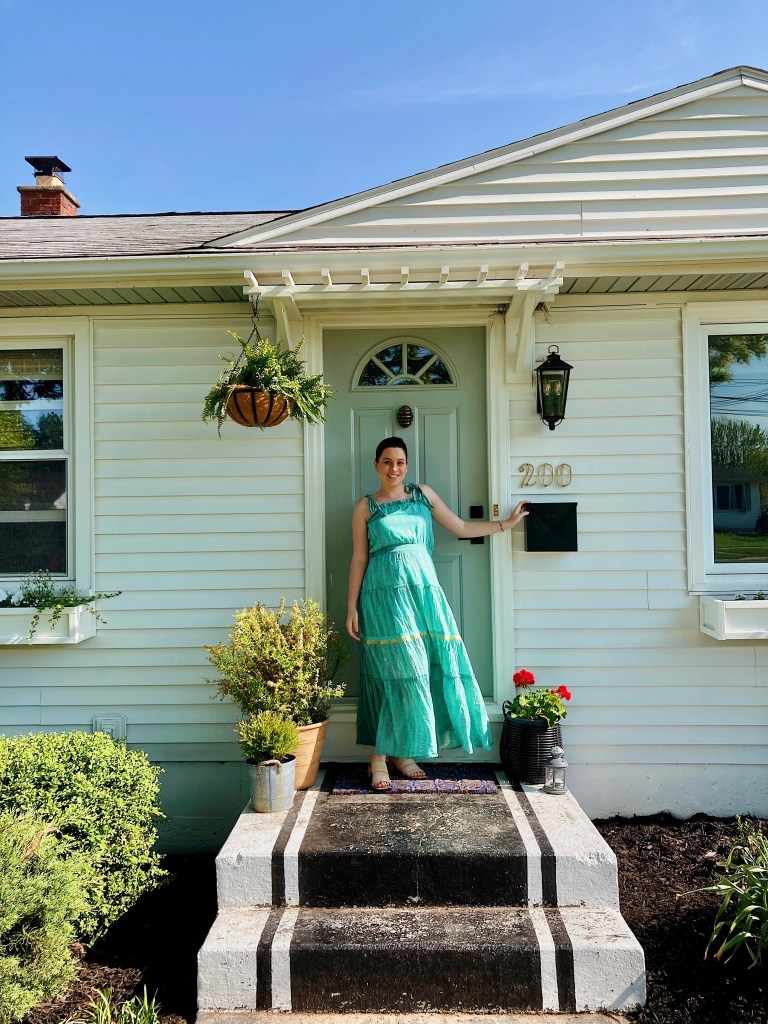
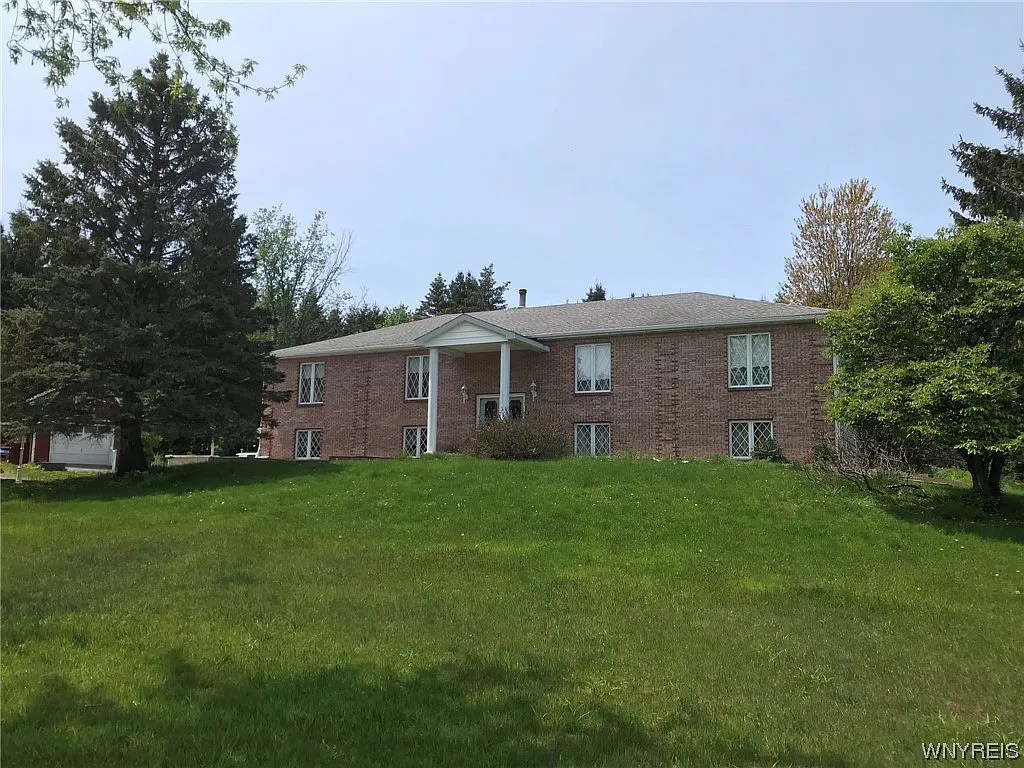
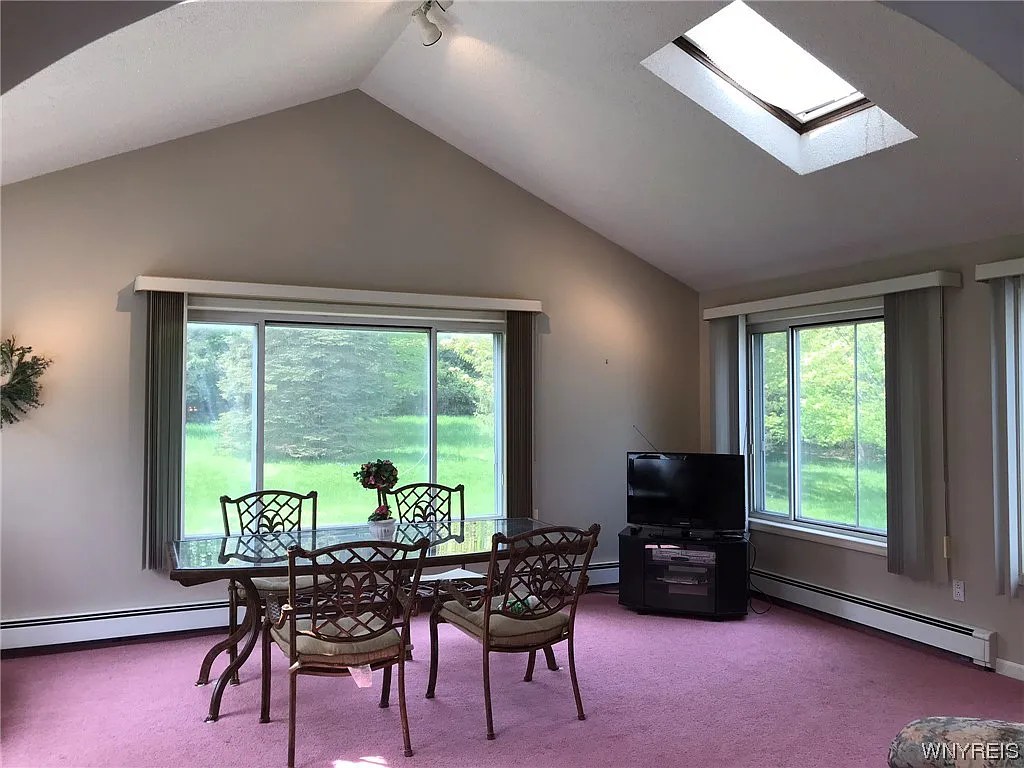
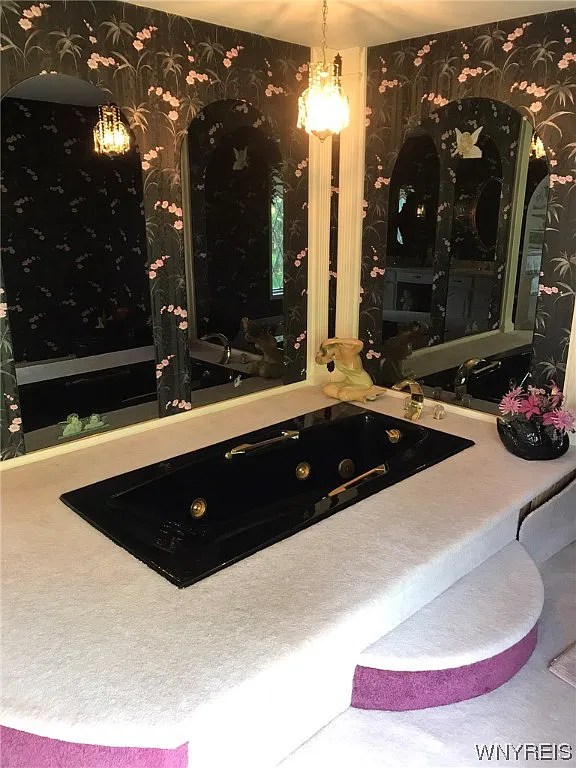
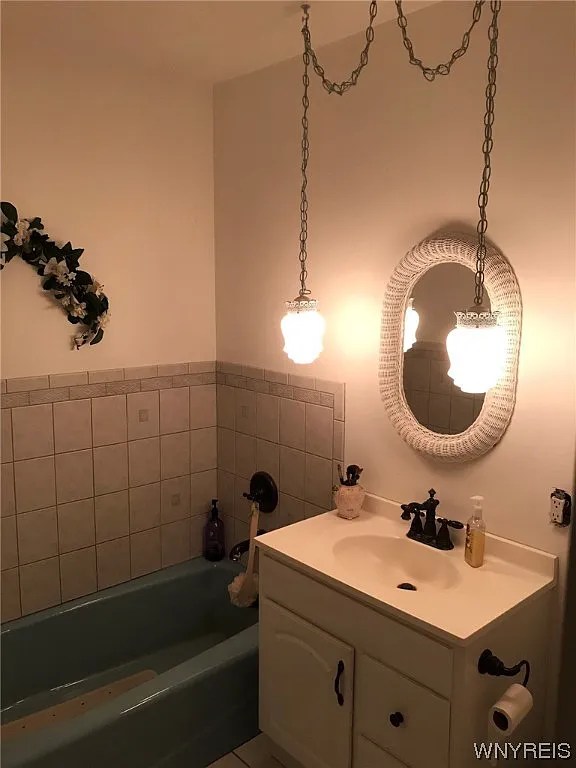
The one thing that we can’t and wouldn’t want to change is the location. Our new home may have carpeted bathrooms, but what it lacks in updates, it makes up for in the location. A park like yard, large pond, beautiful views, and woods are things we always dreamed of having for ourselves, and now we do! Sometimes we eat dinner on our front porch and stare out in awe that we get to live here.

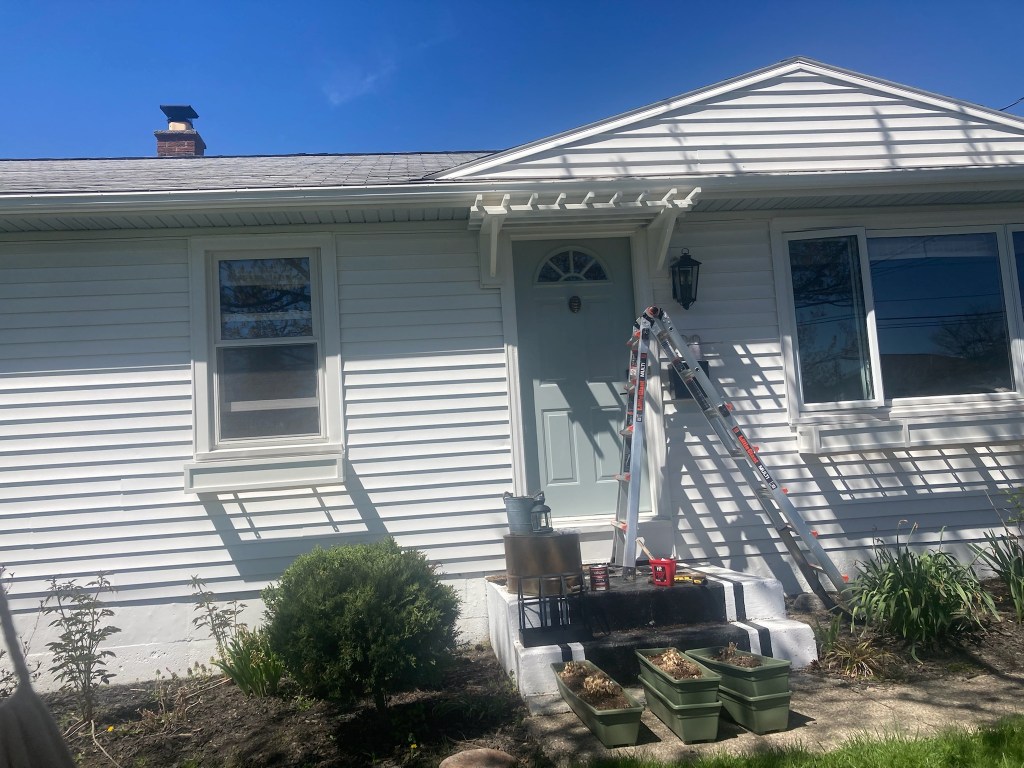
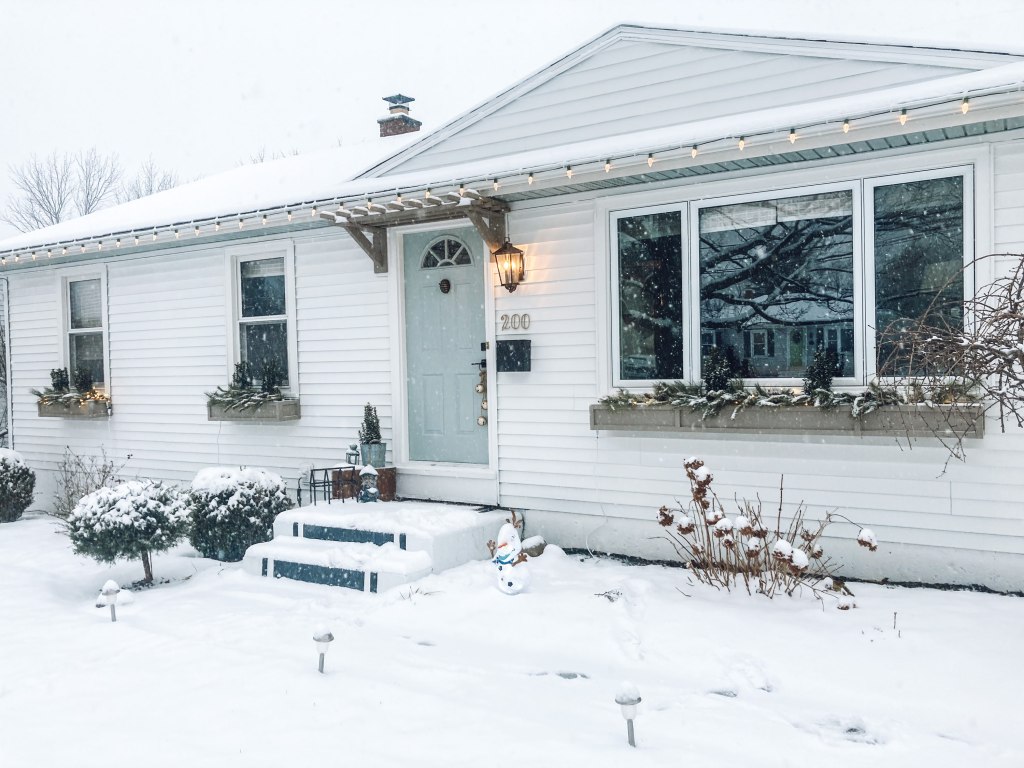
Moving with a baby is challenging. Moving with a baby into a home without a reliable heat source, a run-down filter on the well, and extensive work needed from top to bottom, is challenging and a bit scary (Don’t worry – these things are being taken care of right away!). But I also have a lot of excitement thinking about our future here. Interesting how some situations can make you feel so much gratitude, and dread at the same time. Excitement and fear. Contentedness and impatience. Life can be a balancing act in that way.

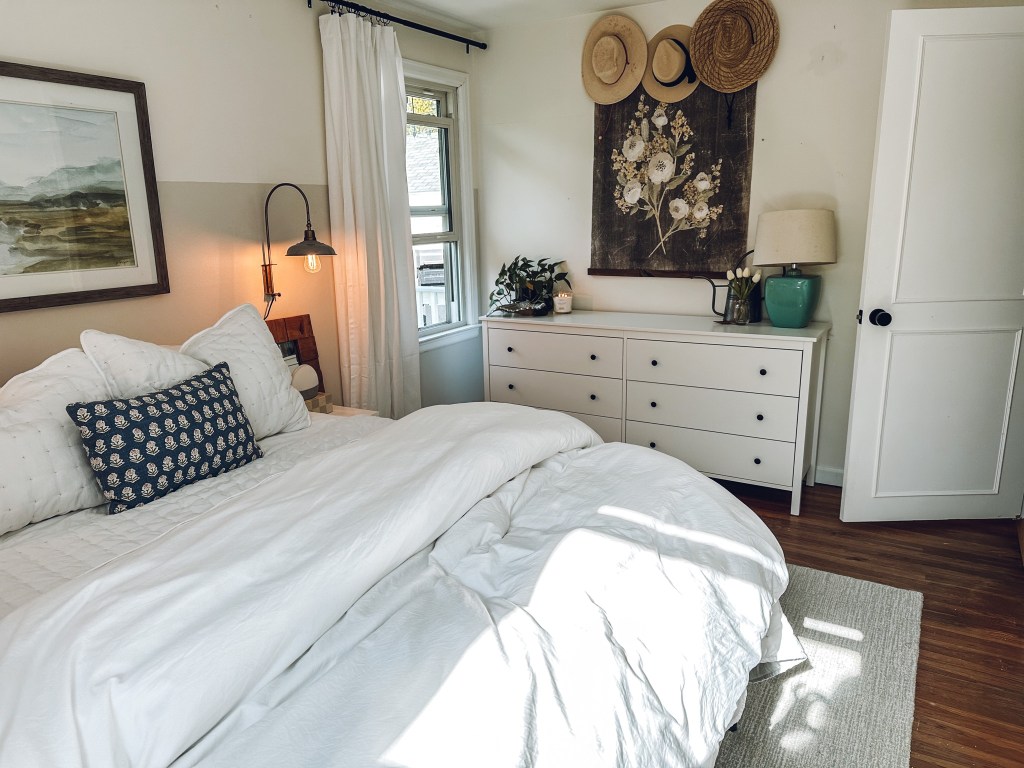
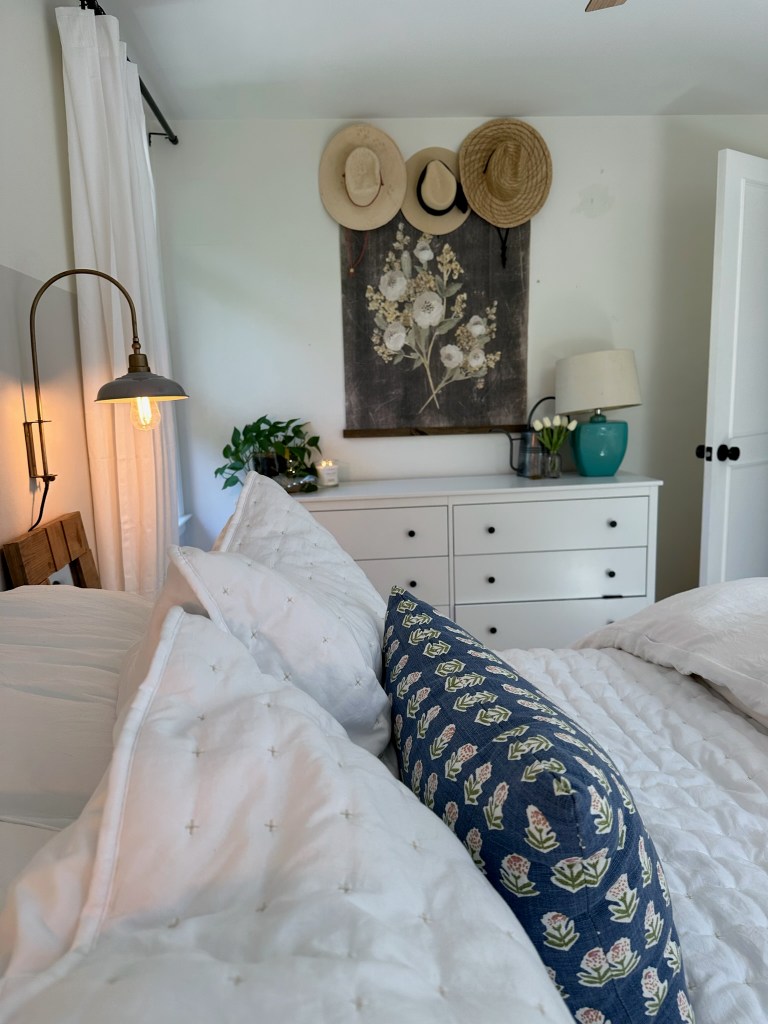
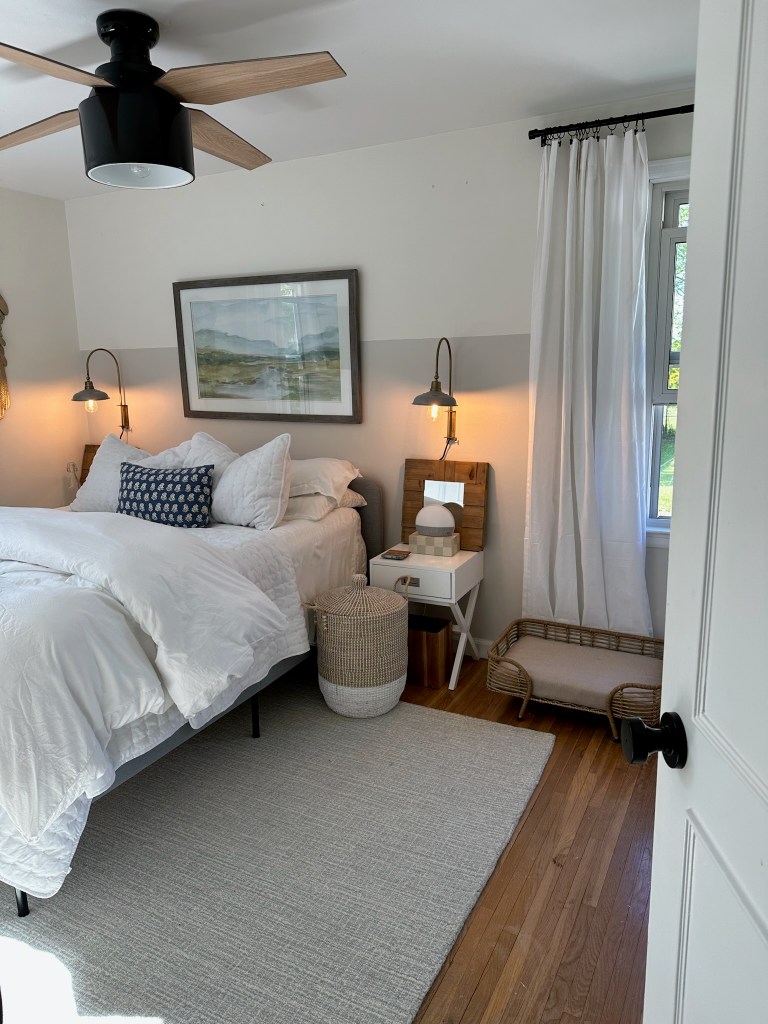
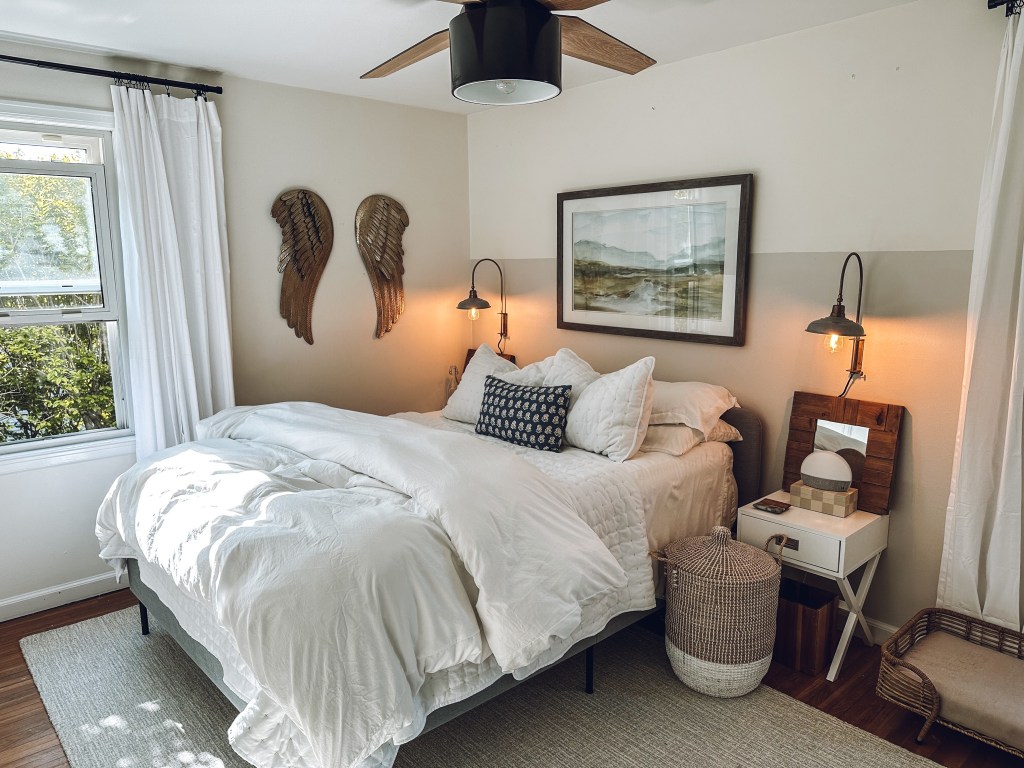
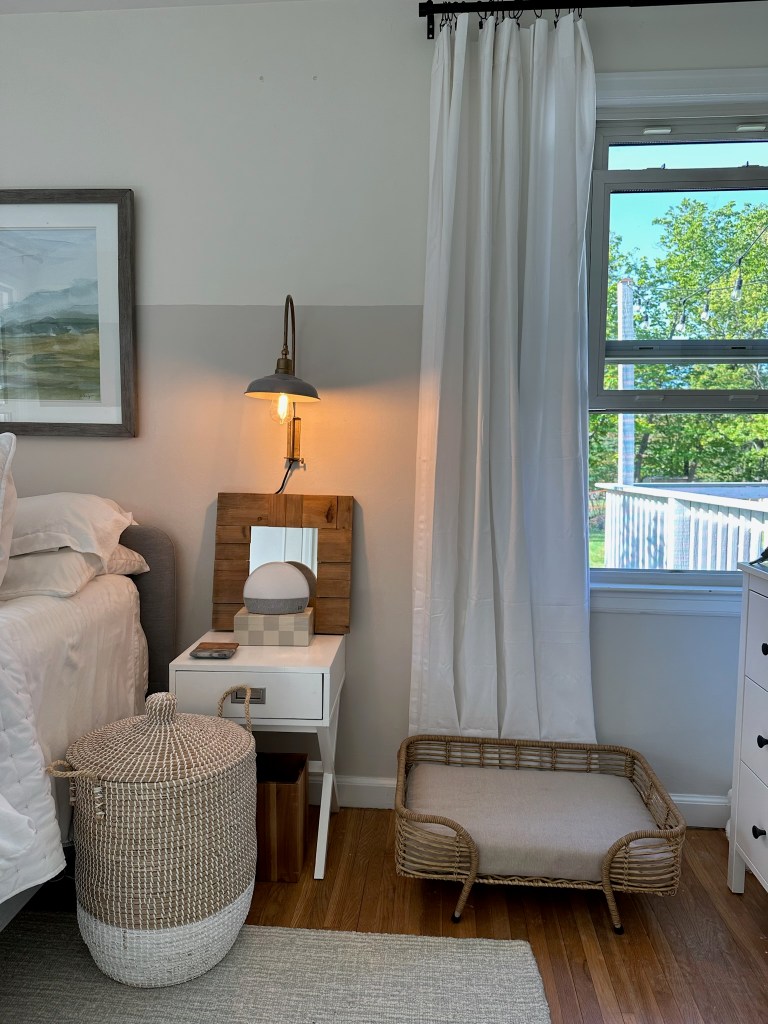
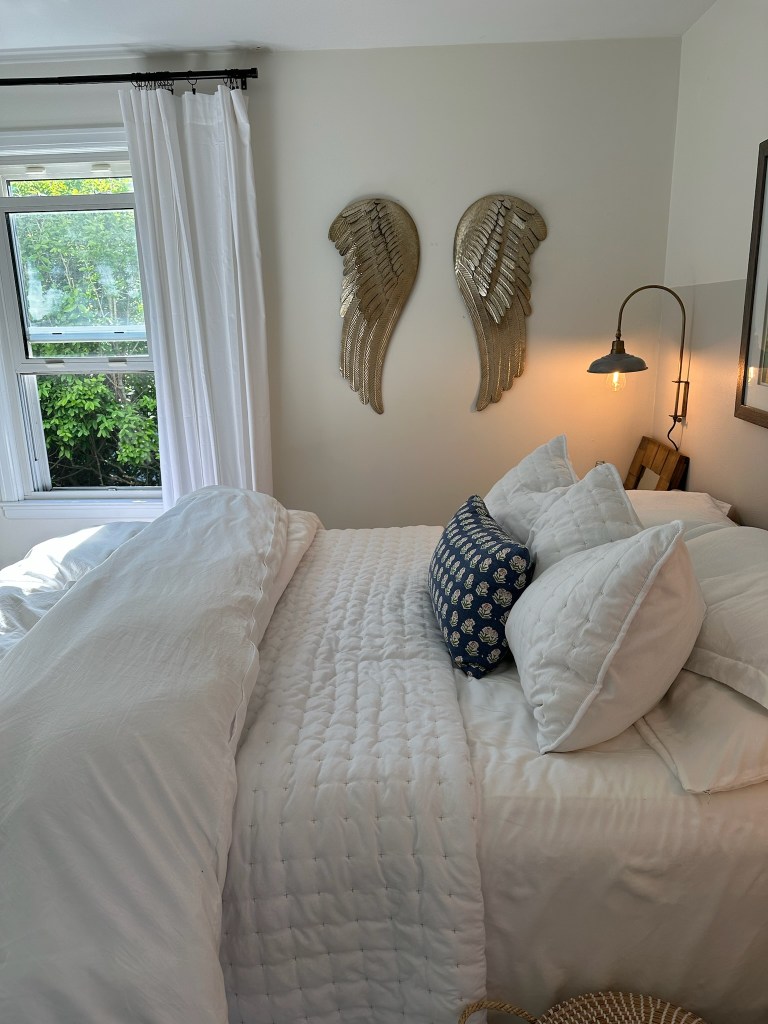
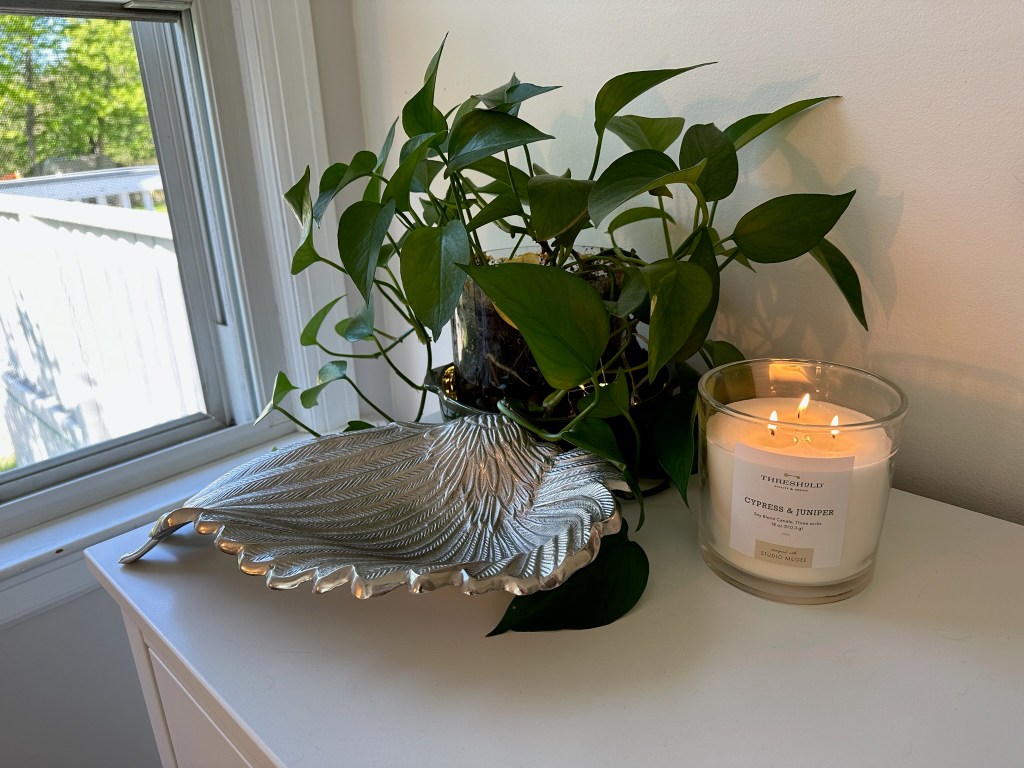
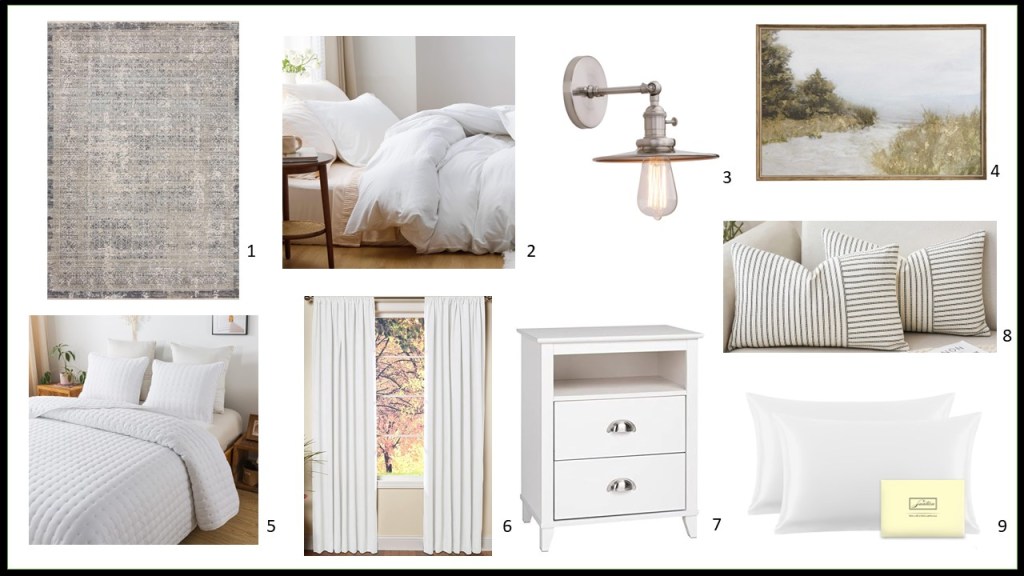
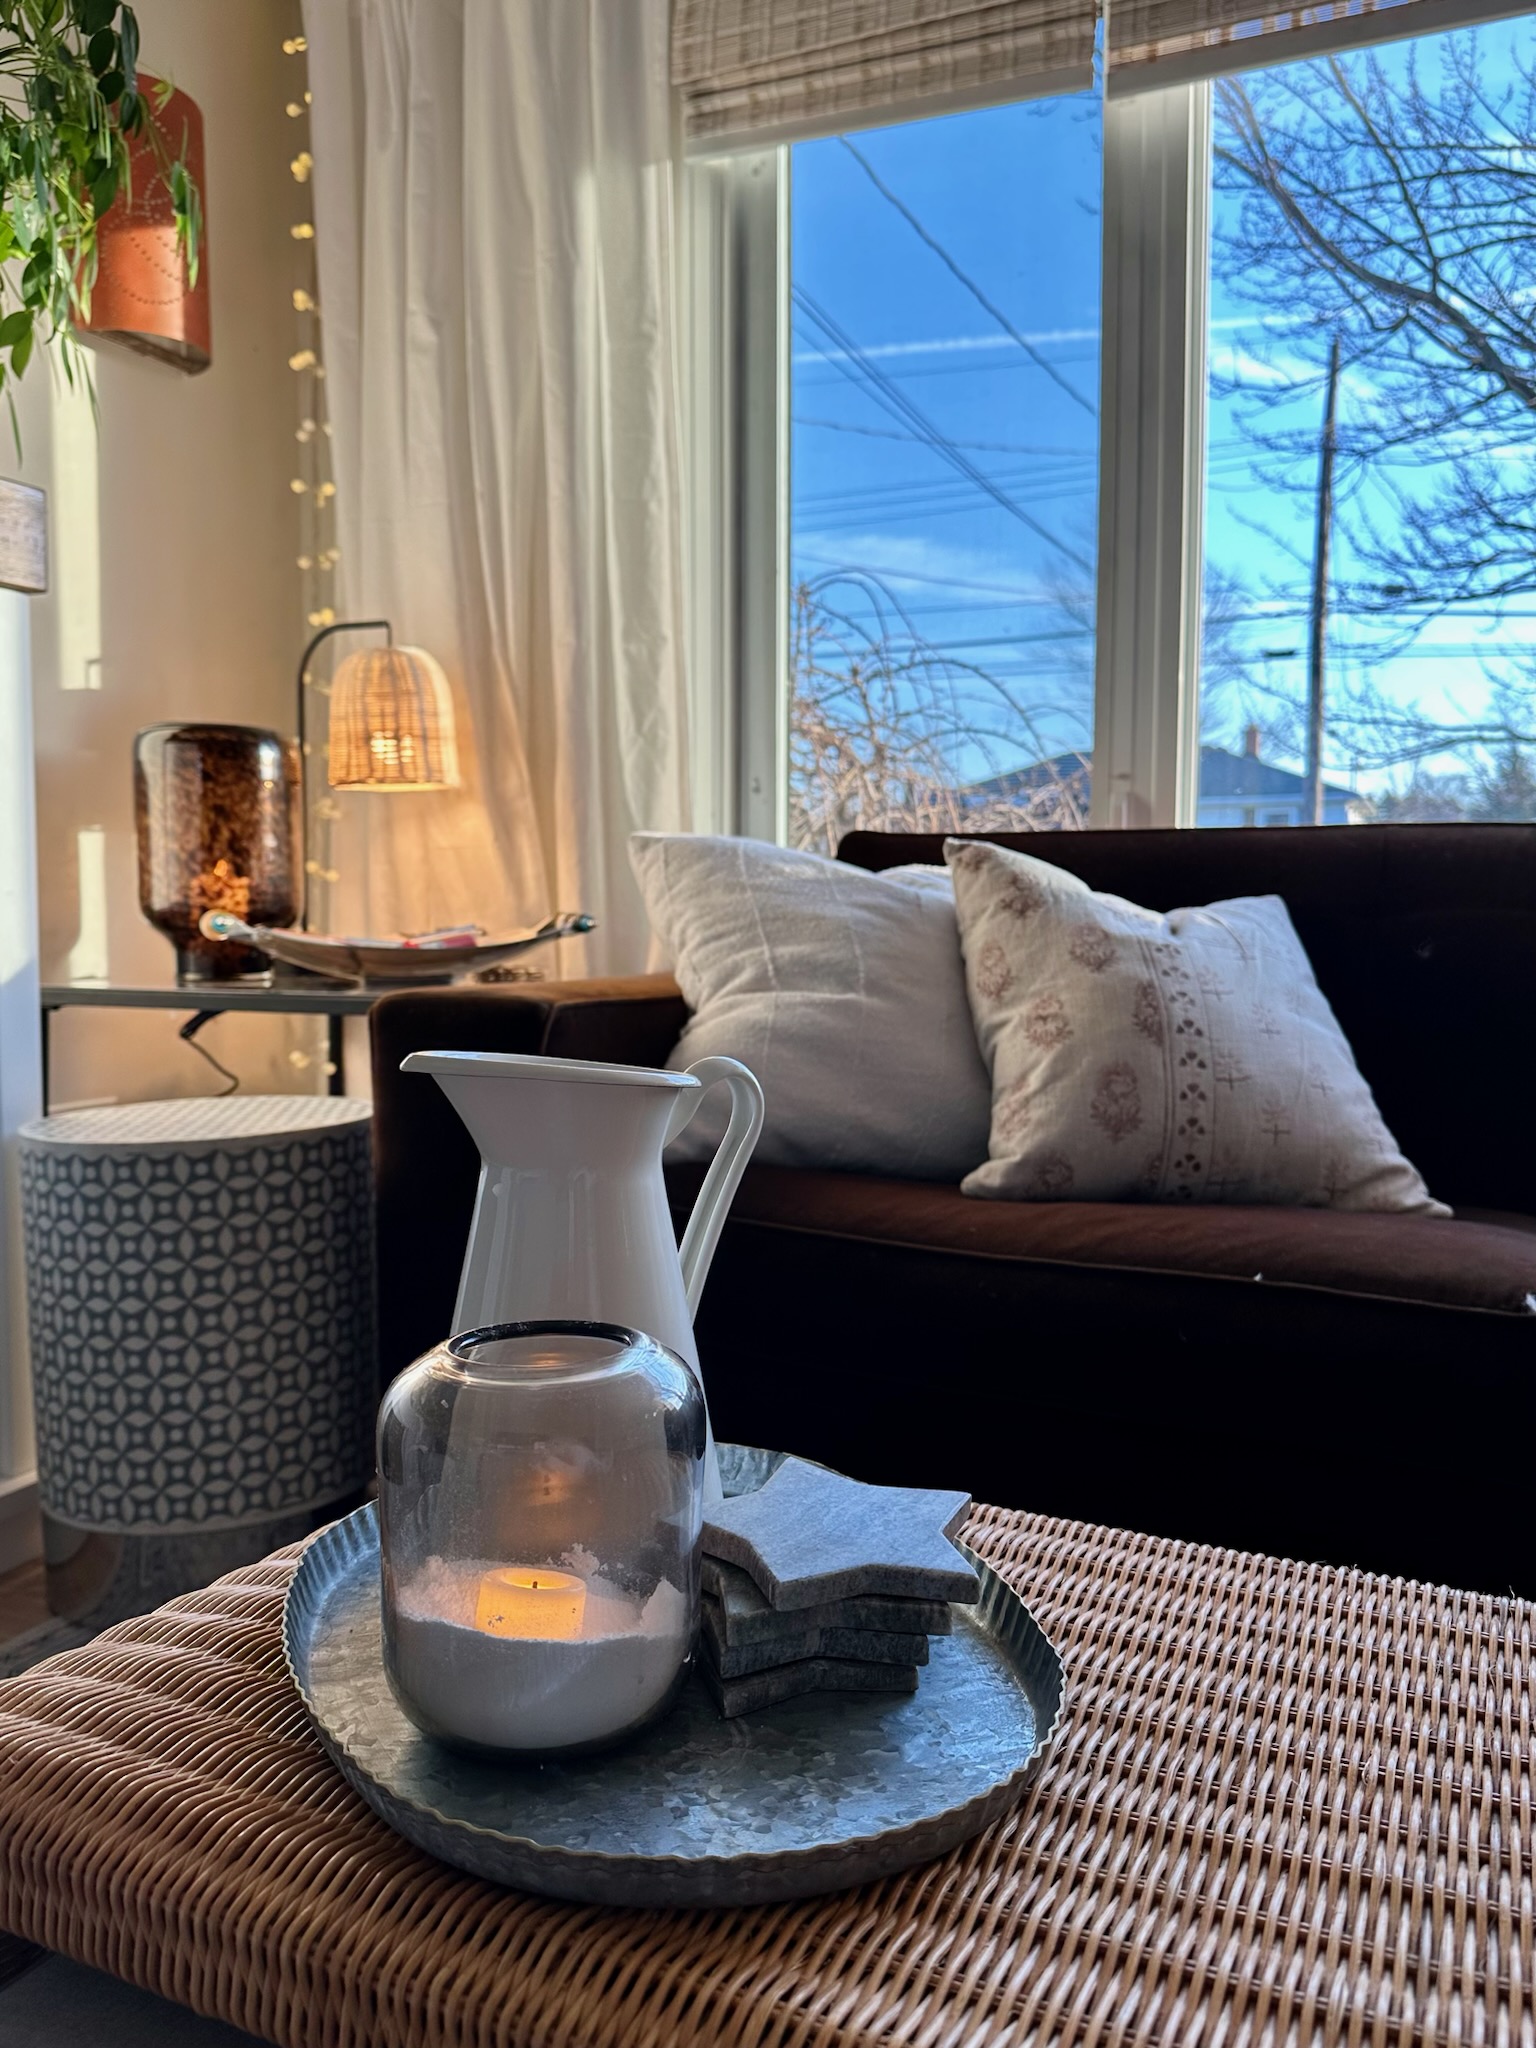
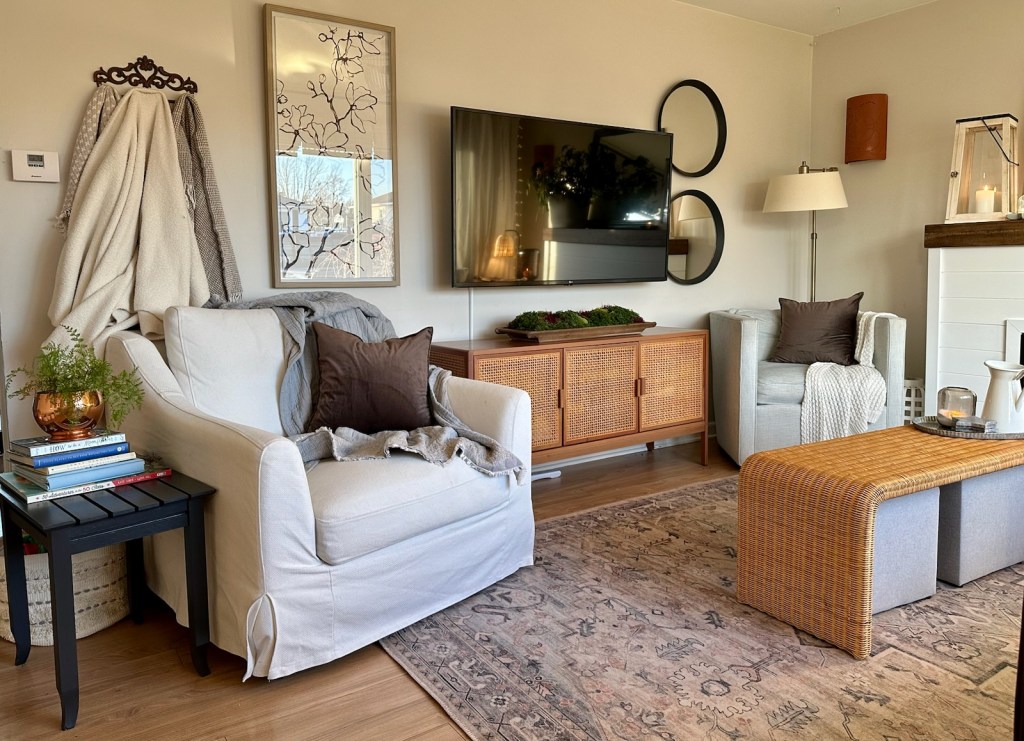
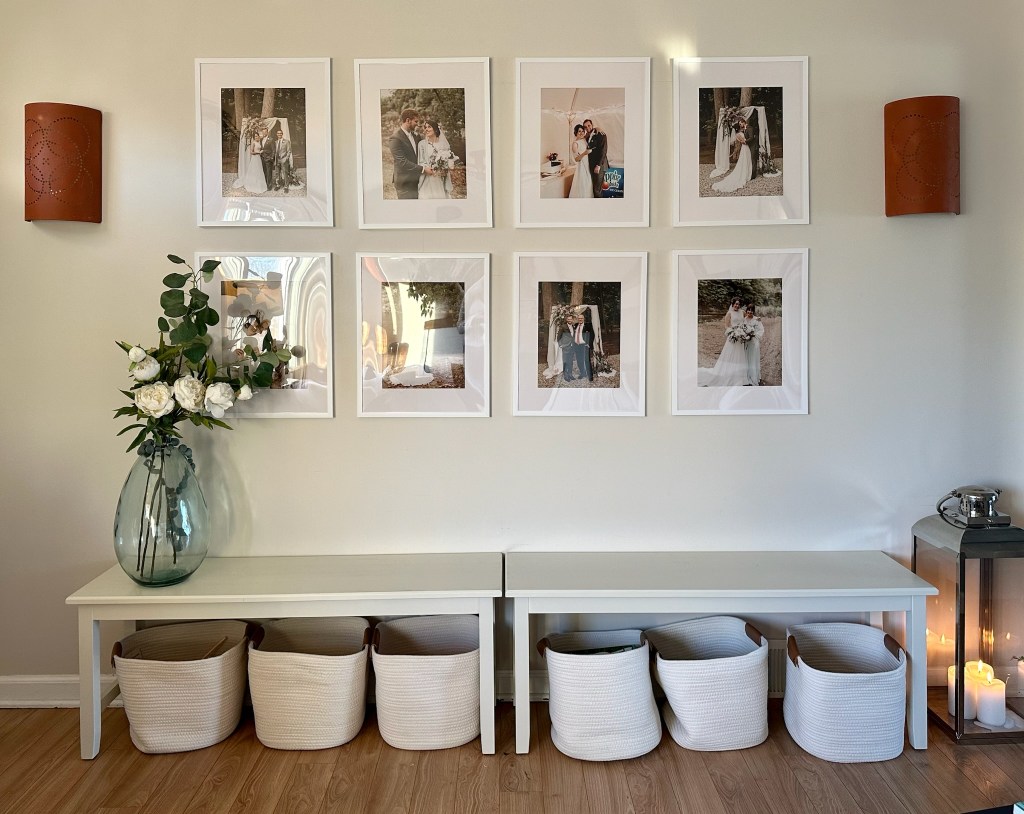
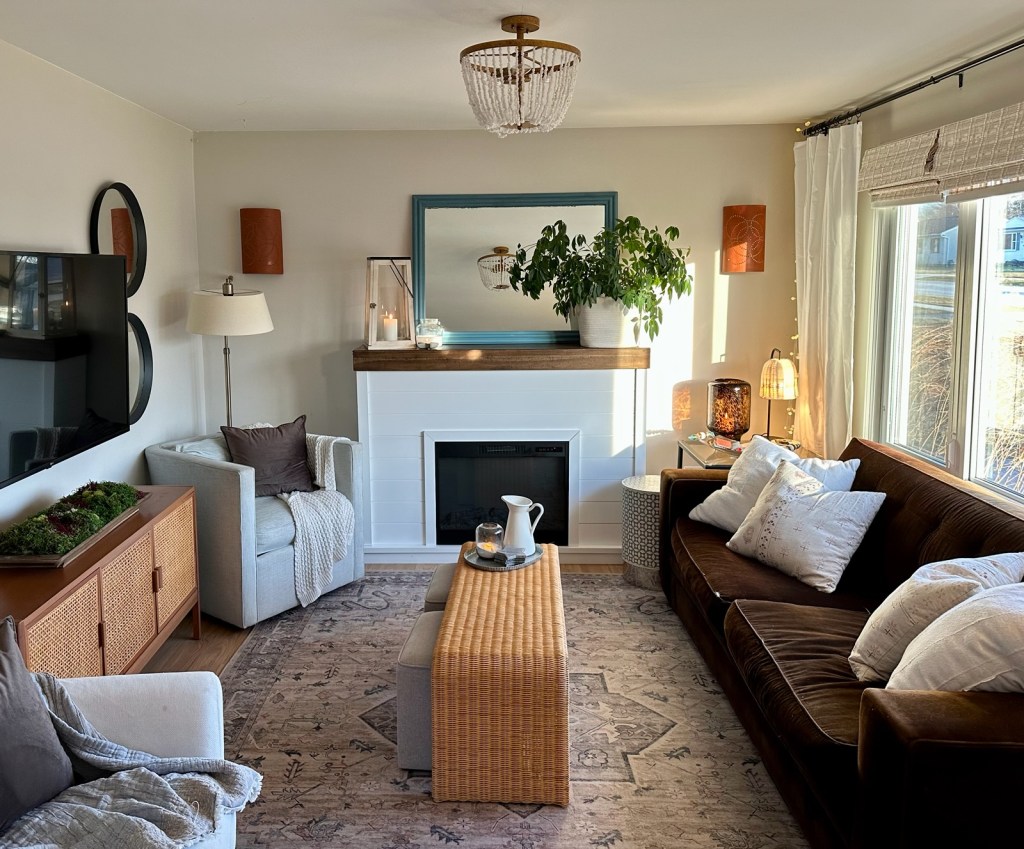
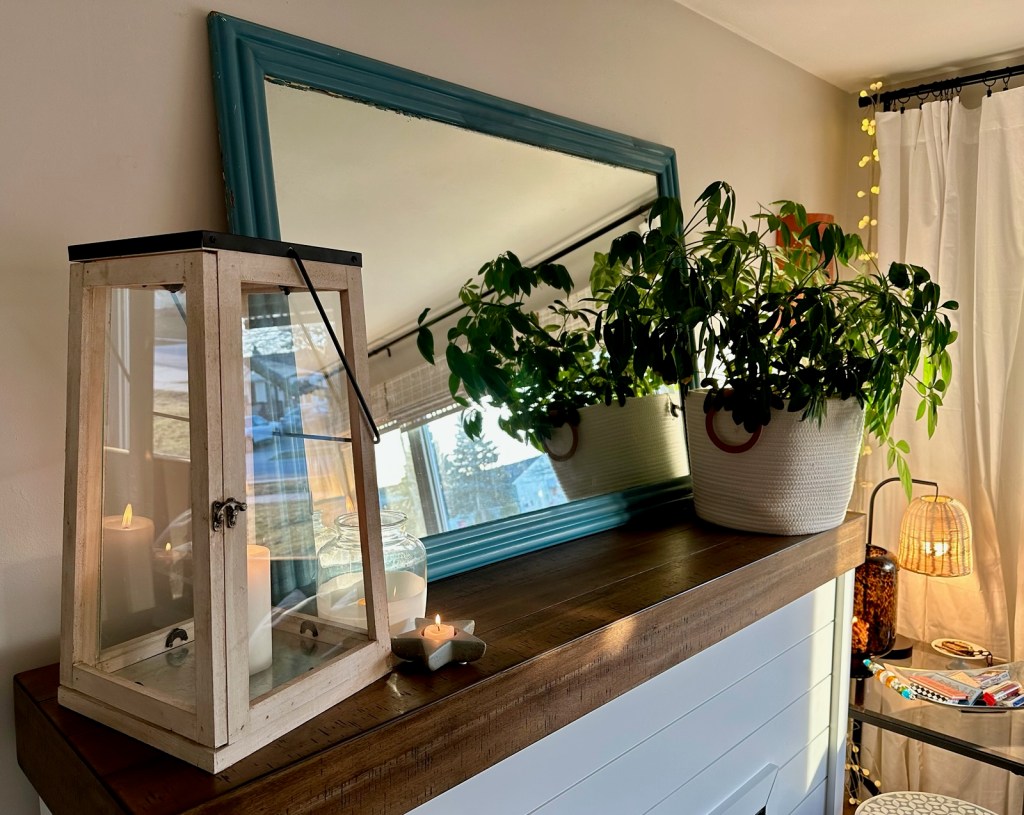
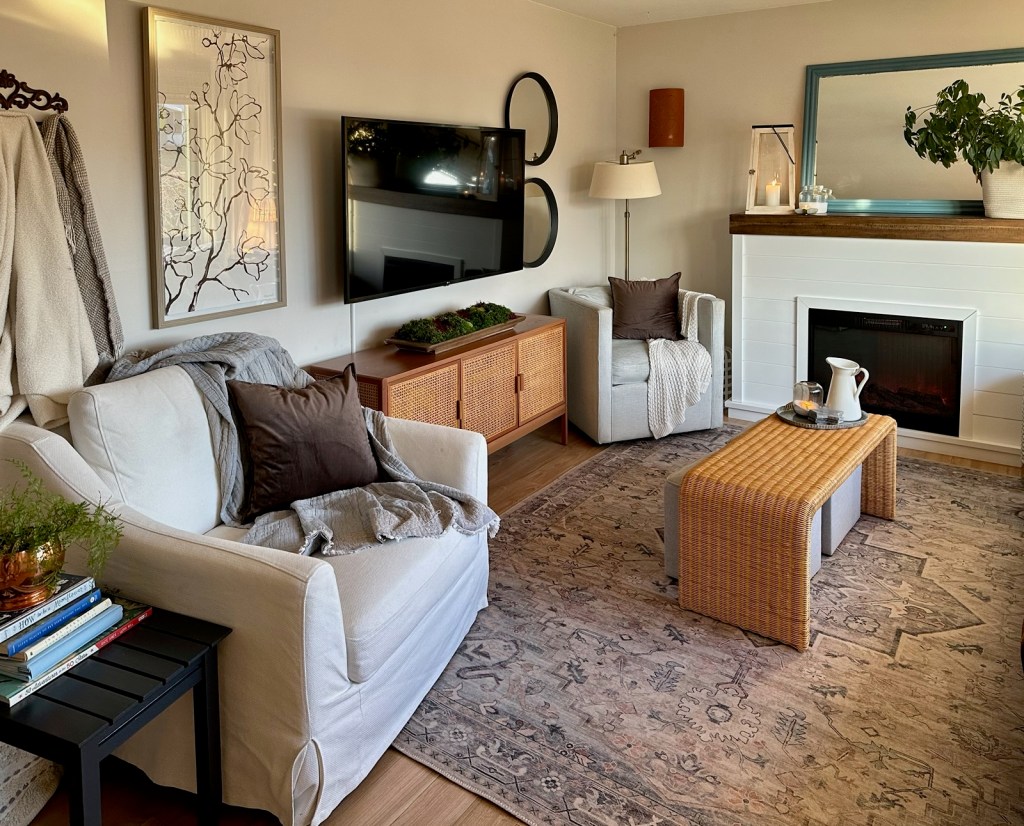
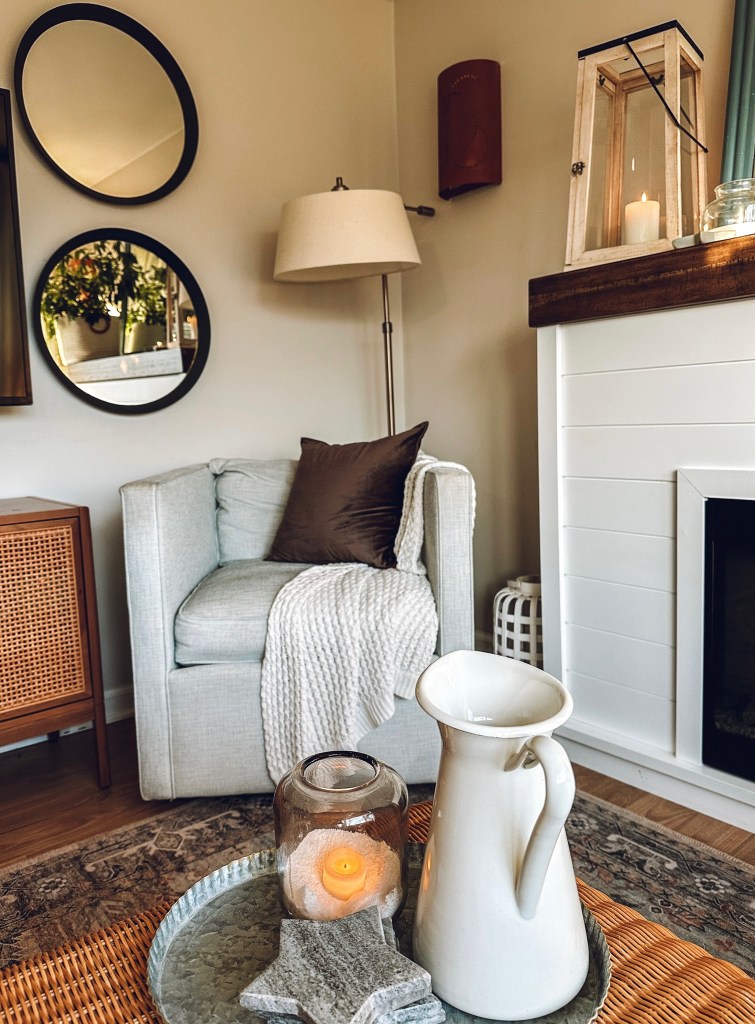
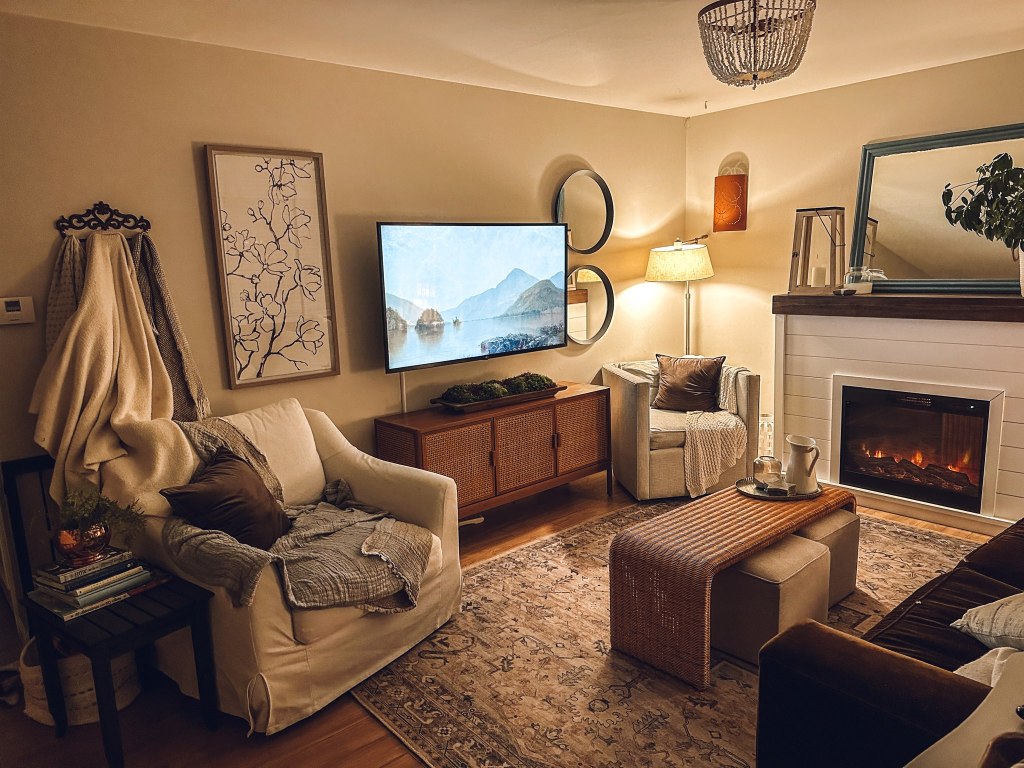
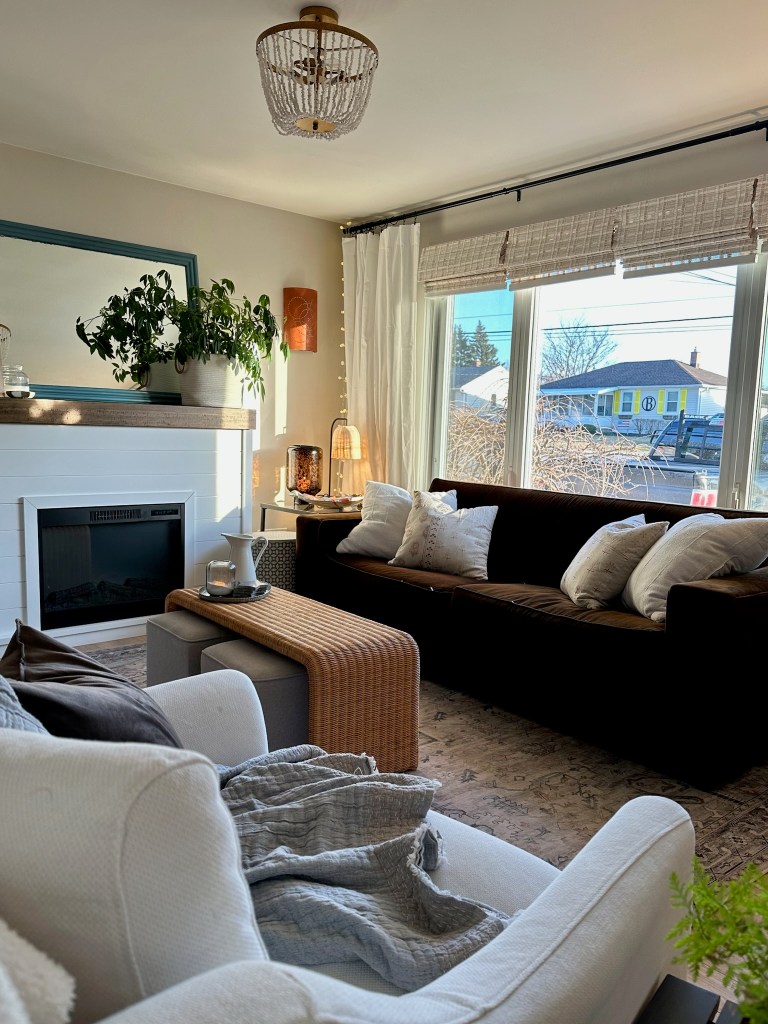
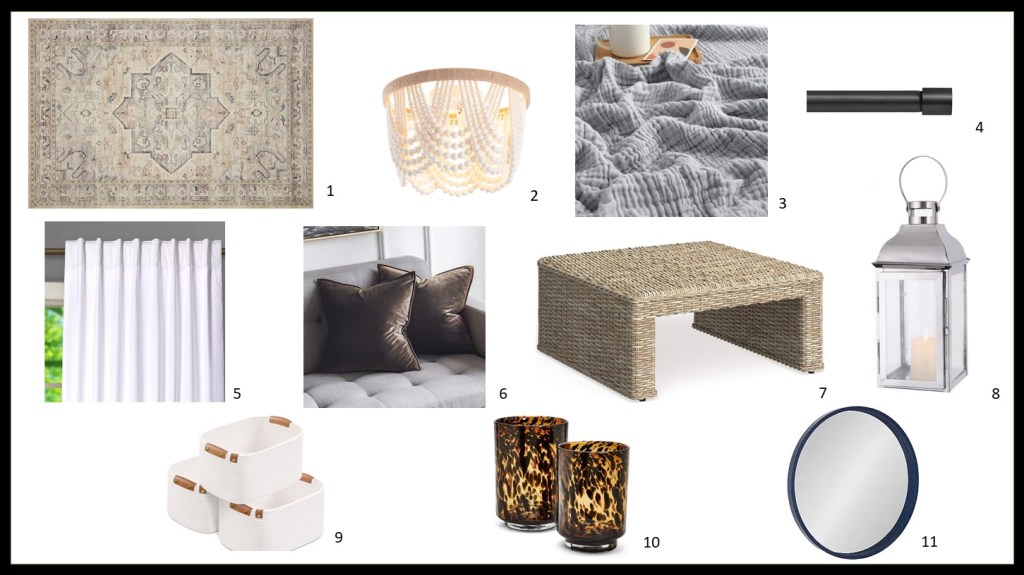
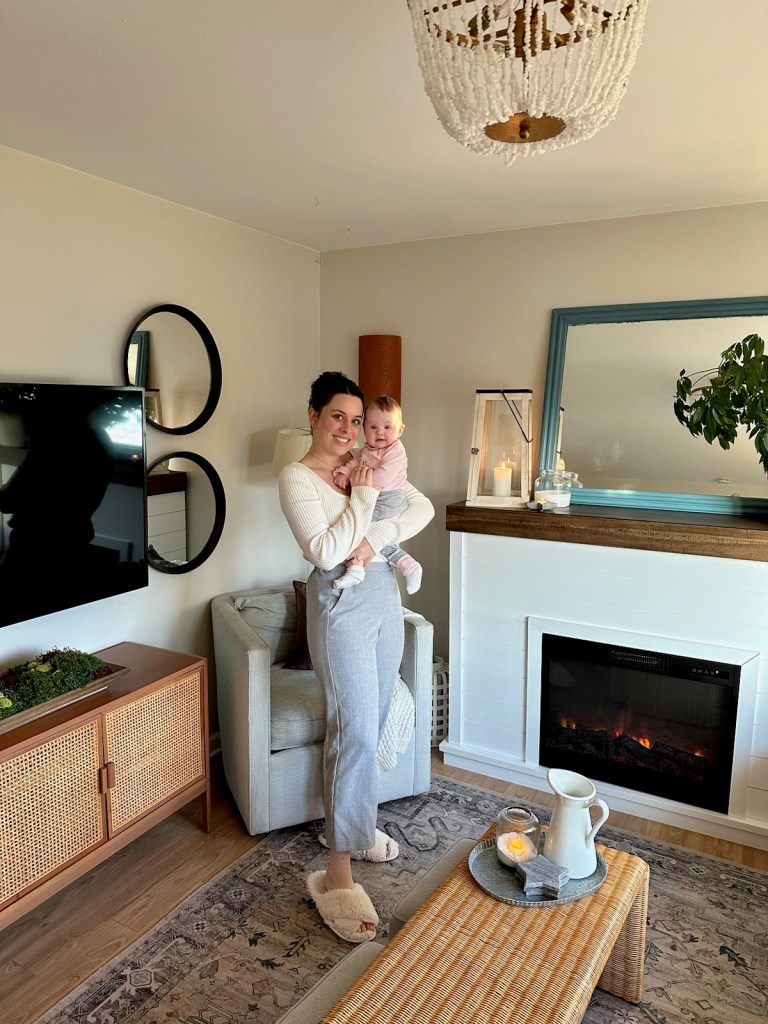
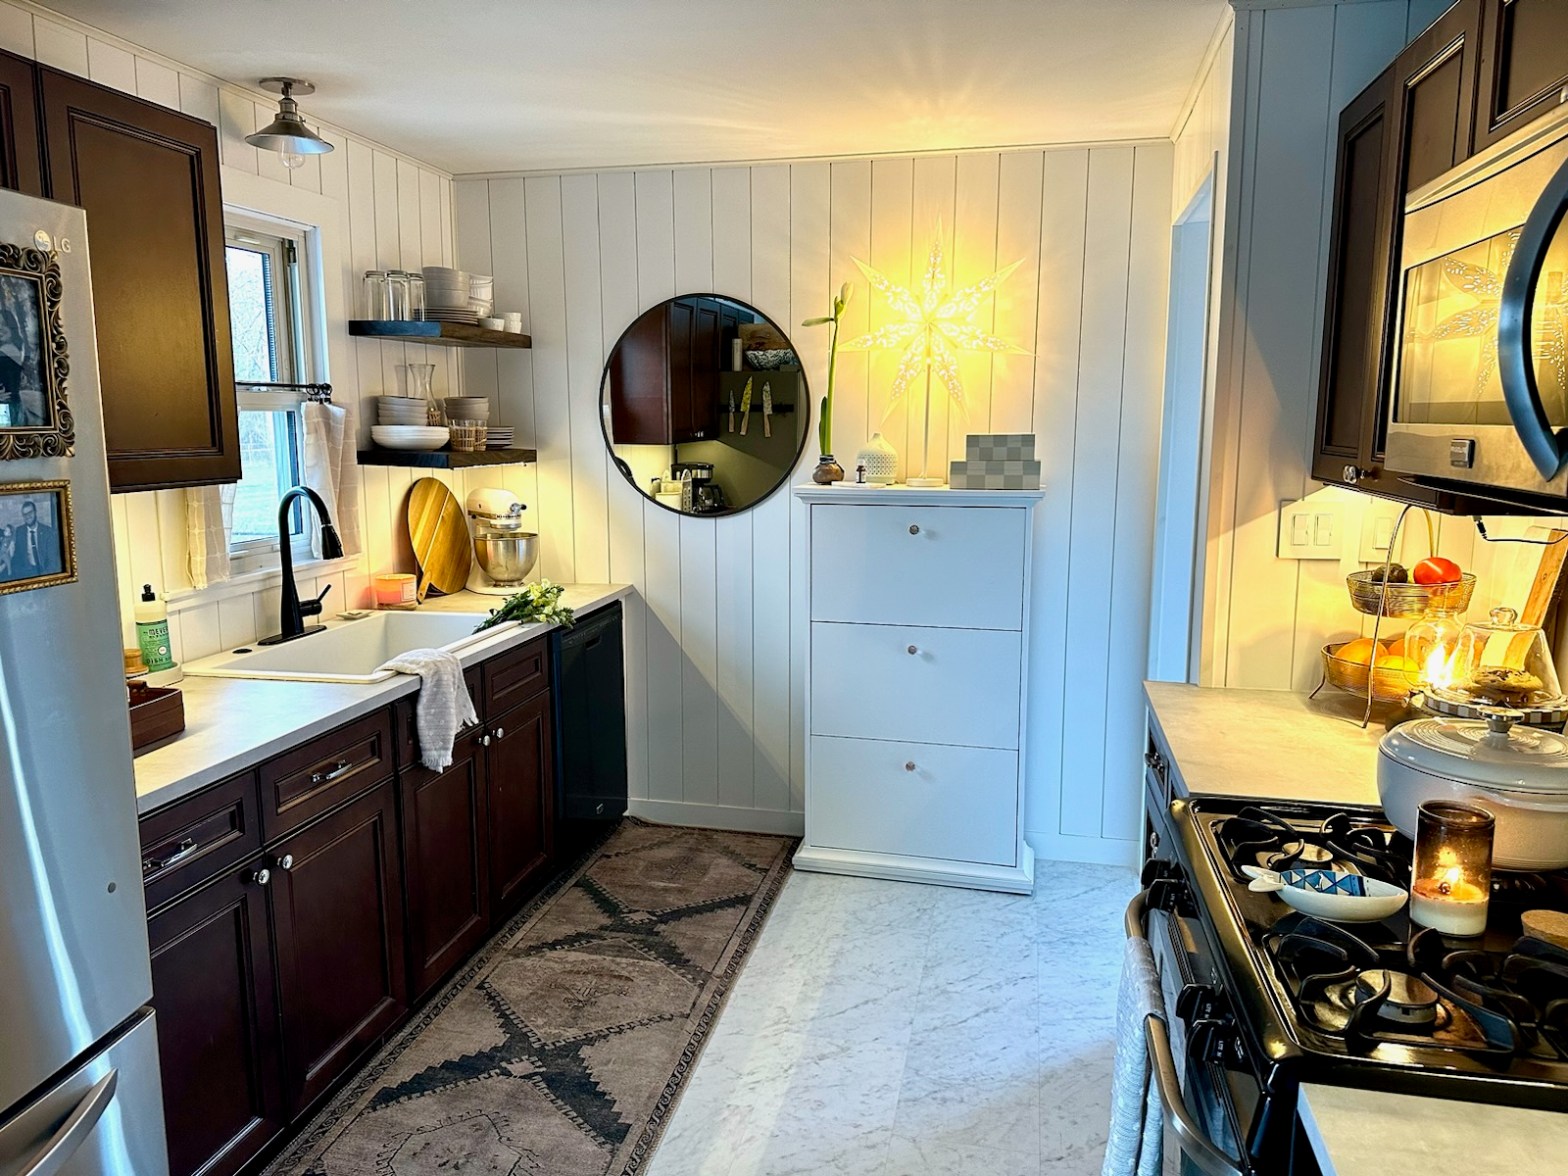
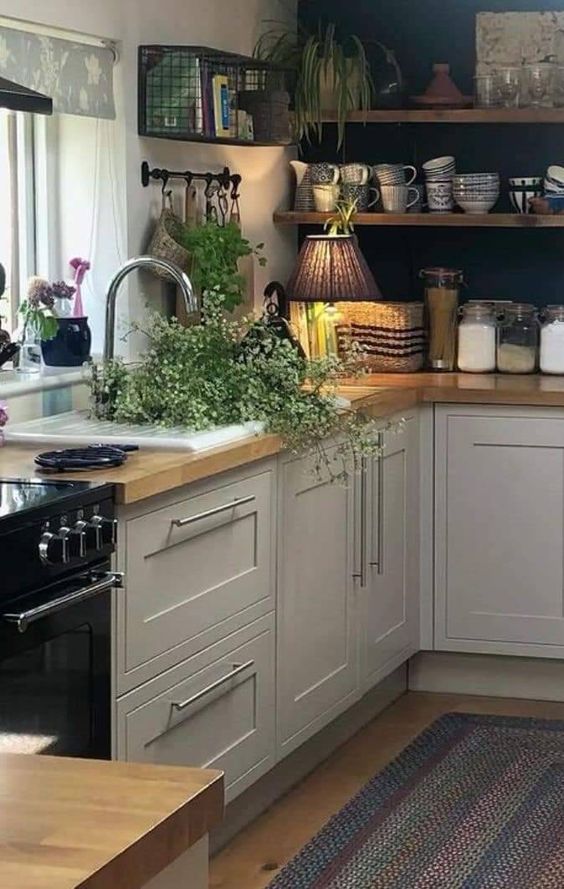
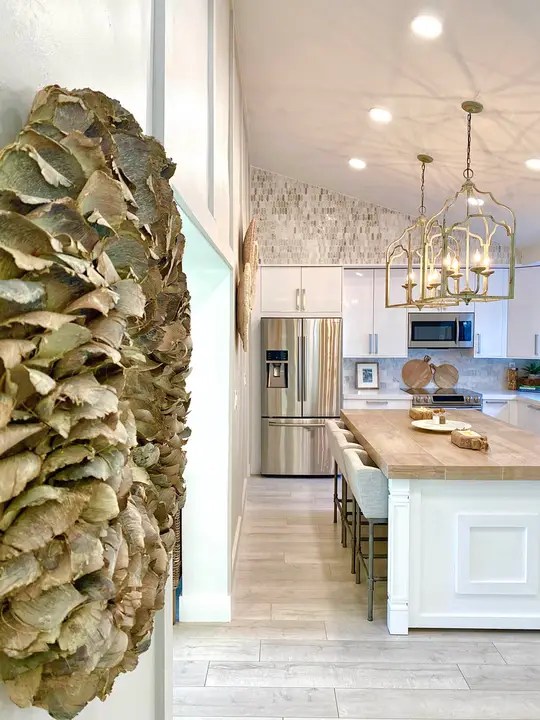
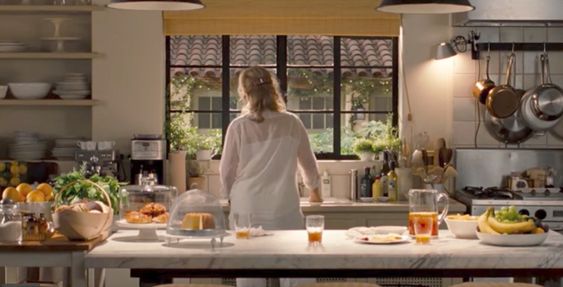
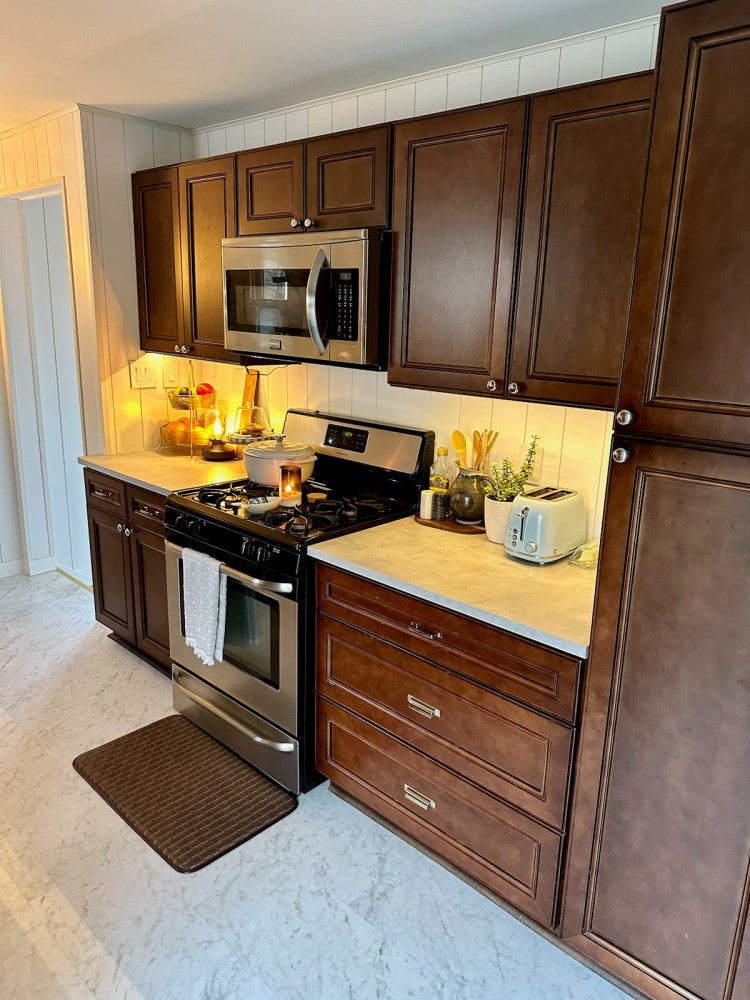
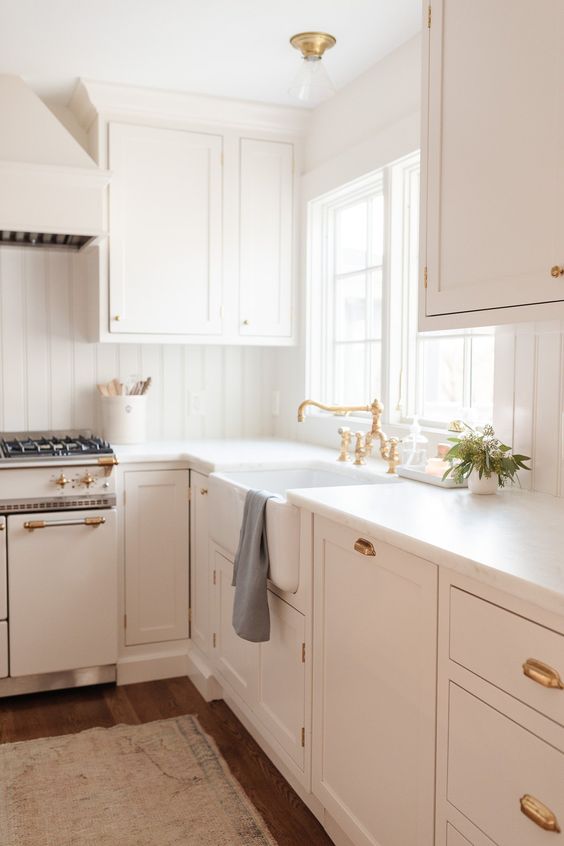
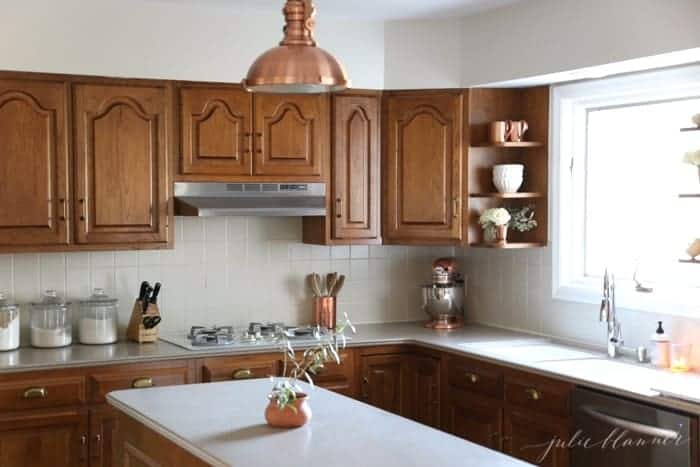
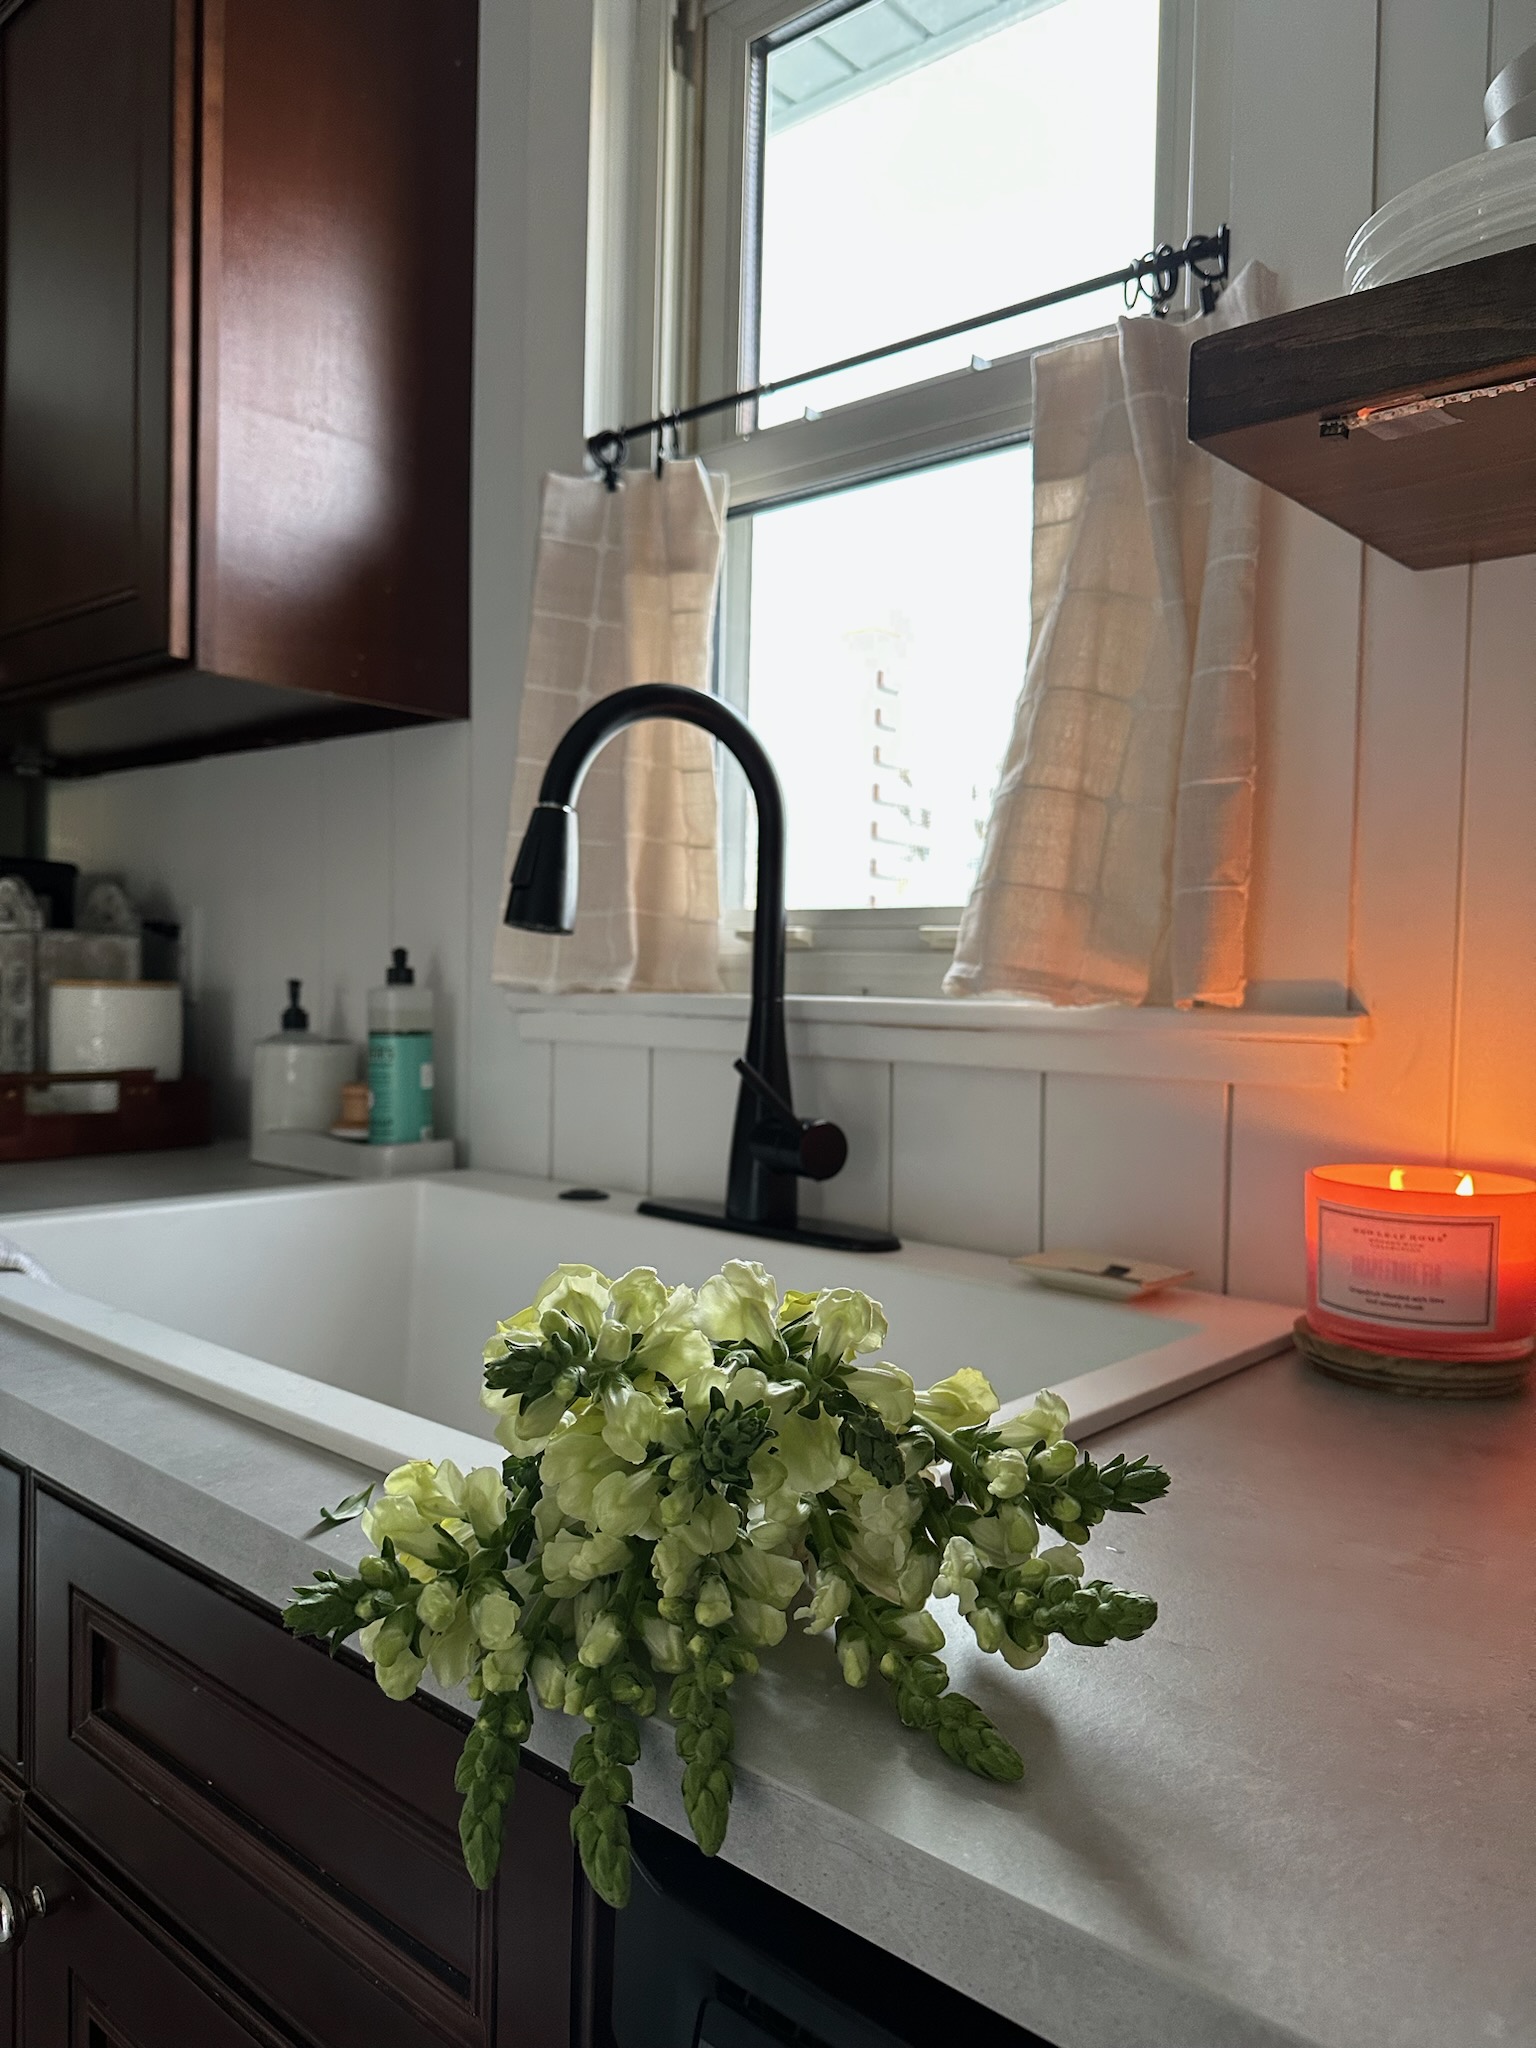
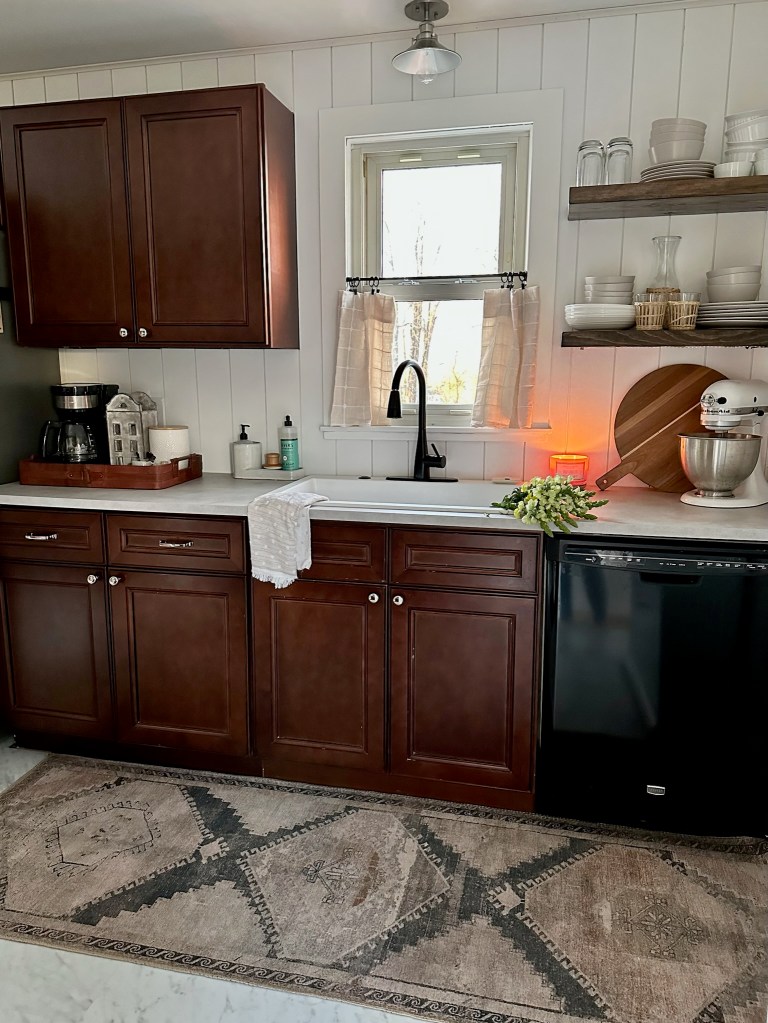
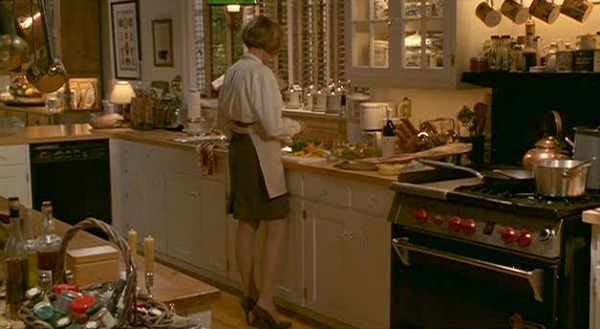
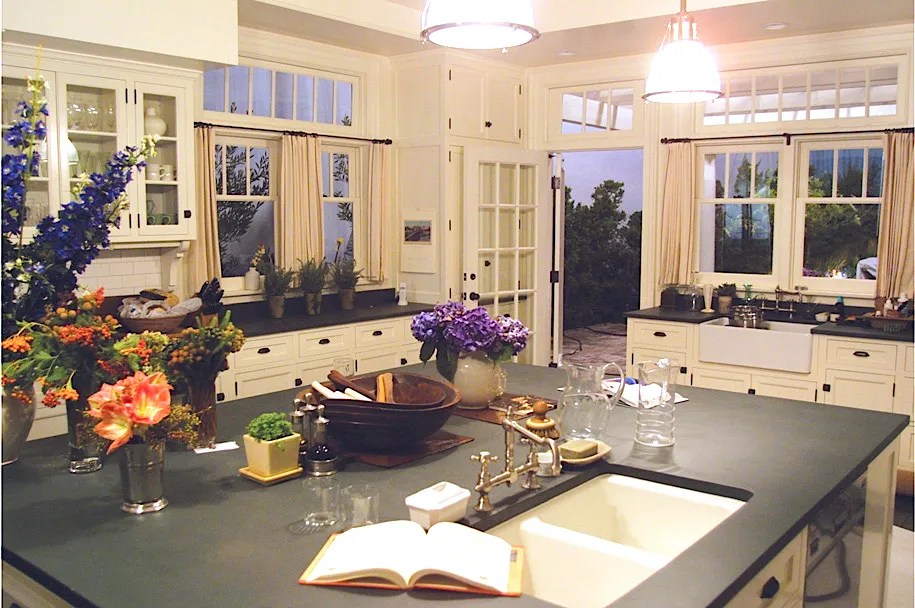
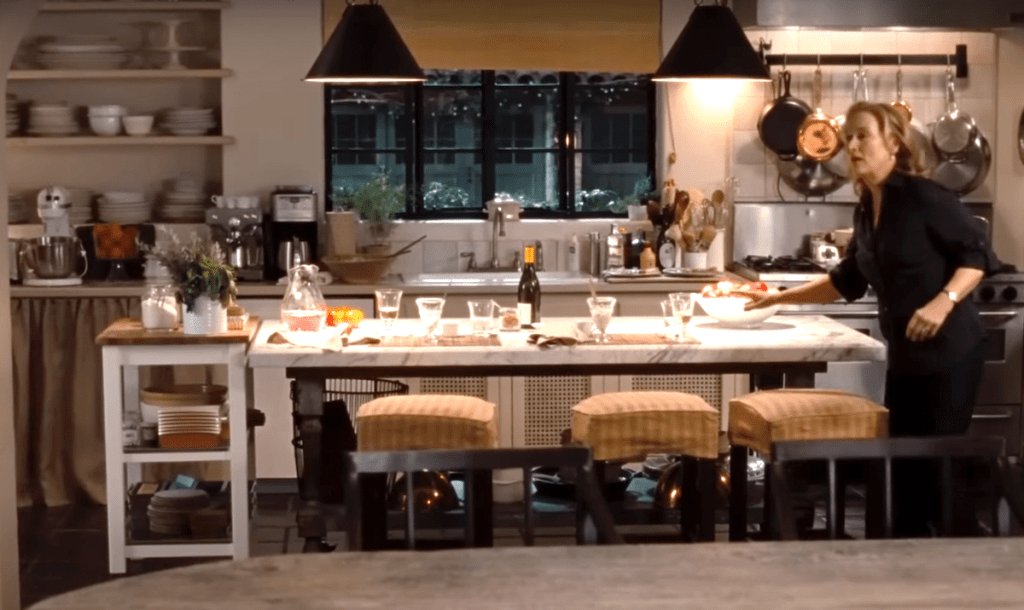
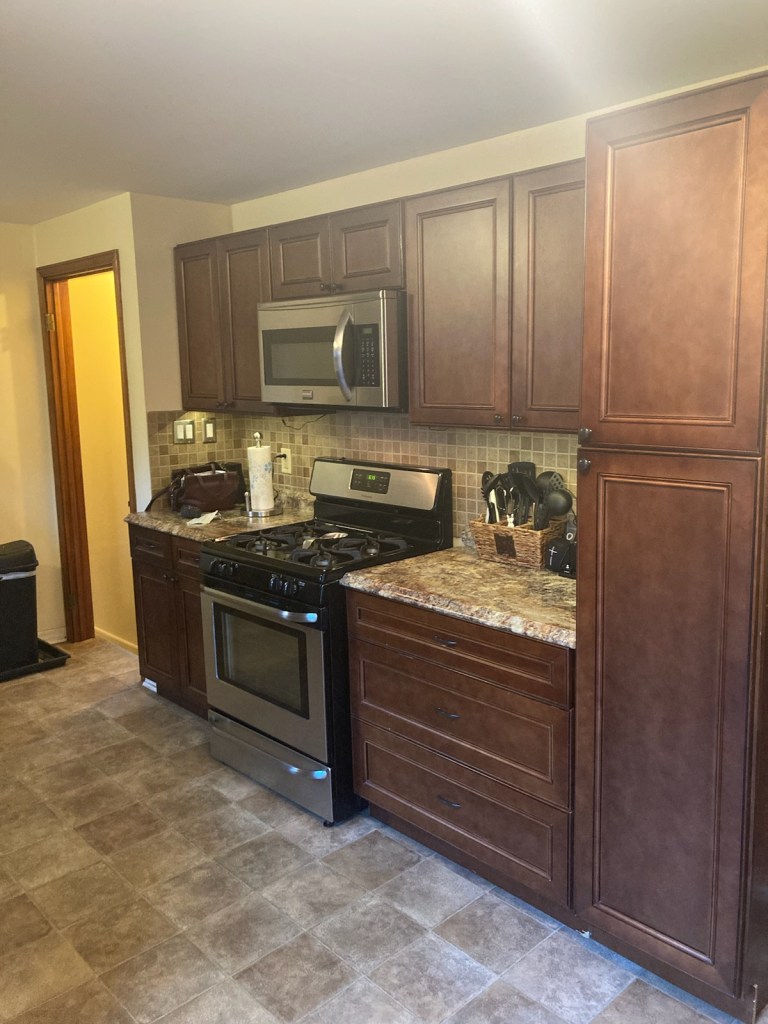
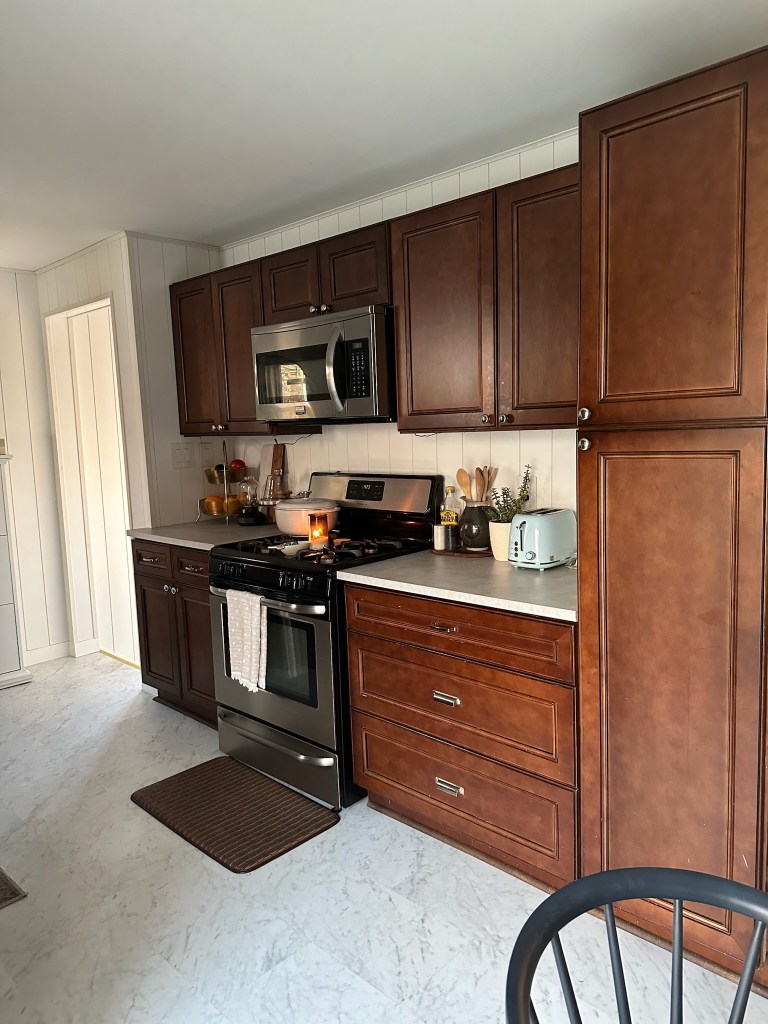
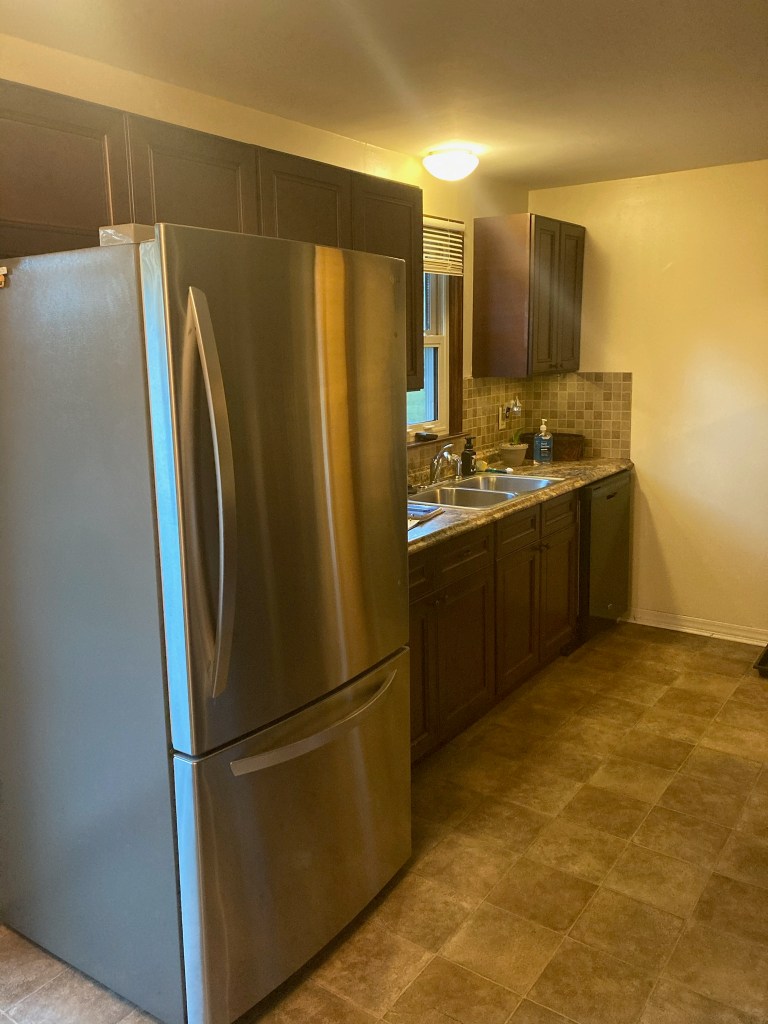
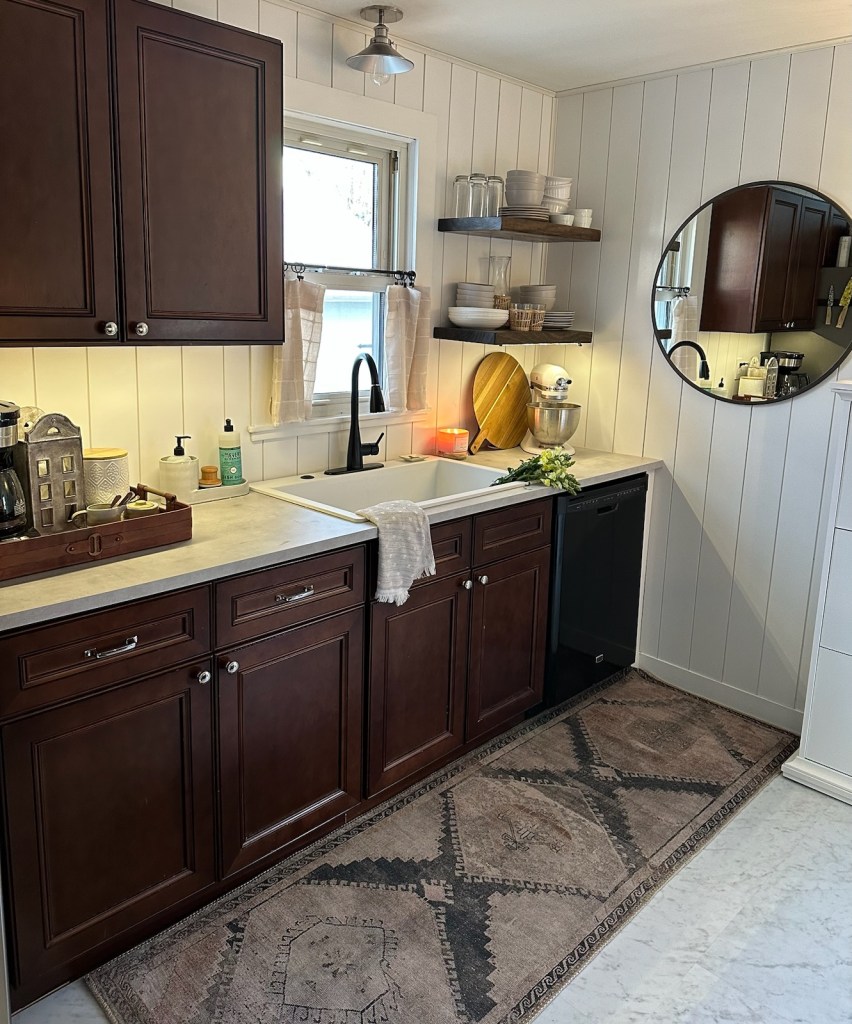
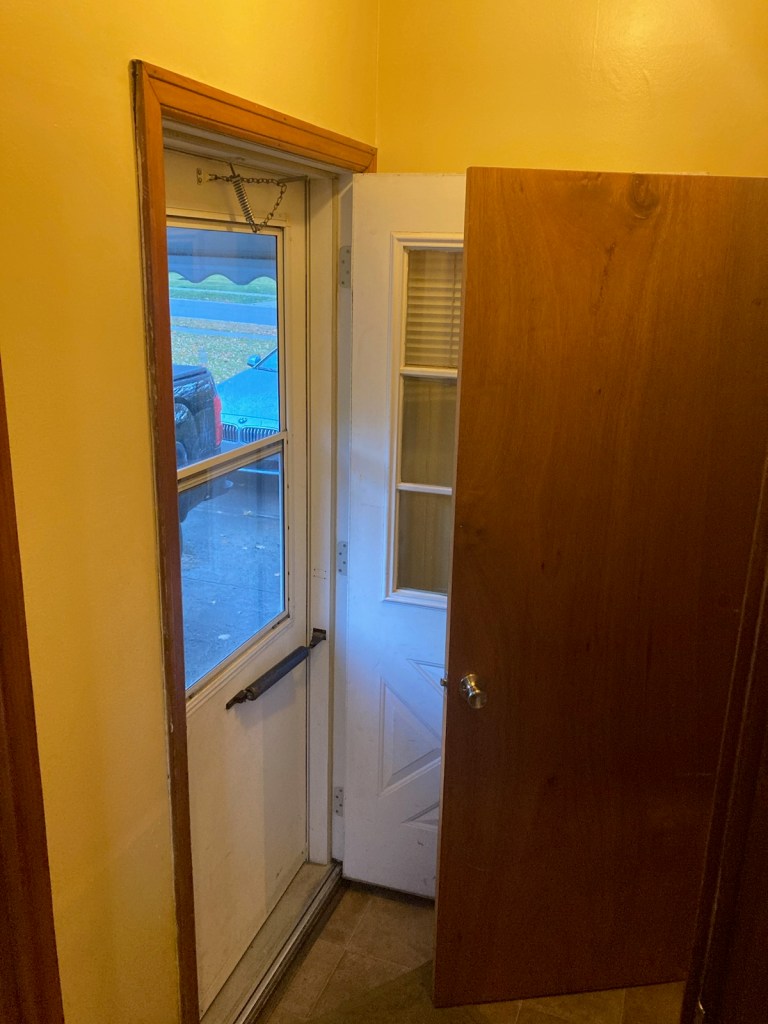
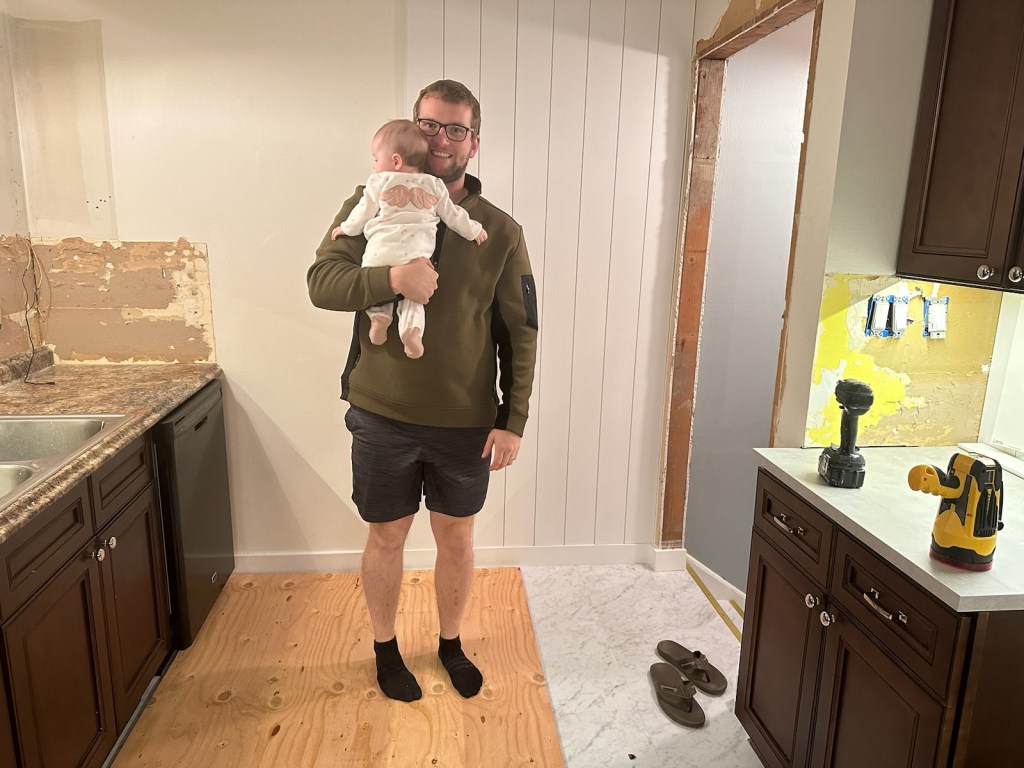
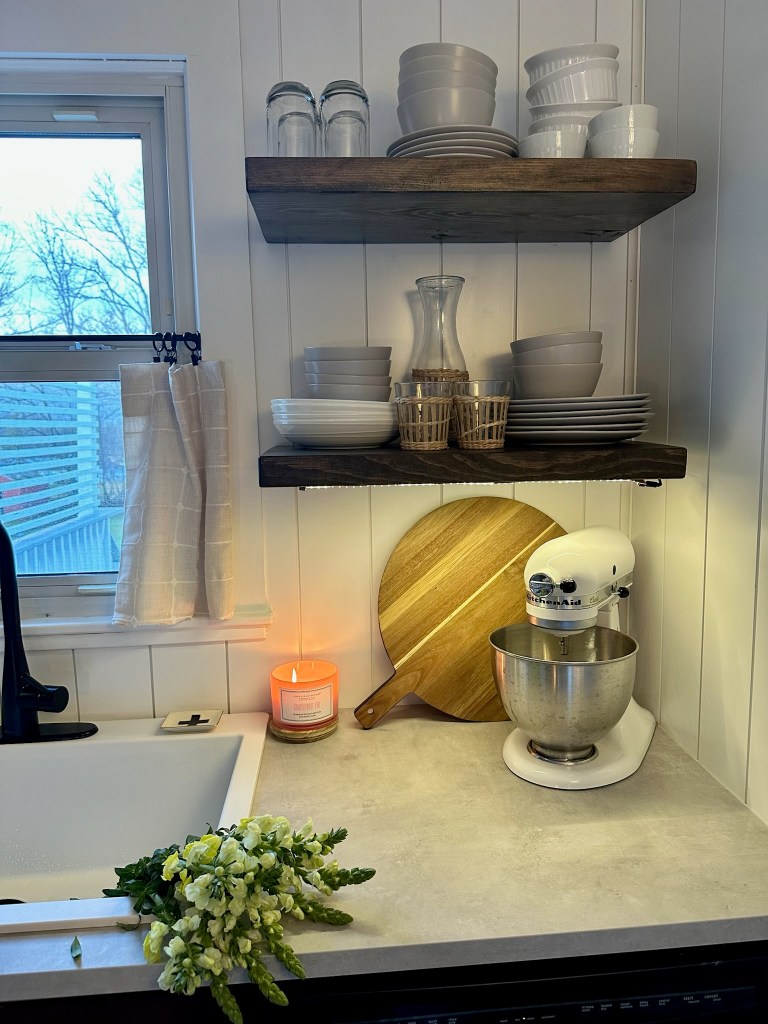
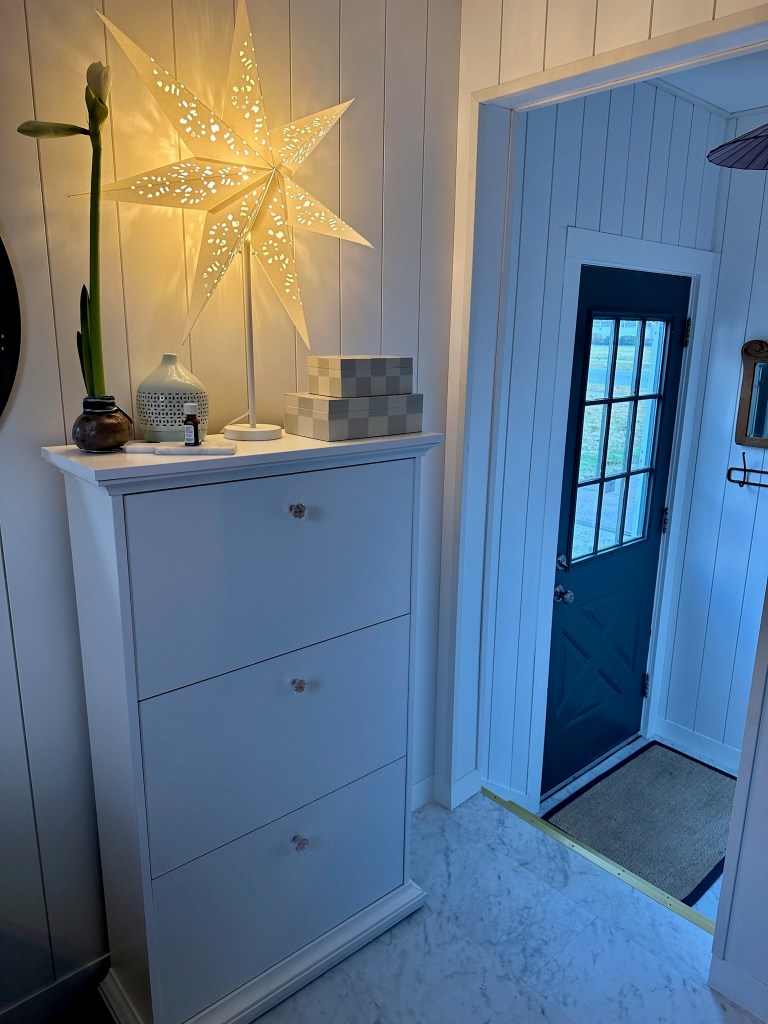
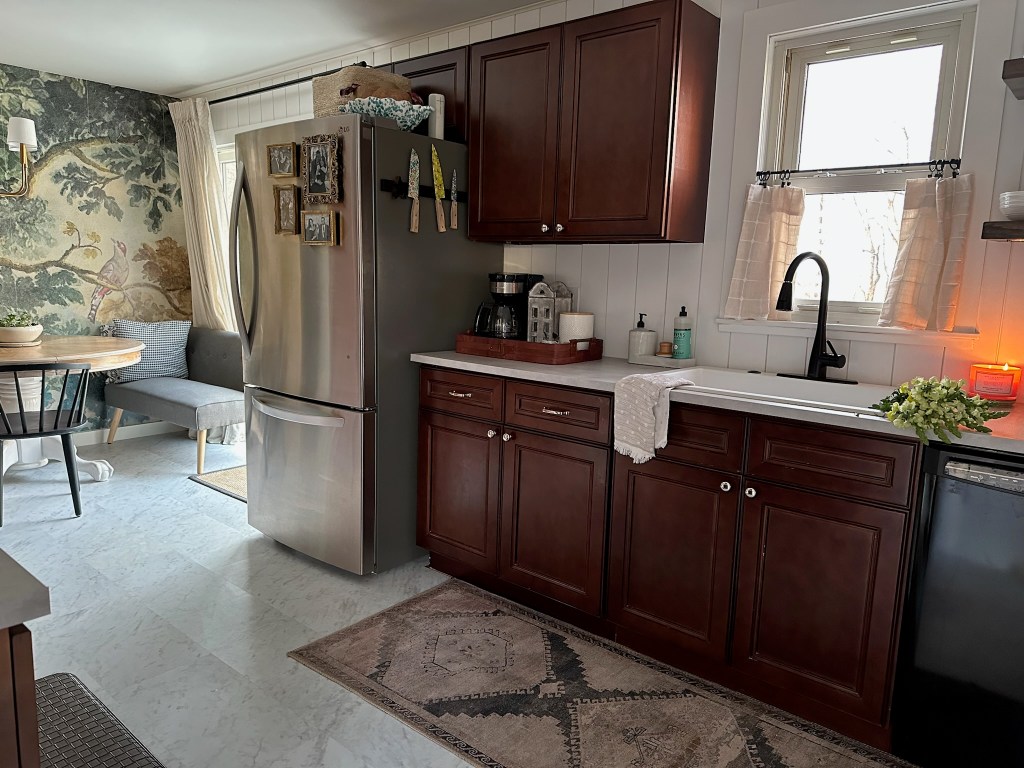
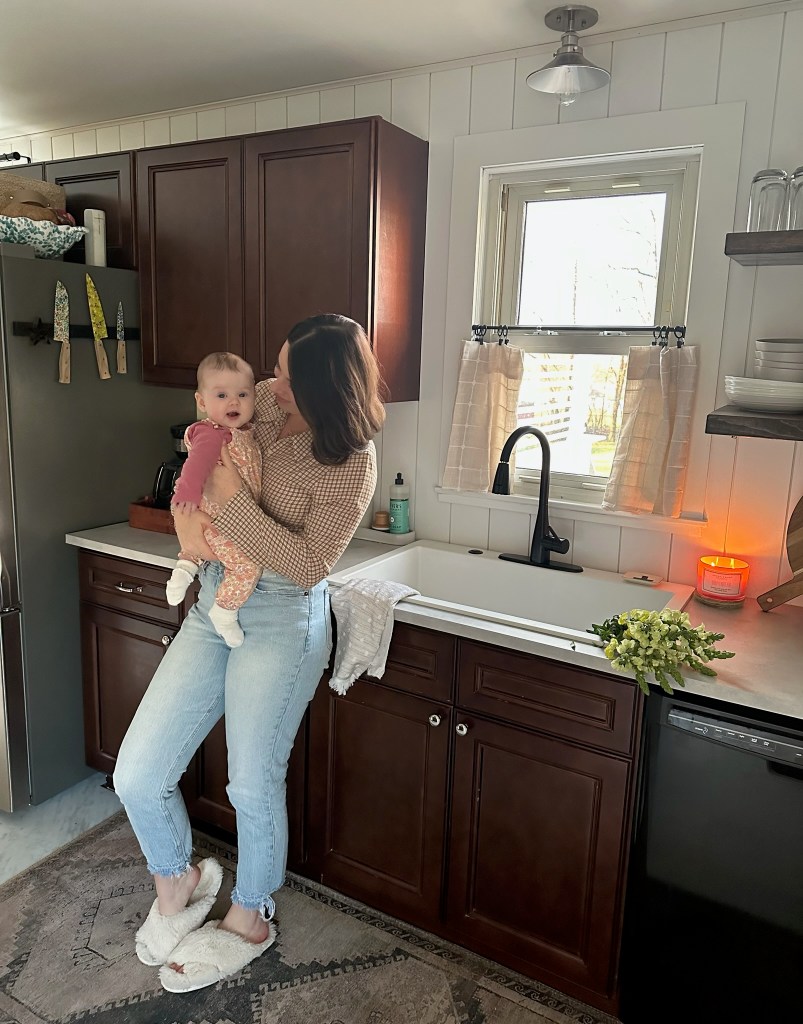
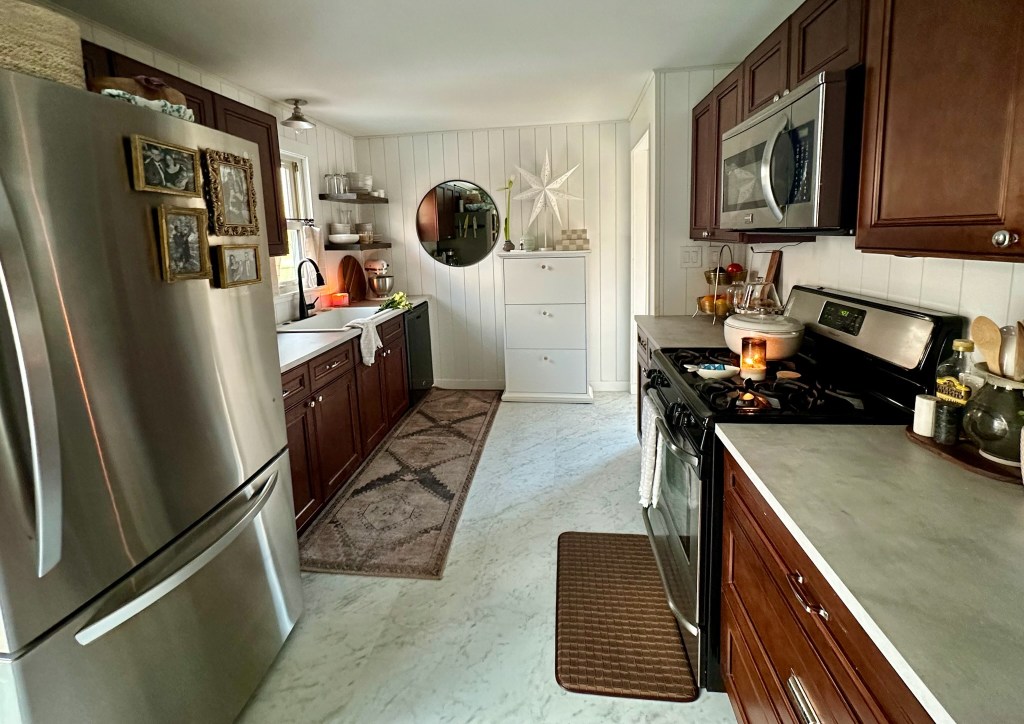
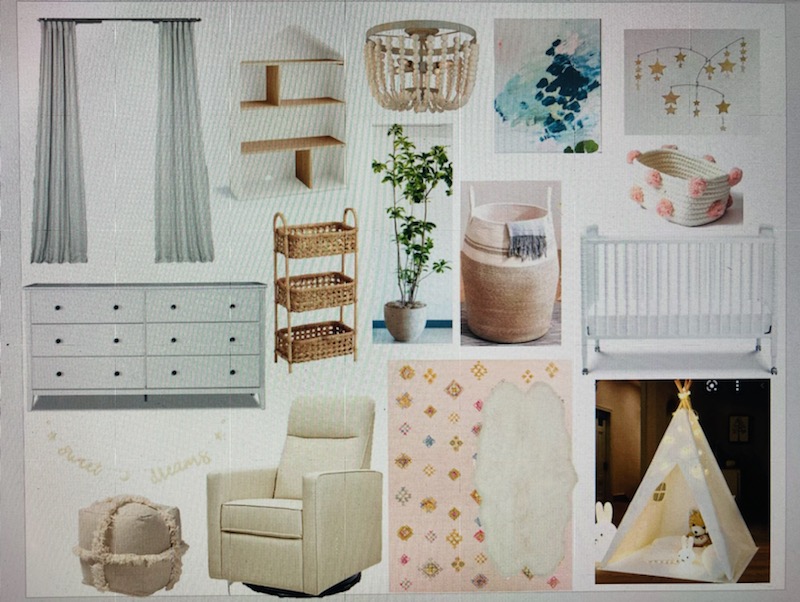
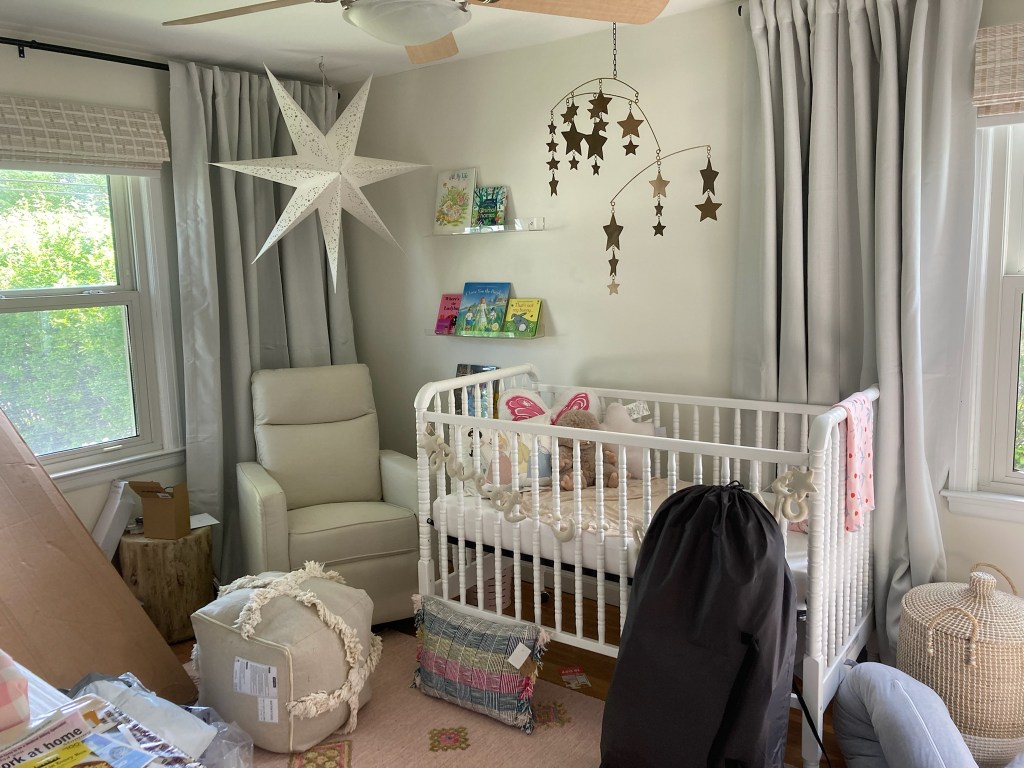
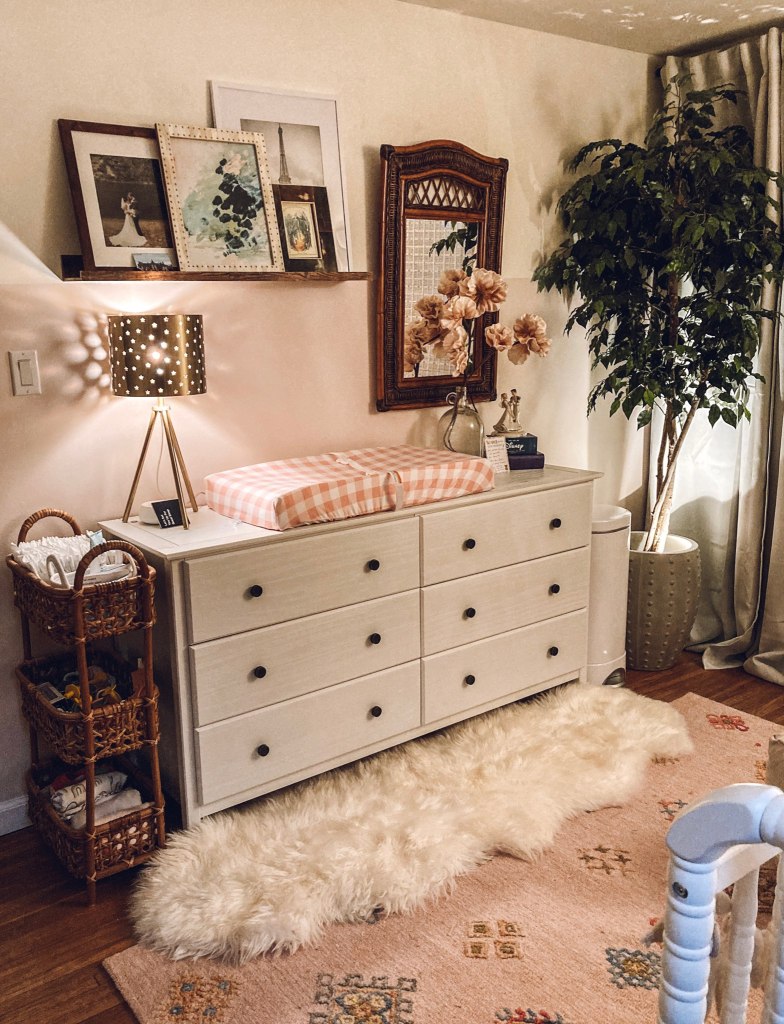
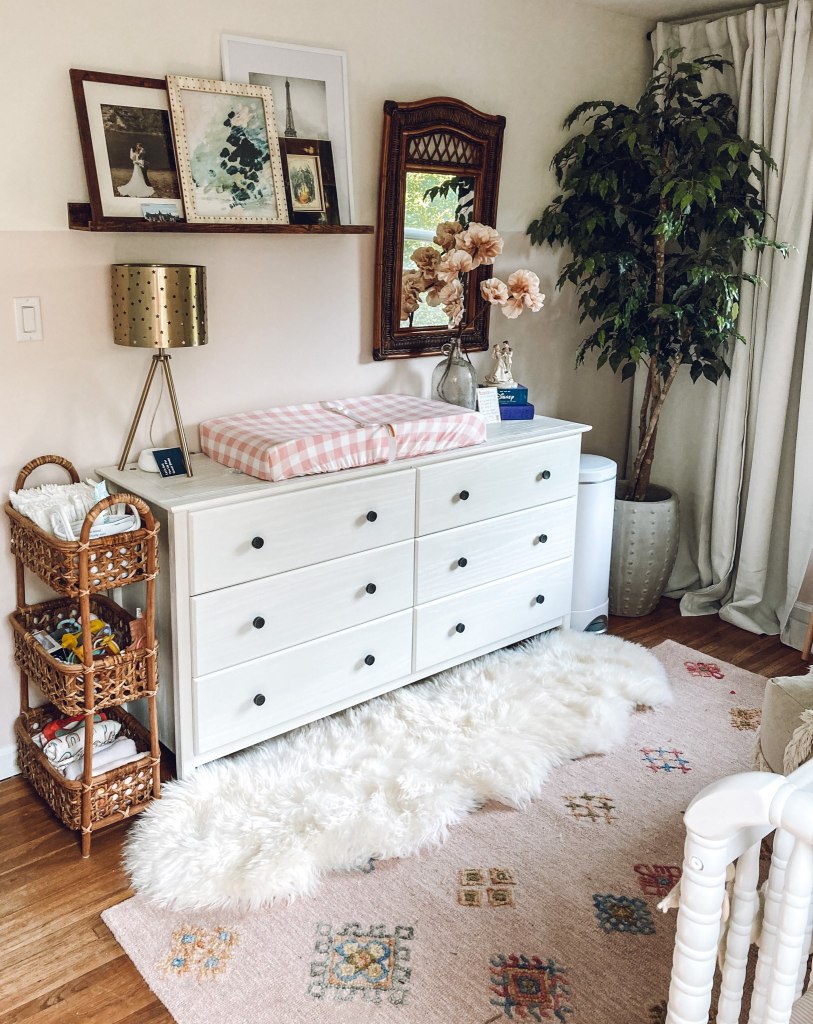
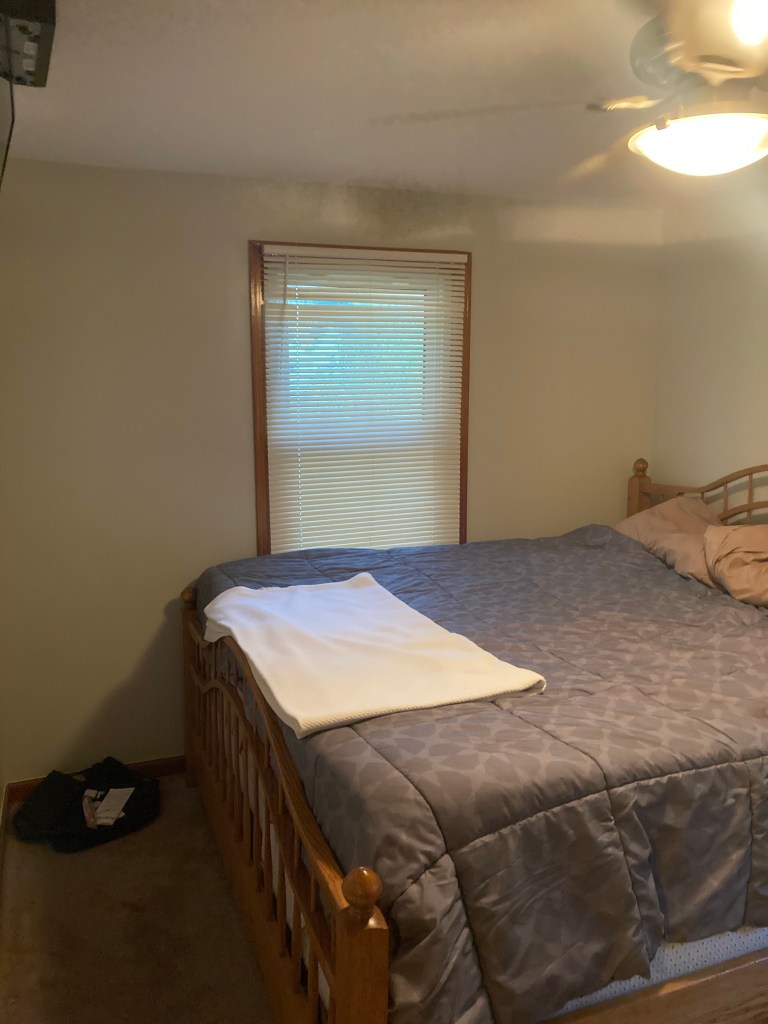
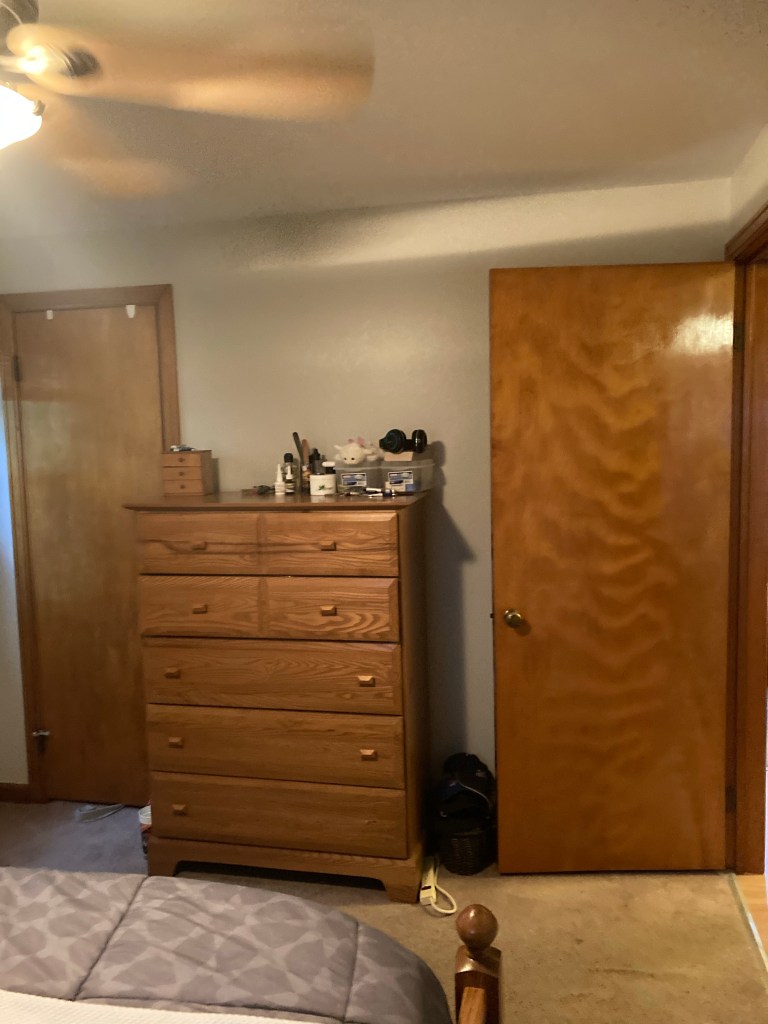
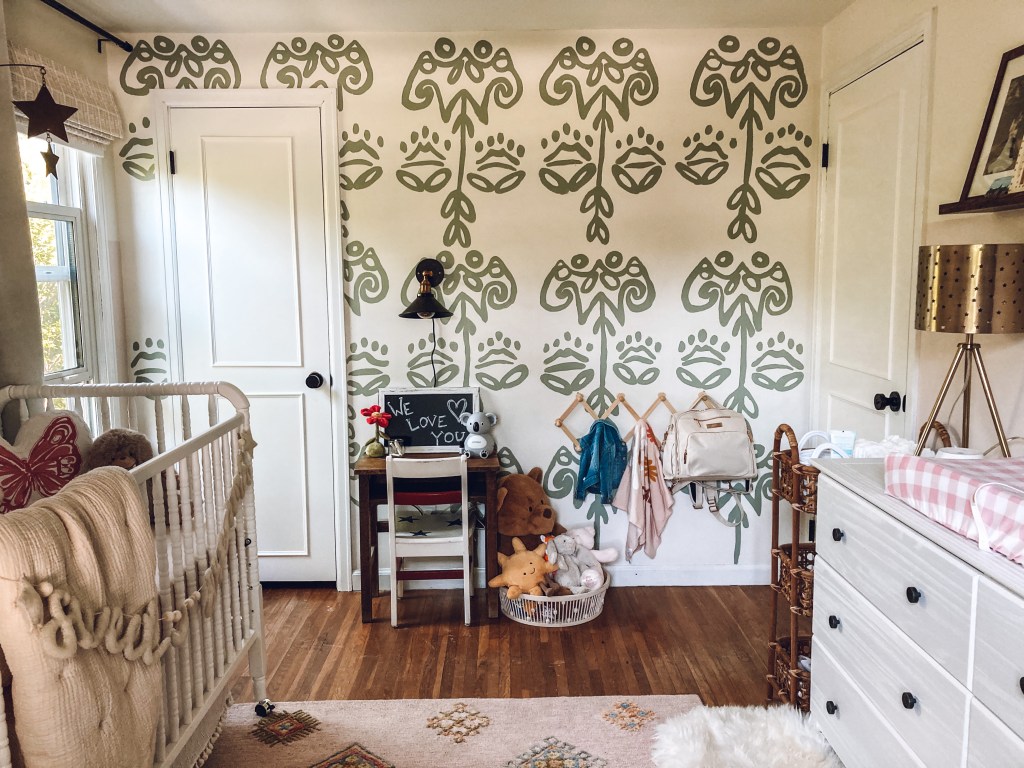
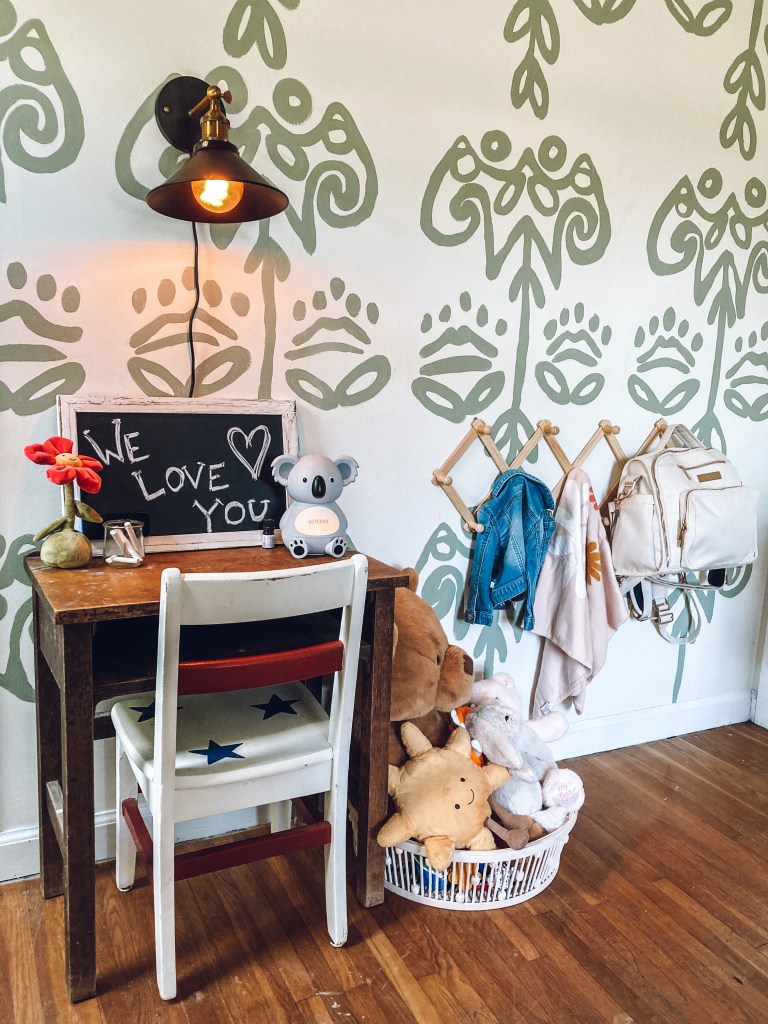
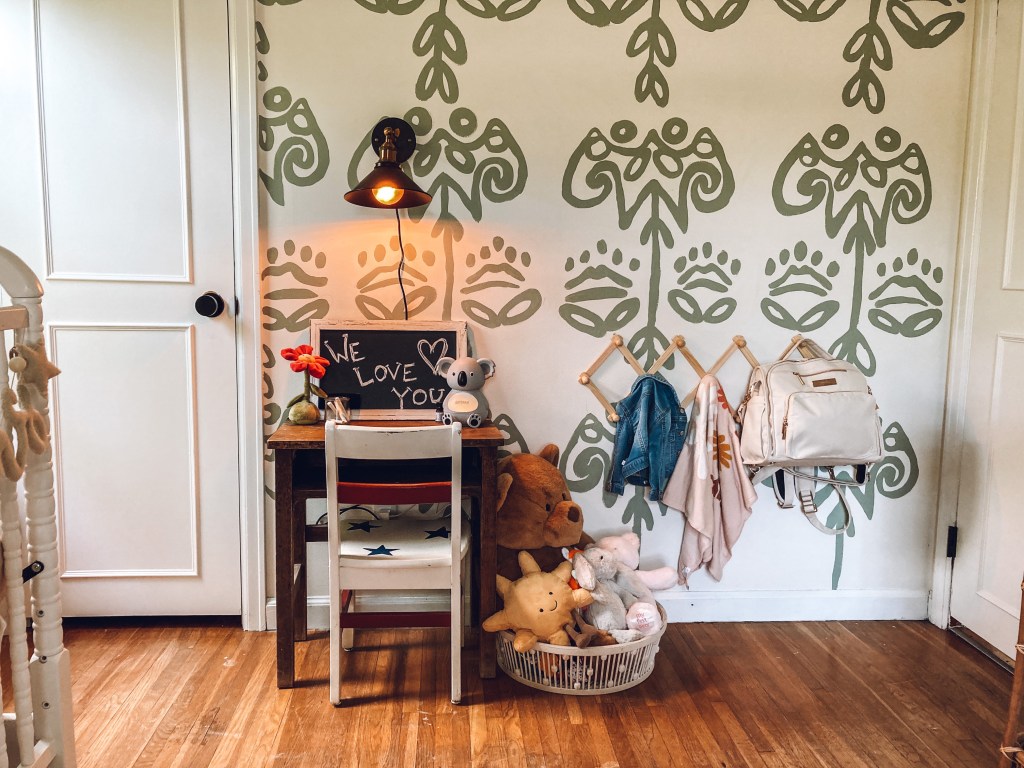
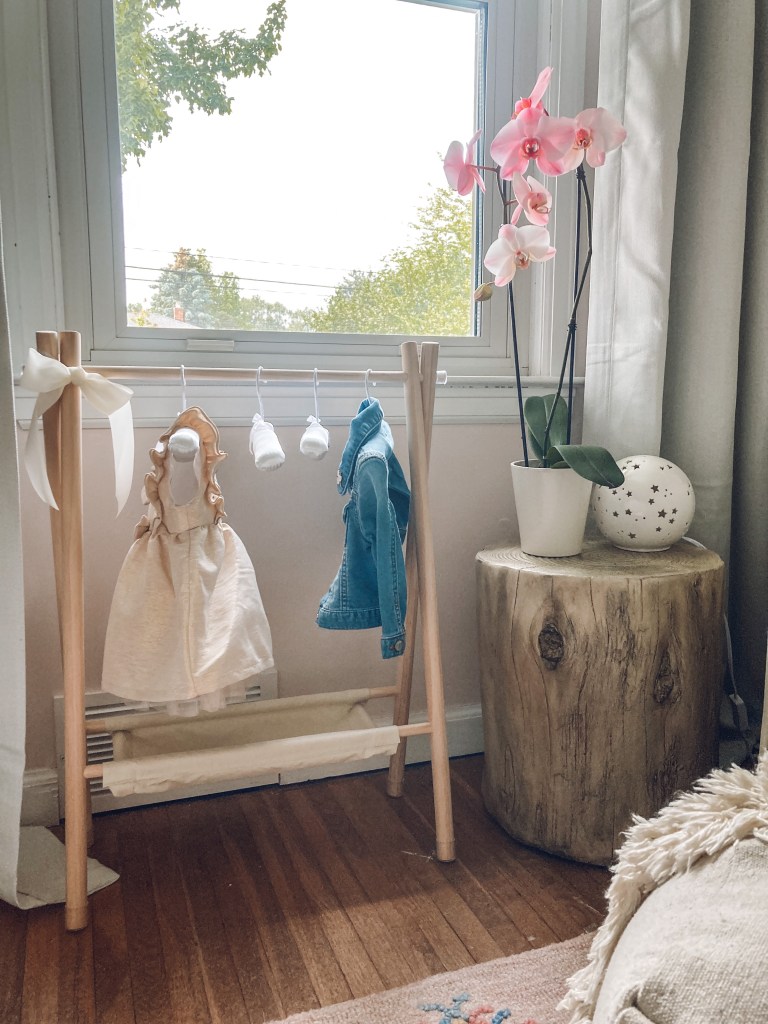
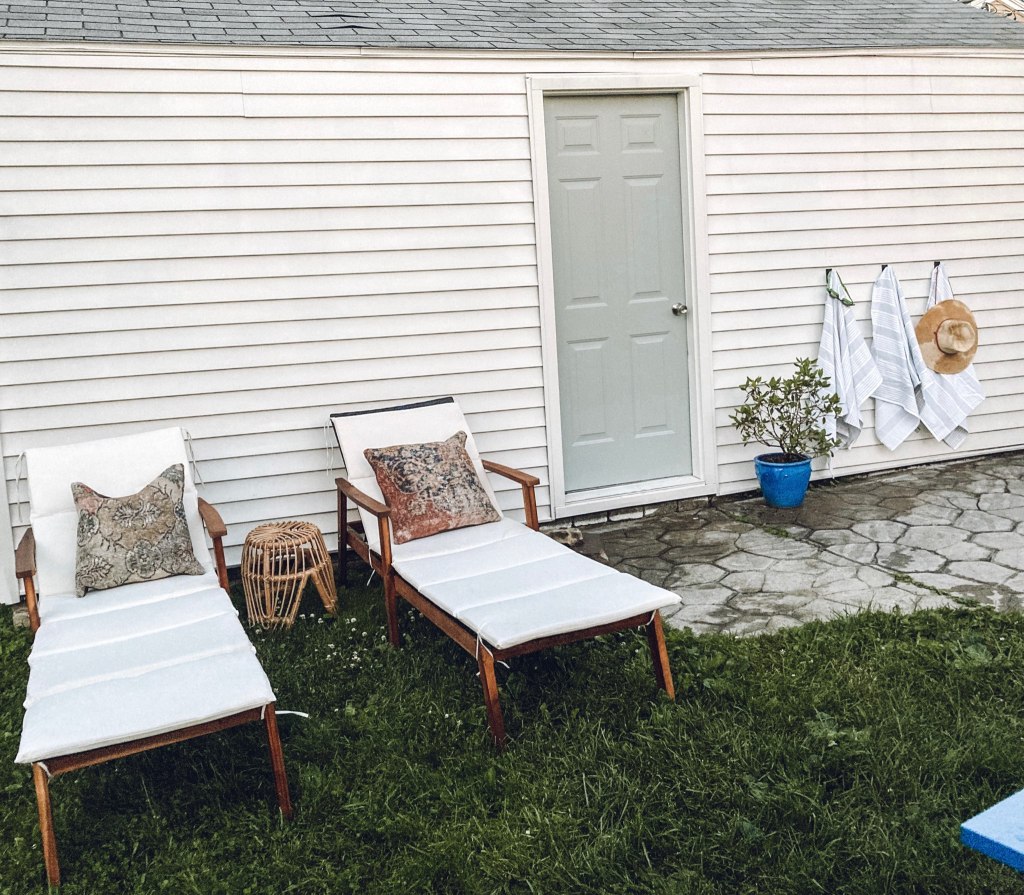
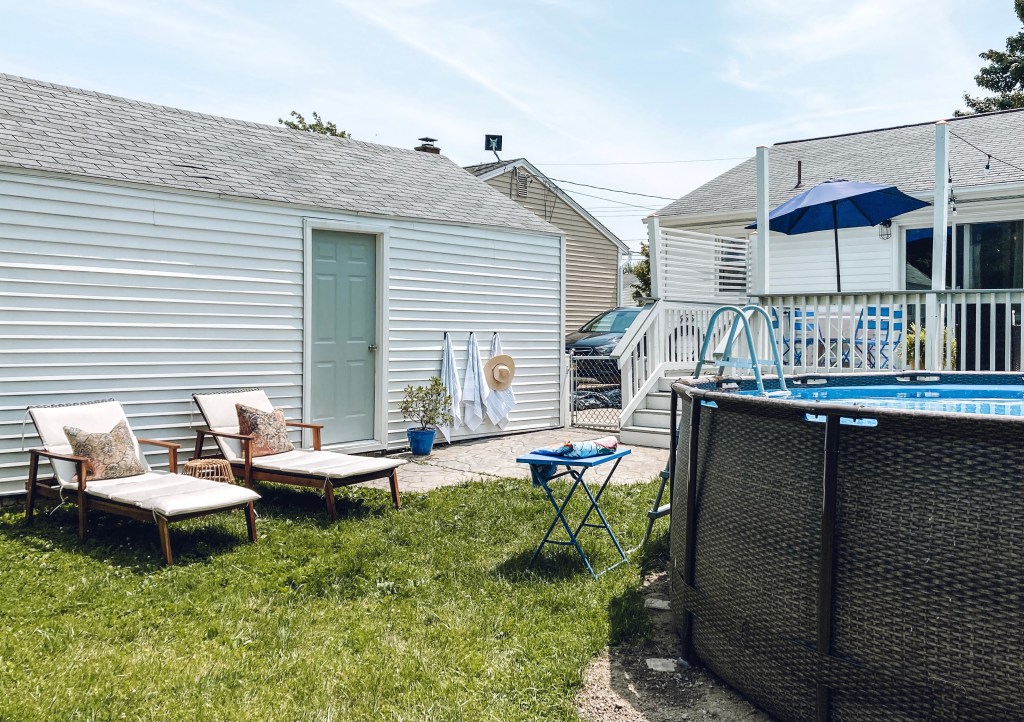
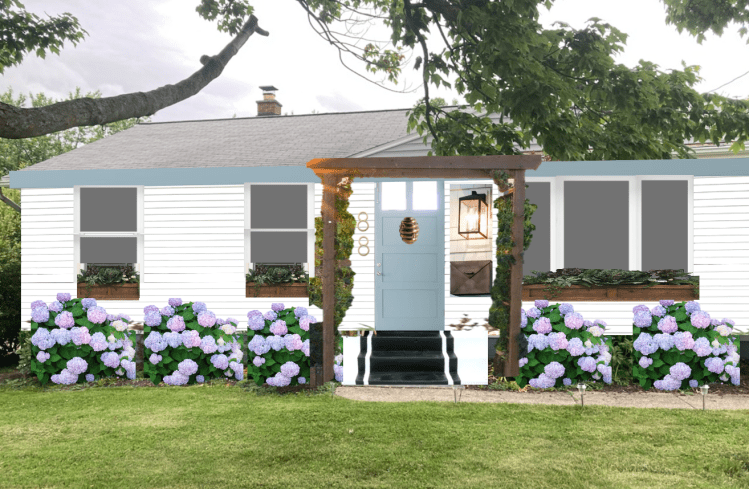
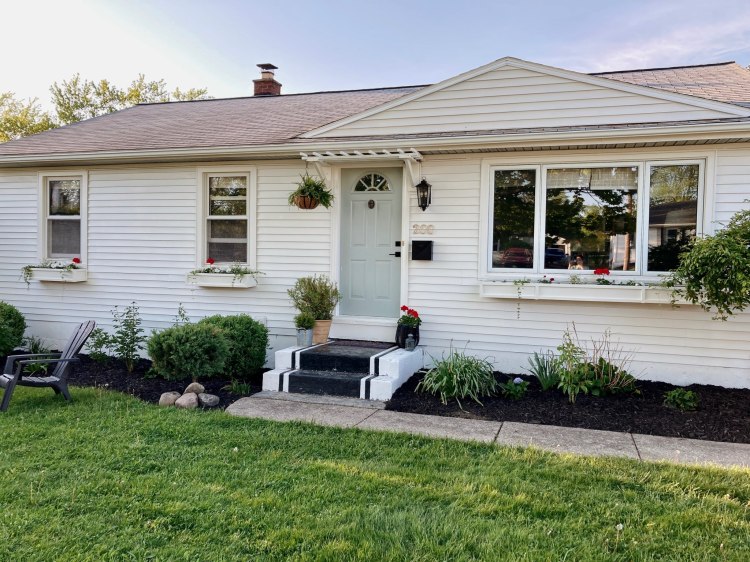
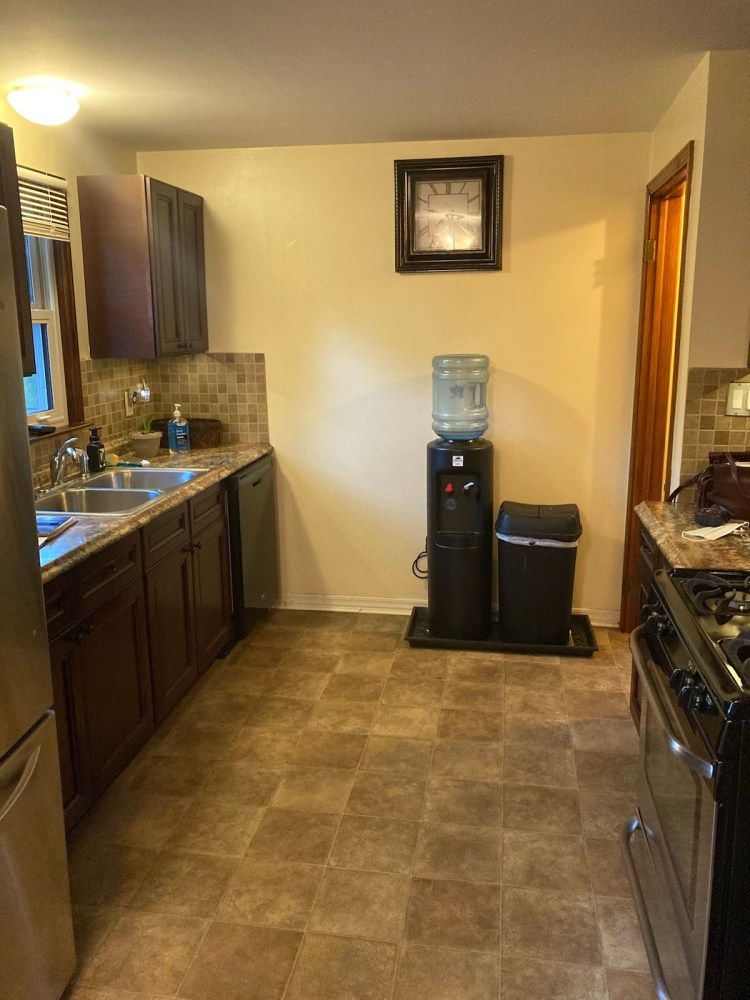
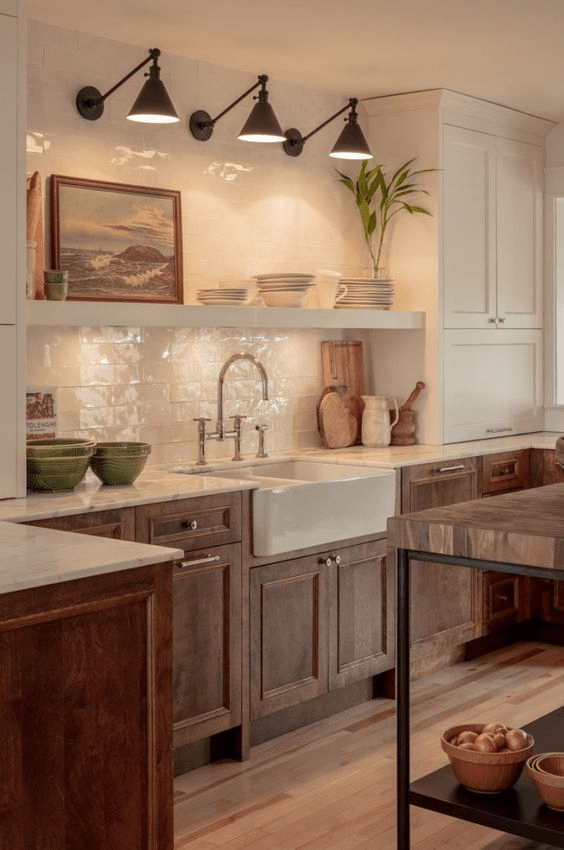
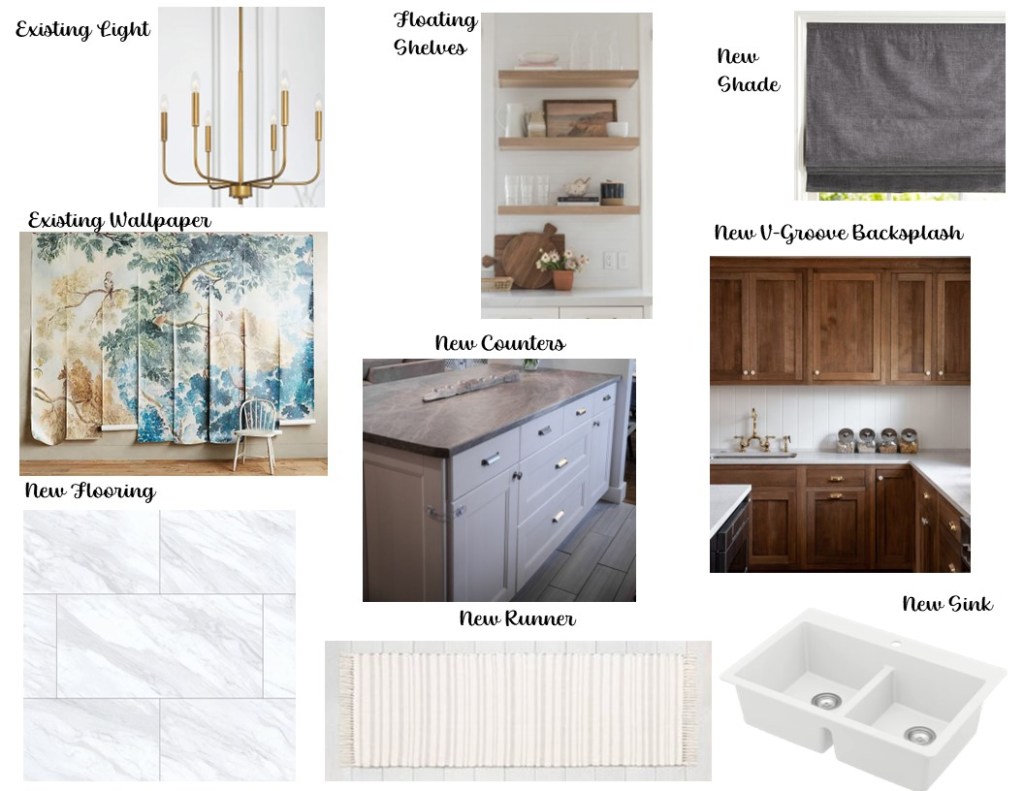
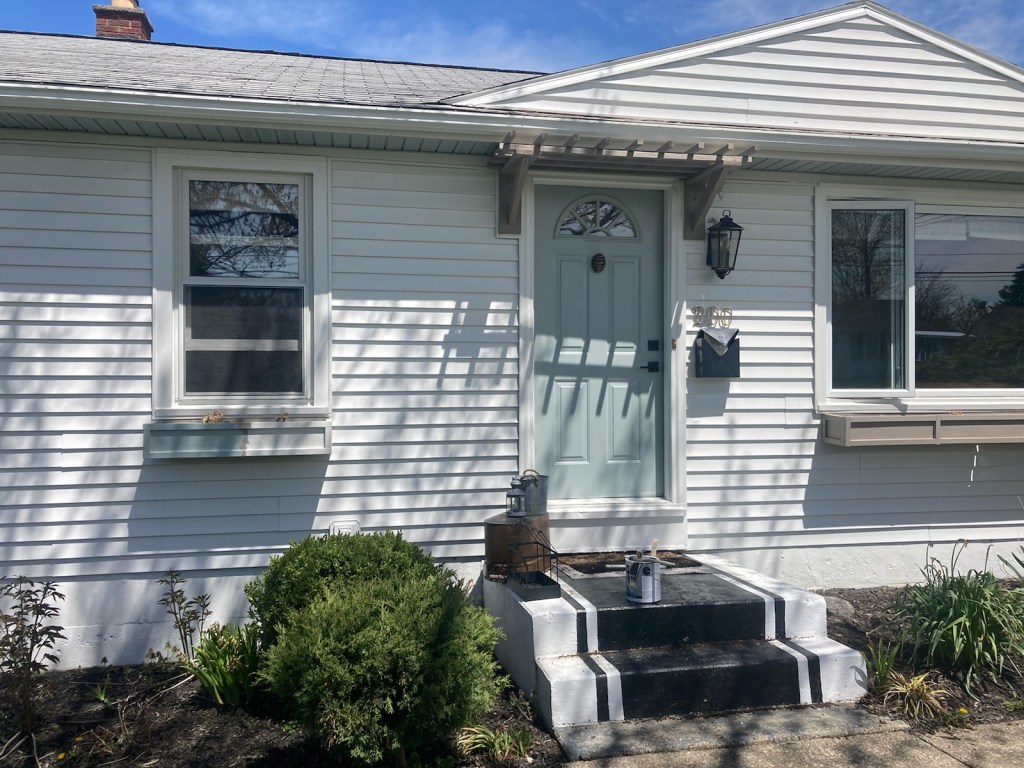
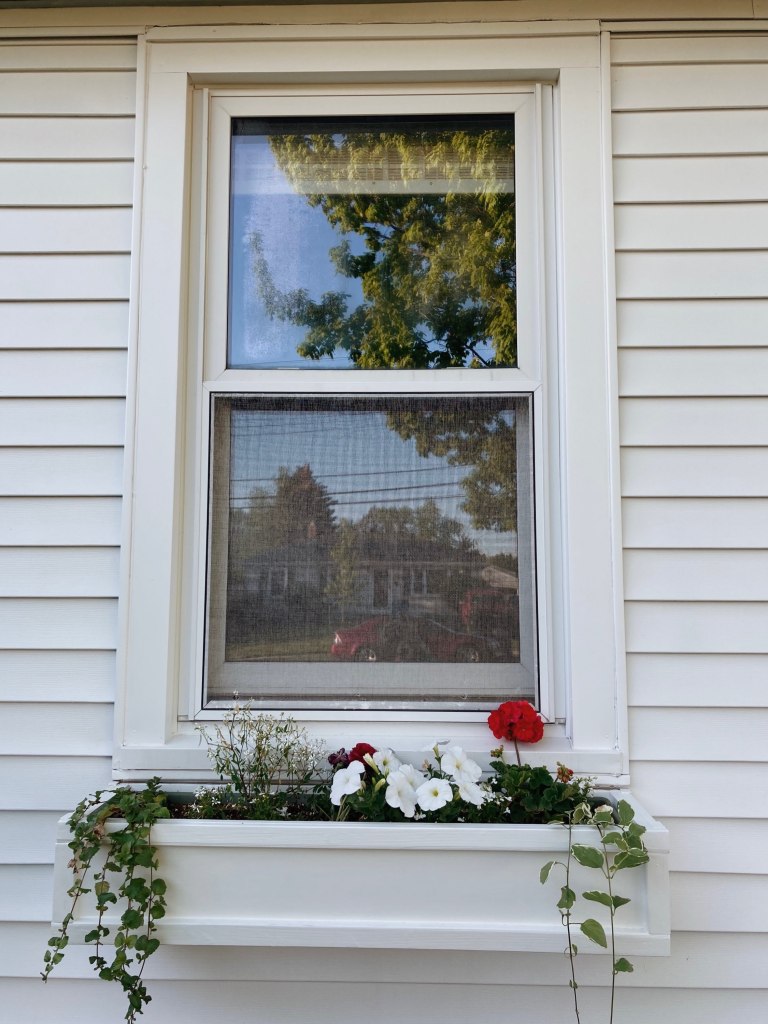
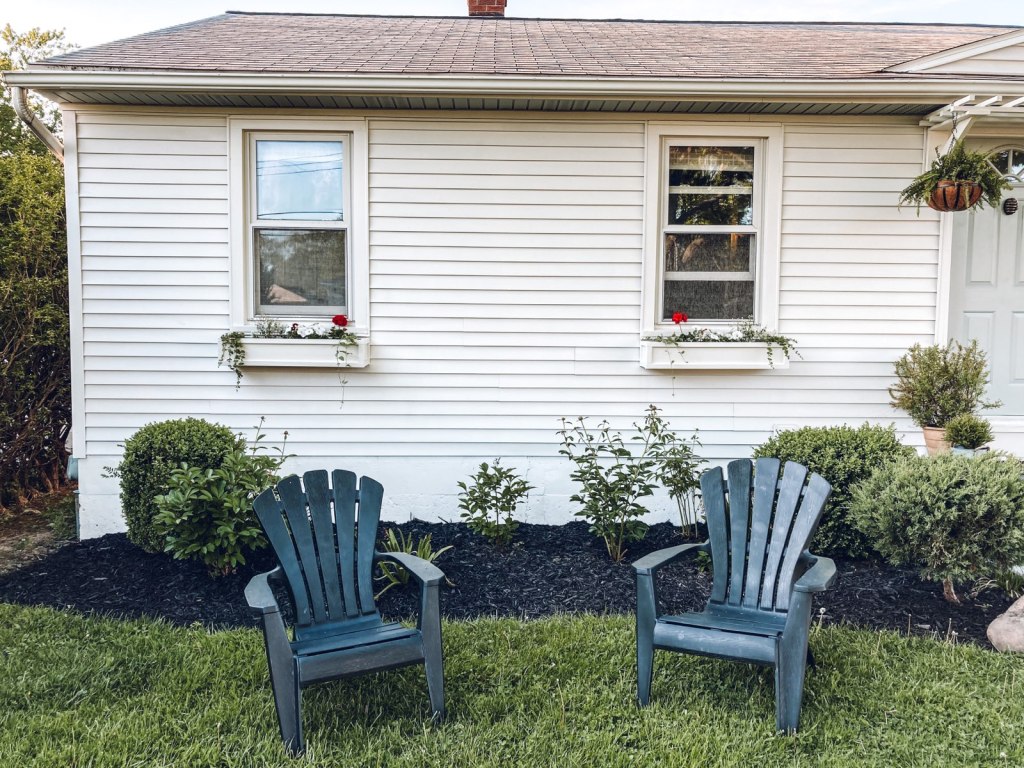
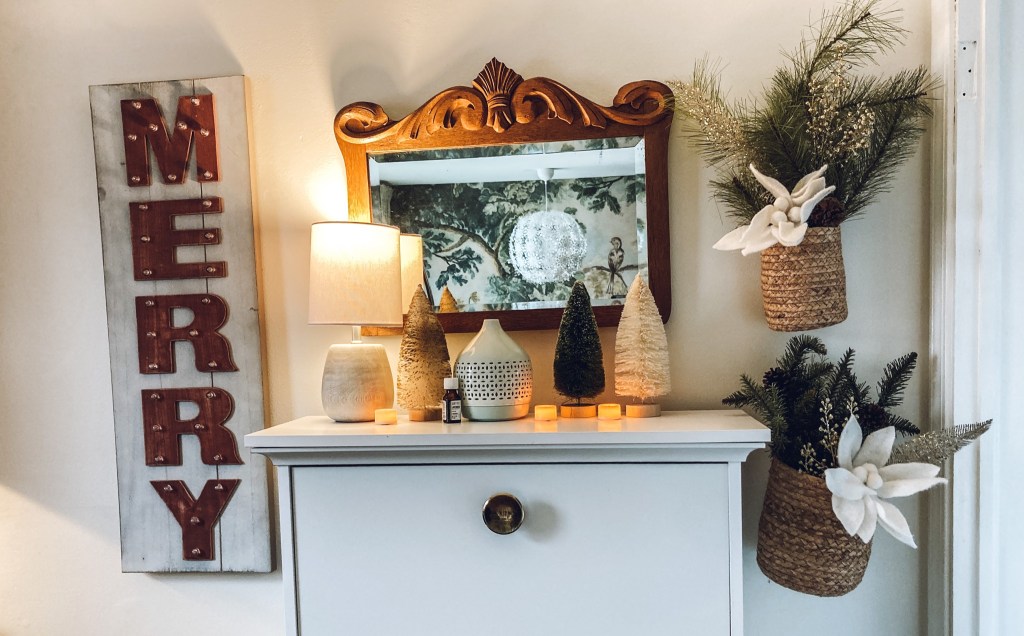
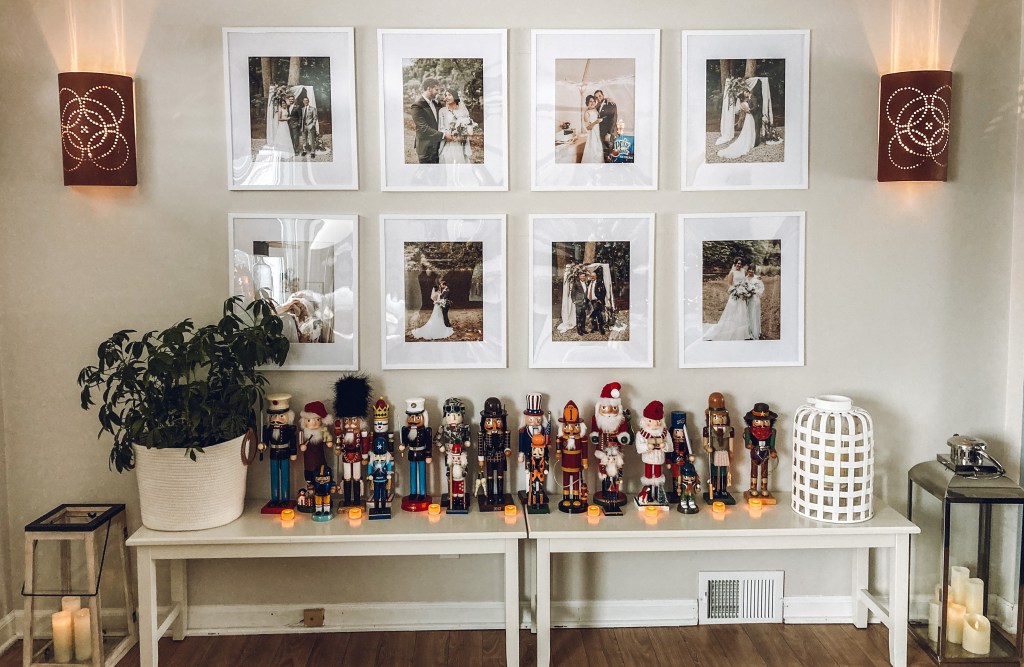
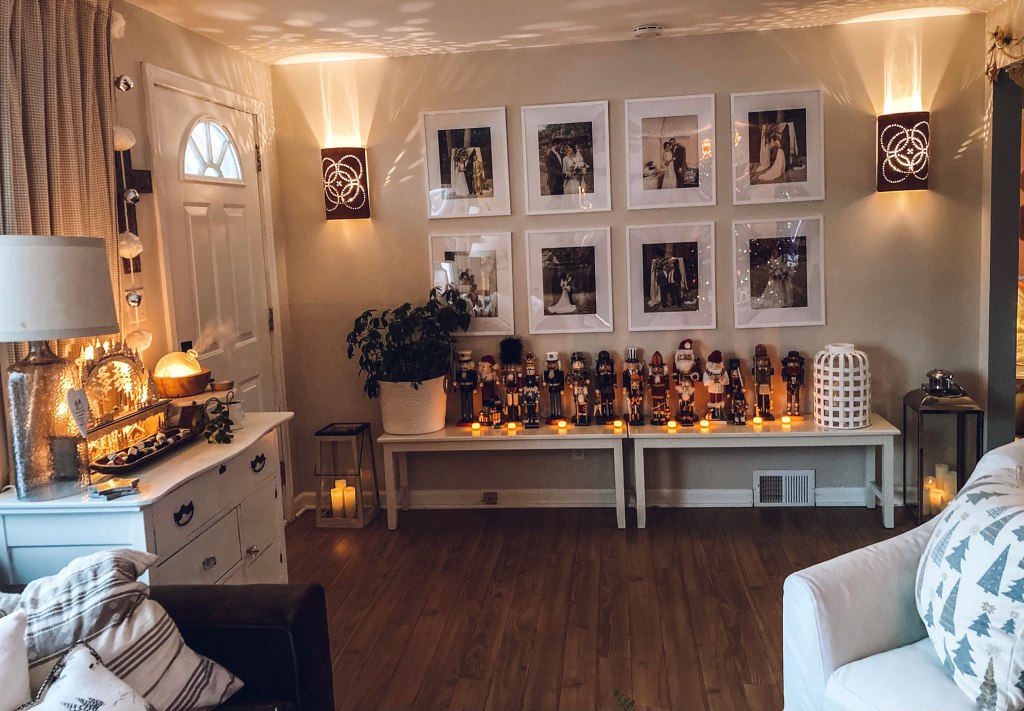
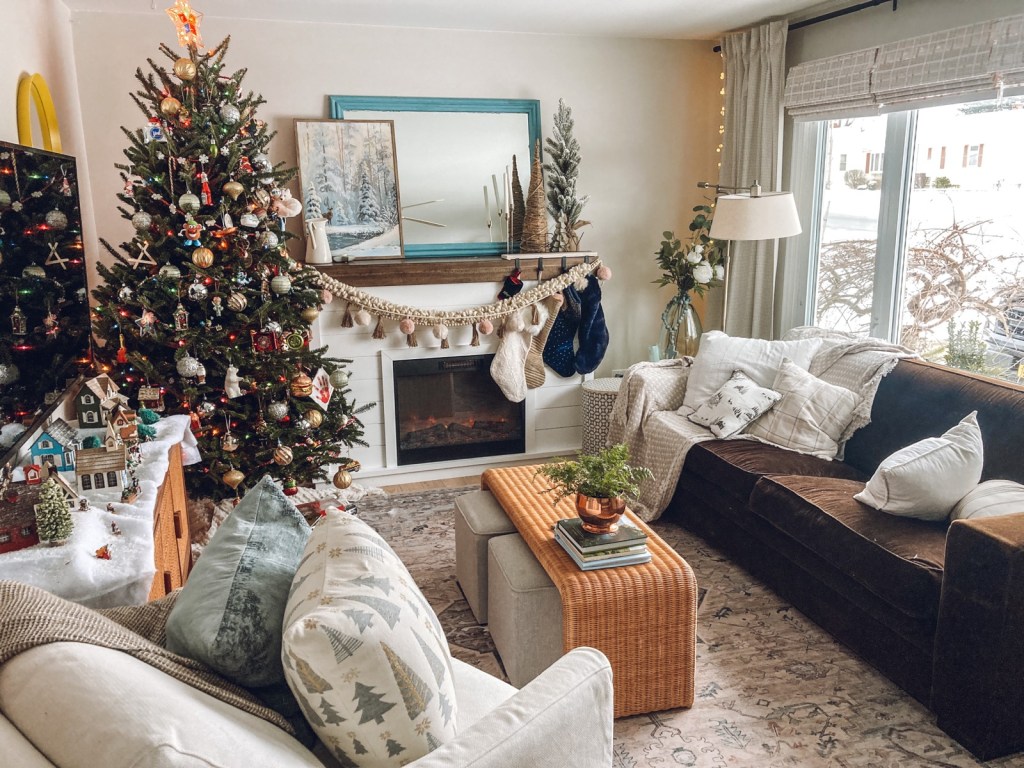
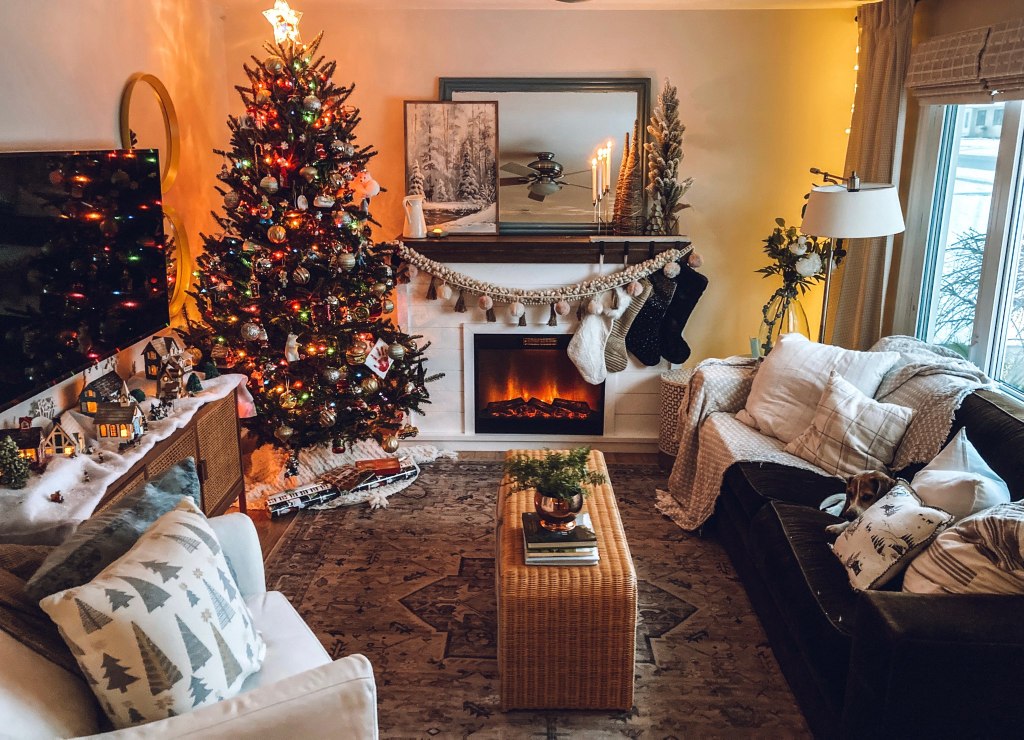
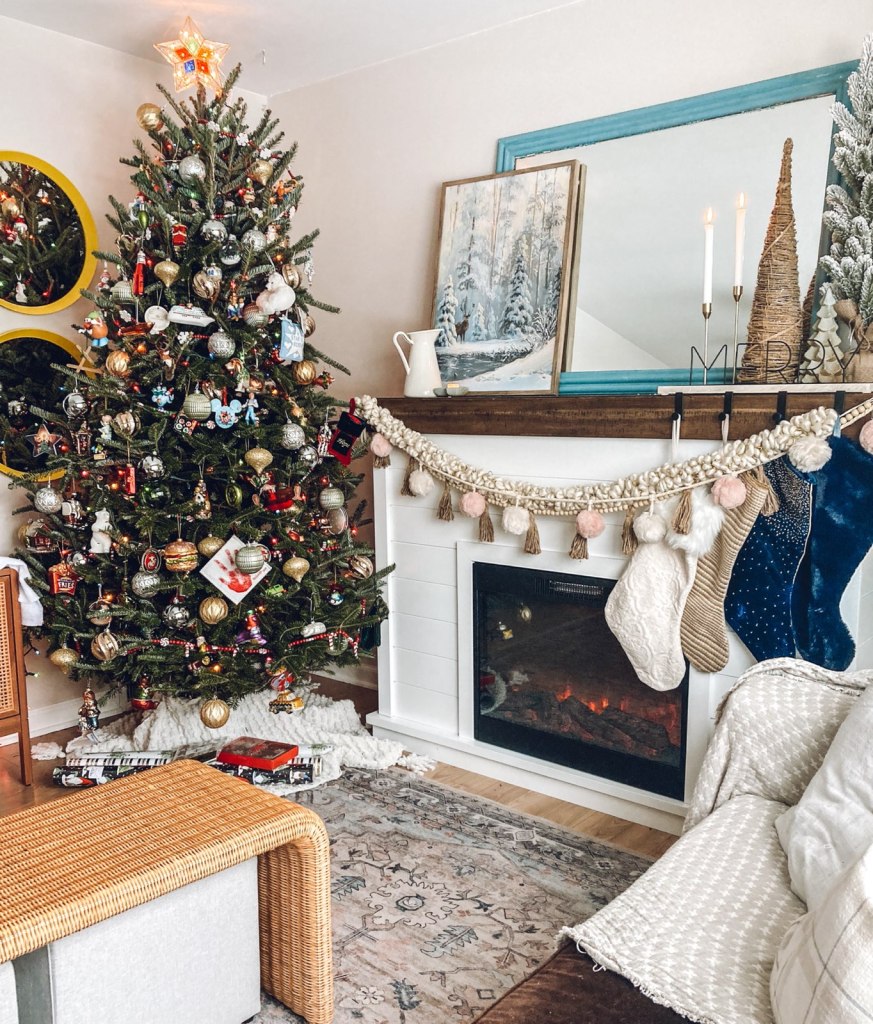
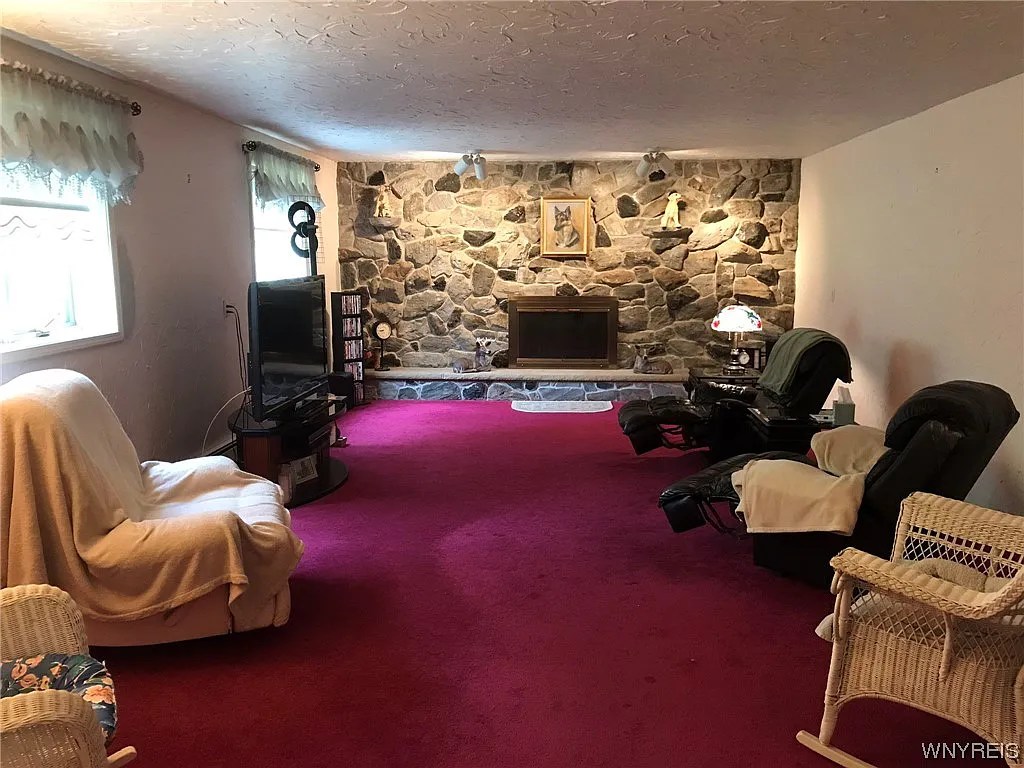
Here is a little home tour. There are lots of funky things going on here. But I have big dreams for this place! I will share some design plans as we start to slowly pick away at projects. Can’t wait to take you along on this journey!

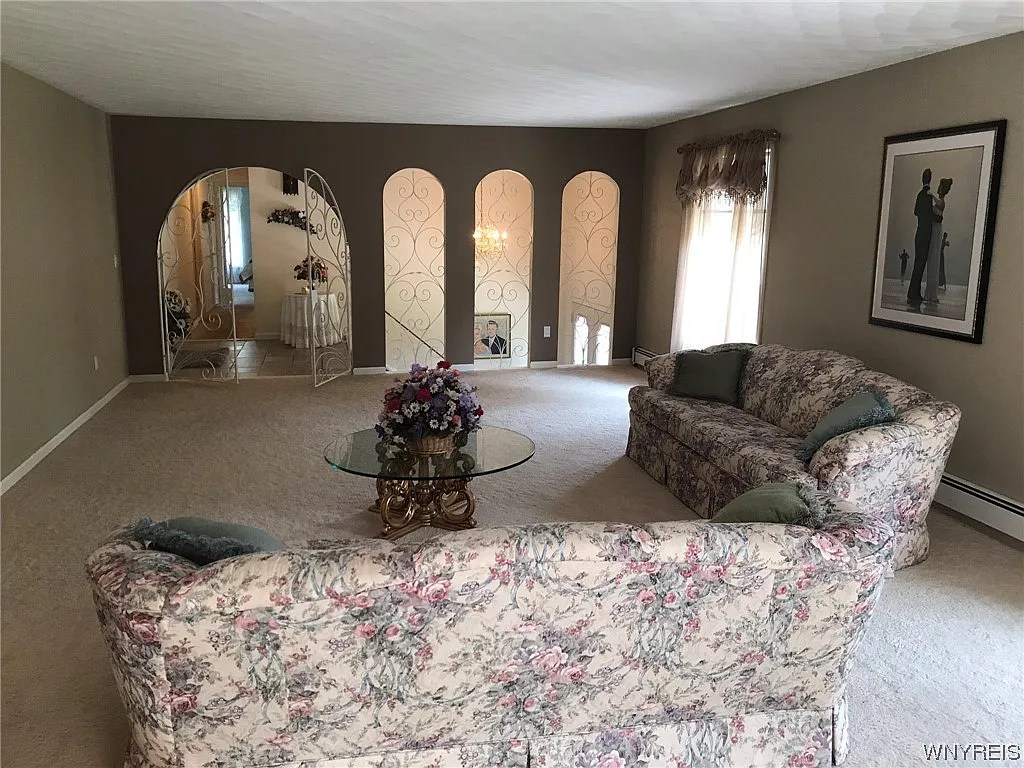
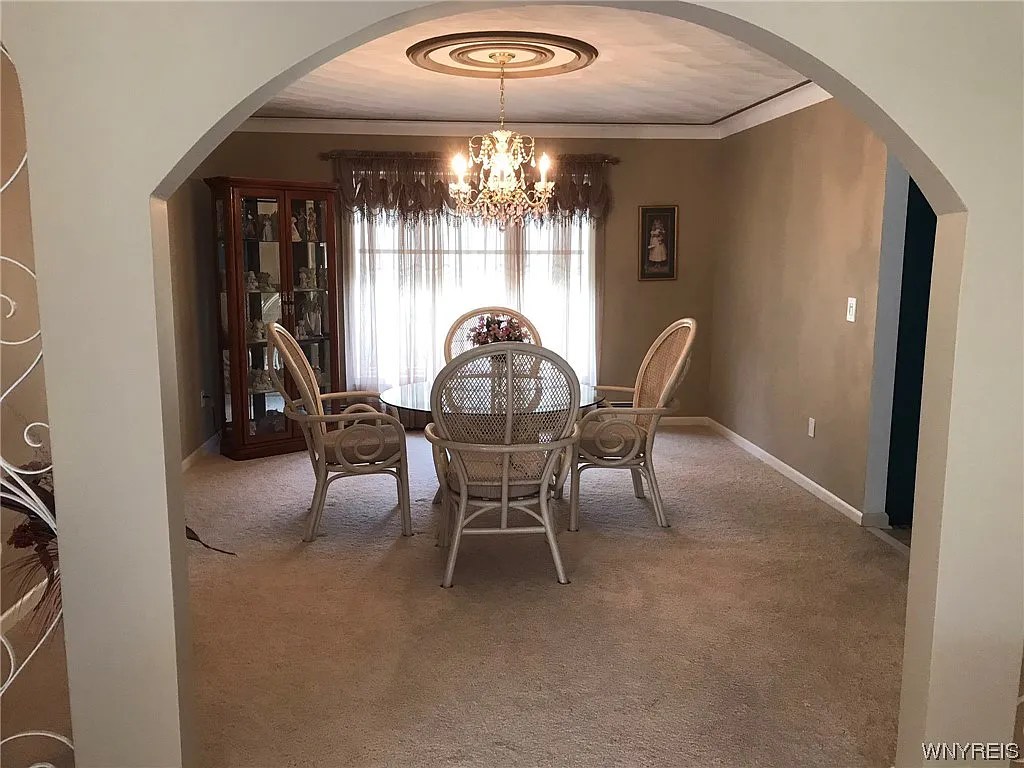
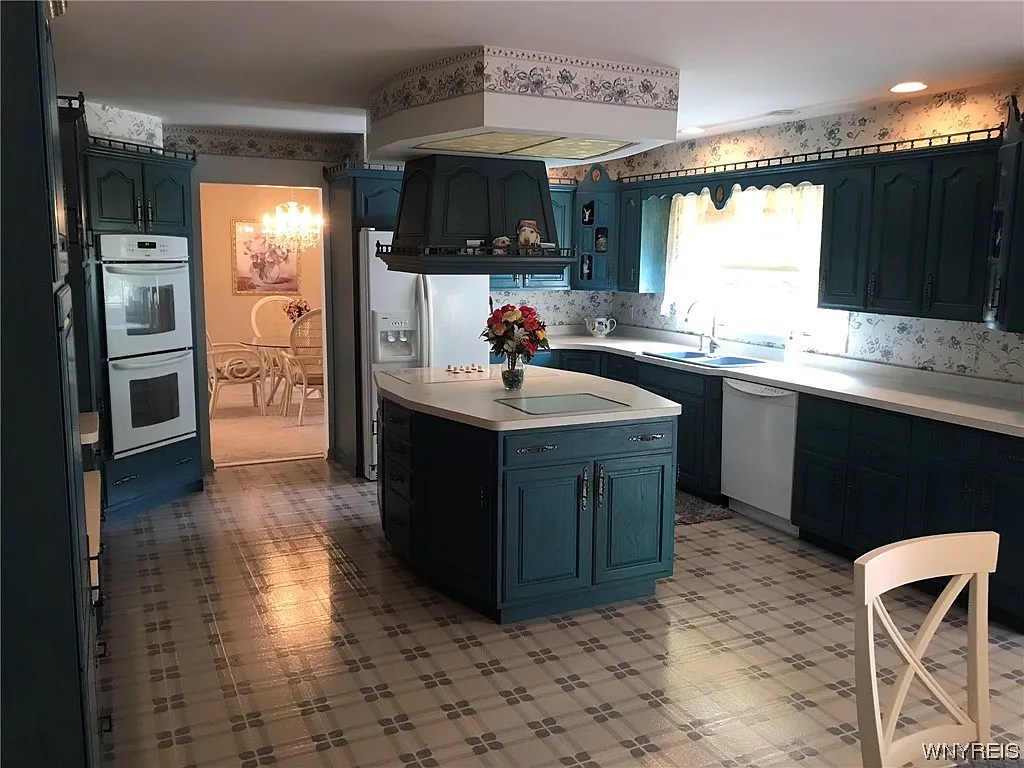
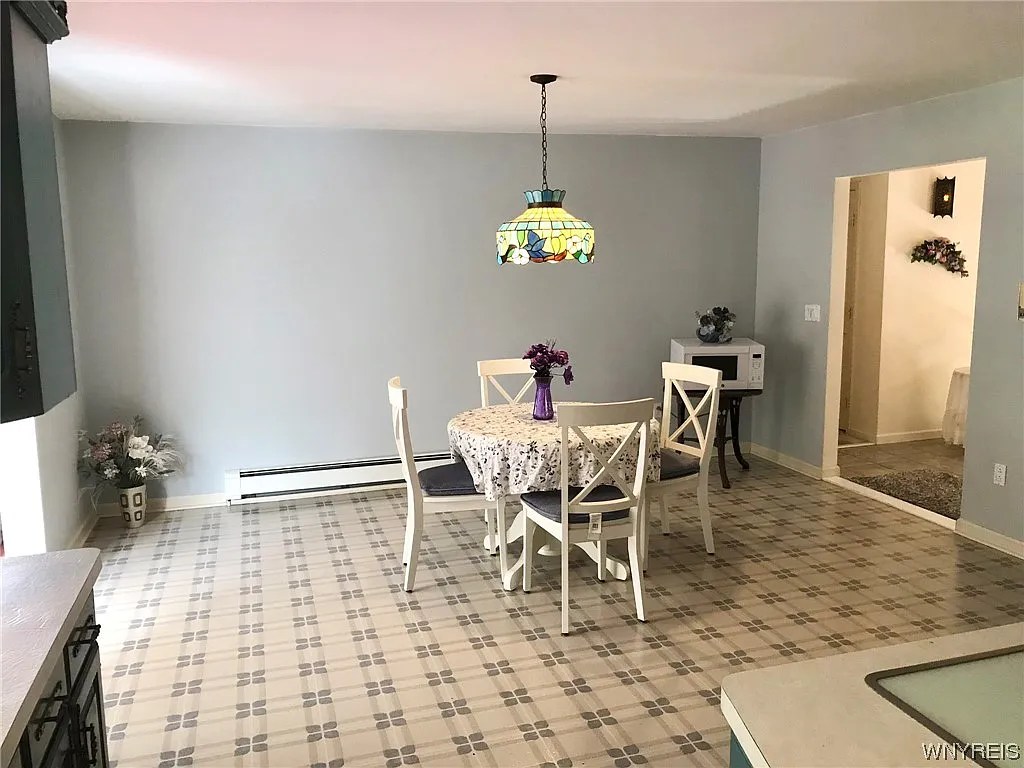
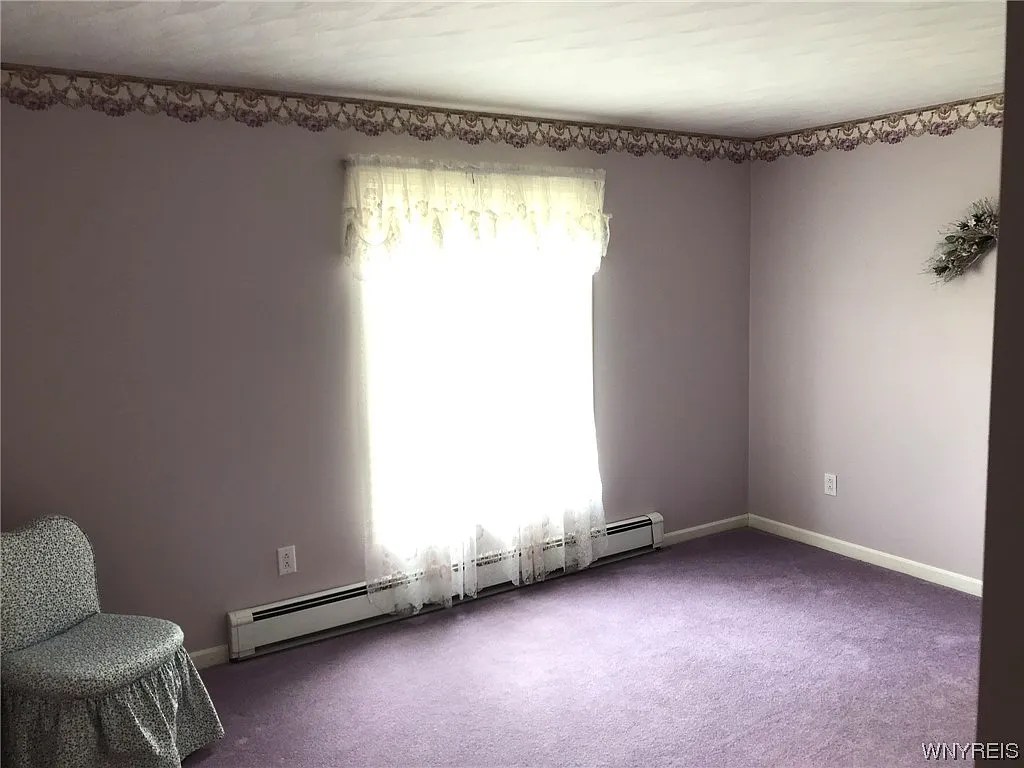
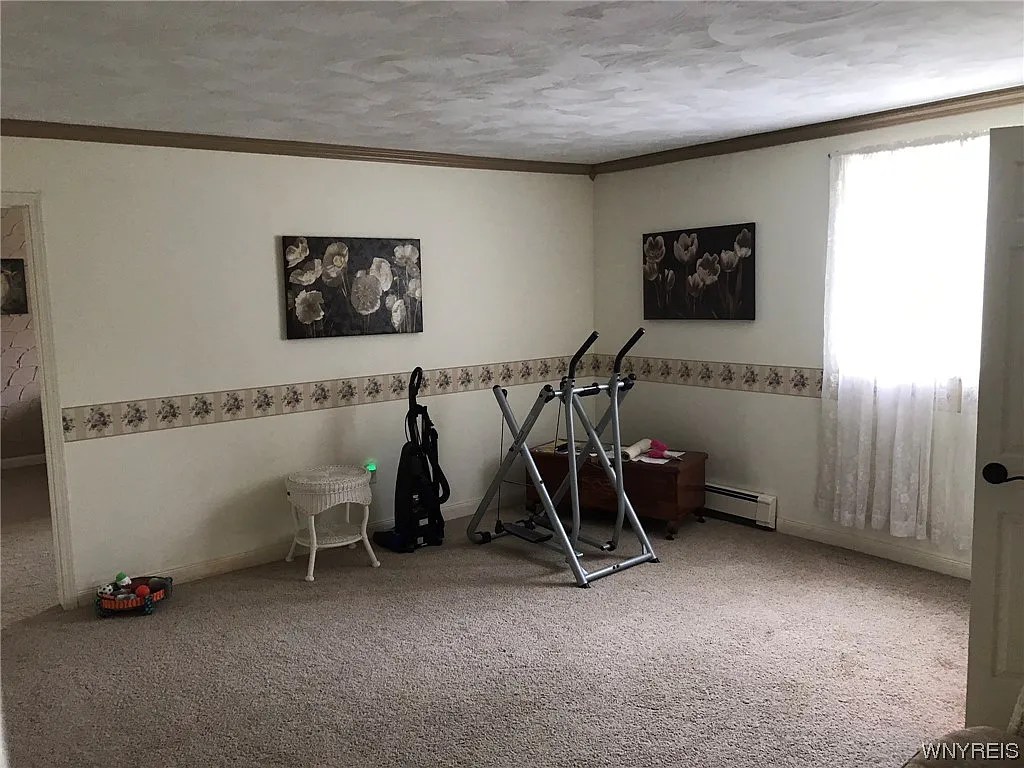
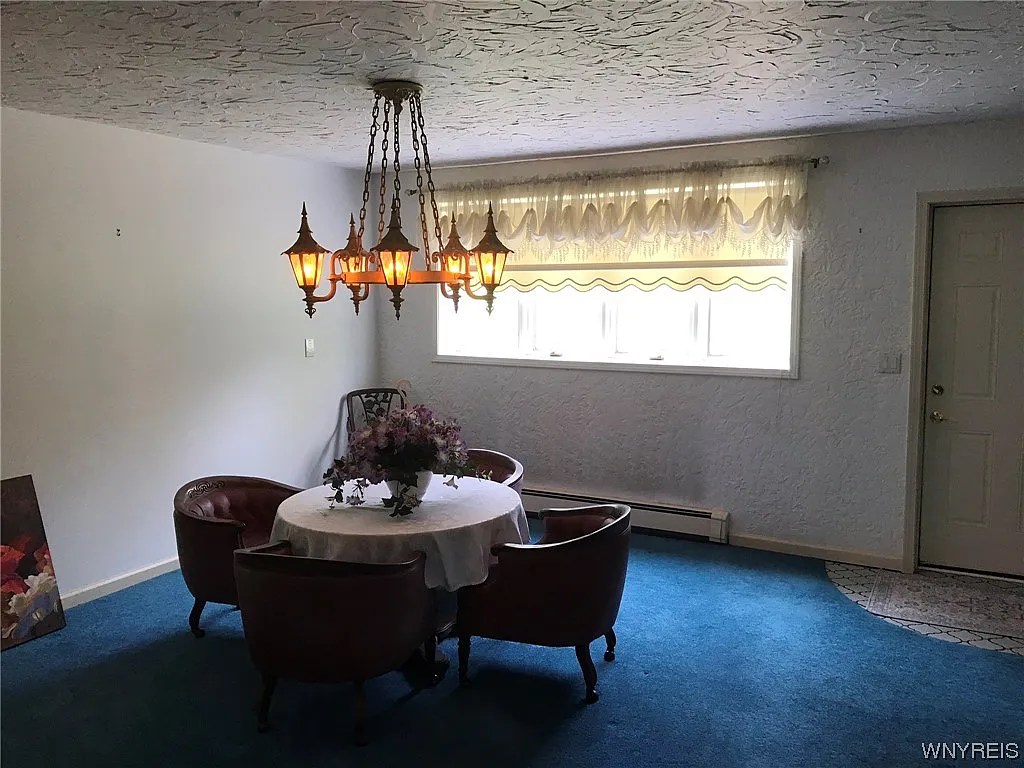
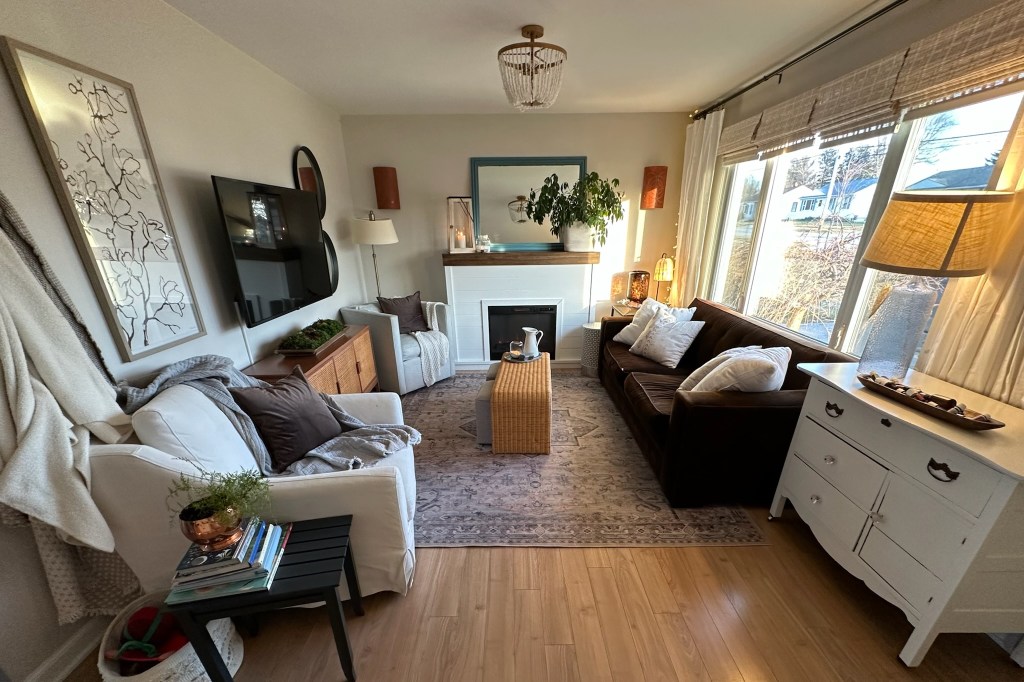
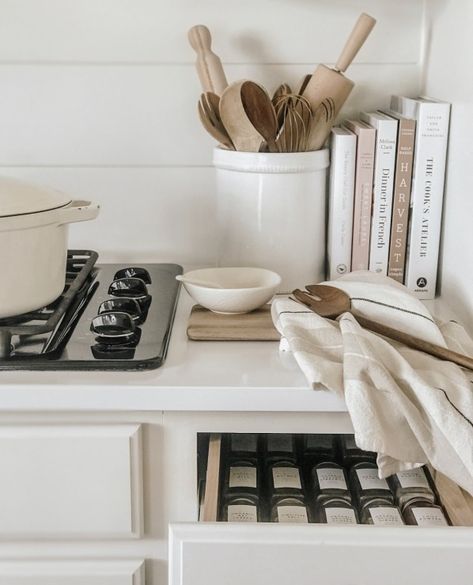
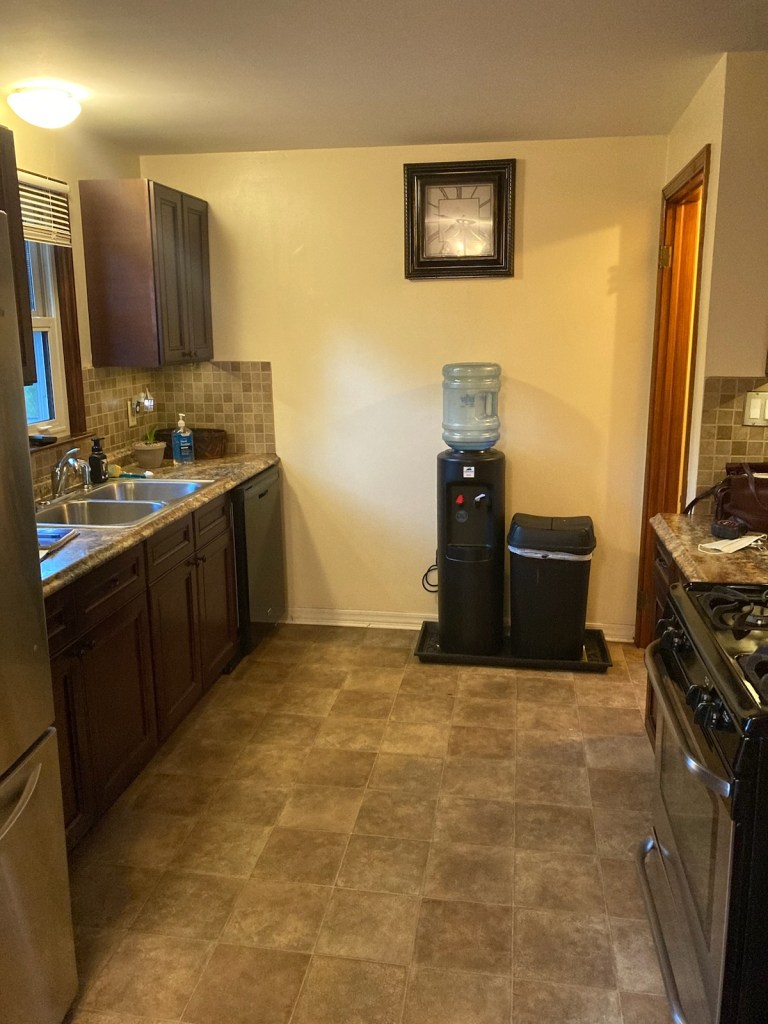
Can you see the potential?! The first thing we are tackling are the floors and walls on the main floor and I’ll be sharing that progress as we go! Thank you for reading!

Bedroom “Make-Under”

My most read and shared blog post to date has been where I explained how to recreate your favorite wallpapers for free (linked here). The example I showed was how I did this in our primary bedroom. I recently painted over that mural and guess what – I couldn’t be happier with how it turned out!

As I went through the process of giving our home a “make-under”, the busy mural no longer felt peaceful to me. So, a couple hours, and a fresh coat of paint later, I was able to transform this wall back to its former glory. Just in time to sell our house unexpectedly…but more on that another time. Funny how timing works out on things sometimes.

After living in Florida for a few years, I fell in love with the coastal homes. Not enough to have a “beach this way –>” sign on my wall, but more to pull inspiration from the colors and textures. Crisp whites, blues, and sand tones set the tone for my color palette. And like many projects in this house, my focus was to save money and use what we had.

In this tight space, ditching the table lamps and swapping them for sconces saved us valuable surface area for glasses of water, and charging phones at night. Not to mention rogue pillows no longer knocked the lamps onto the ground while sleeping.

For an added visual interest, I painted half the wall the same color as our living room. I really wanted to focus on pulling the colors of the home together. And this color blocking acted as a focal point for the bed.

Fluffy bedding makes this space come together. If you are looking for where to splurge vs. save on bedding, I would recommend splurging on sheets, duvet inserts, and pillow inserts, and saving on duvet covers and quilts. I will link some of my bedding below.

Most of the decor I was able to recycle from other rooms, or just remove as I simplified. I swapped out our old curtains for white ones and have been loving them with black curtain rings.

Not shown is the TV mounted to the wall at the foot of our bed. I love unwinding at the end of a long day and watching something before bed.

If you like this look, I am adding links to similar items you can shop for your home.
I am an Amazon assosiate and earn from qualifying purchases.

  1. Rug 2.Duvet Cover 3.Sconces 4.Art 5.Quilt 6.Curtains 7.Bedside Tables 8.Lumbar Pillow 9.Satin Pillowcase

Now our space feels like a spot to recharge and unwind!

Thank you for reading!

Living Room “Make-Under” and my Steps for Tying a Room Together

When we first purchased our home, just under three years ago, I couldn’t wait to get my hands on it! At the time, I was working for an interior design firm and was used to putting together plans for clients. Finally, I had my own space where I could experiment with colors, DIY’s, wallpapers, and thrifted finds. I enjoyed every minute of being creative with my new 900SF canvas.

Fast forward a couple years later with a baby, dog, and husband that works from home, all under the same roof, I began to crave simplicity. So, I started the process of giving our home a “make-under” or in other words, simplifying. Starting with the living room.

Below are some photos, along with a step by step process of how I tackled this project!

Step 1: Take inventory of the non-negotiobles
This project was all about simplifying and saving money. I knew I didn’t want to replace large, expensive items so most of my furniture had to stay the same. The area rug, sofa, chairs, and cased goods set the pallette for the design.

Step 2: Start decluttering
I try to keep my surfaces to about 3 items max – usually opting for fewer, but larger pieces of decor. Anything that didn’t fit the current pallette, wasn’t useful, or I didn’t love, was donated.

Step 3: Make what you have work
Instead of buying new furniture and accessories, I used the power of paint and some pillow covers to start tying things together. I opted for brown velvet pillows to match my sofa, and a deep navy paint on my mirros and end table to tie in to my rug.

Step 4: Shop for missing pieces
After simplifying and making what I had work, I took inventory of what missing pieces could be added to tie everything together. I went for a new lamp in the corner that matched my coffee table and shades, and some white curtains and pillows to match…well, most other things in the room. The final touches I added work in every space: plants, and candles.

Bonus Tip:
Get creative with decor! Instead of tossing our throw blankets in a basket, I hung them on the wall for texture and warmth. Another great trick I have been using is to set the TV to display a piece of art by searching for art on youtube.

I am adding some Amazon links for things I have purchased for this room, or similar items in case you are interested in shopping this look! I am a member of the Amazon Affiliate program.

  1. Rug 2. Light 3. Blanket 4. Curtain Rod 5. Curtain Panels 6. Pillow Case 7. Coffee Table 8. Lantern 9. Baskets 10. Tortoise Glass Candle Holder 11. Round Mirrors

Thank you for reading! I hope you found some of these tips helpful. What are you working on in your home right now?

10 Easy Tips For Decorating Your Kitchen

  1. Group Items on Boards
    Instead of having small items scattered on the countertop, group them on boards. This keeps the area from feeling too visually cluttered. It also creates “zones” for different functions like cooking, cleaning, or eating.

2. Set up a Station For Dish Soap and Brushes
Pouring your dish soap into amber bottles, and buying wood scrub brushes can be an easy uprgrade to something you use multiple times a day. Add a cute tray underneath and you’re good to go.

3. Add a Small Countertop Lamp
For instant coziness, add a small lamp to the counter. The light will be a nice contrast to the typical overhead, task lighting of a kitchen.

4. Lean Art or Wood Cutting Boards Against Backsplash
Display cutting boards – and cover outlets when strategically placed. This is a great way to add decor without cluttering coutertops.

5. Display Fresh Produce and Baked Goods
Plan some recipes and fill your counters with fresh proudce for added life and color.

6. Use Wooden Cooking Untensils
Ditch the plastic spatulas and spoons or tuck them in the drawer if you still prefer to use them. Instead, leave out wooden utensils that serve both purpose and add some warmth.

7. Light a Candle
While you’re at it, put on some music as well while you’re making dinner. I promise the experience will be that much more enjoyable!

8. Remove Anything That Isn’t Functional From Counters
With so many beautiful kitchen accessories, there is no need to decorate with anything that isn’t functional. Buy a beautiful fruit bowl, or colorful toaster to display and skip out on knick-nacks that take up valuable counterspace. Add life with herb plants.

9. Be Mindful of Cabinet Color
It may seem tempting if you love gray to paint your walls that color. However, if your cabinets are a warmer wood you will want to work with them not against them. In fact a cool color will only exagerate the warmth and visa versa. Here is a great example of working with your cabinets by Julie Blanner.

10. Bulb Temperature
Typically, I recommend using warm lighting in your home. However, a kitchen also works with neutral lighting as it is a “task” area (around 4000K). I never reccommend daylight or cool bulbs in any room. Here is a picture that displays what this means.

Bonus: Buy fresh dish towels and Kitchen Mats
A simple way to freshen up your space, and always feel like a treat to buy. If you’re unsure of what to choose, you can never go wrong with neutrals.


Below are some links to some Amazon products that can elevate your kitchen on a budget!
As an Amazon Associate I earn from qualifying purchases

1. Wood Spoons 2. Vase 3. Candle Holders 4.Silverware
5. Toaster 6. Runner 7. Decanter 8. Apron
9. Heart Dish 10. Platter 11. Cutting Board 12. Dish Towels

Thank you for reading! I hope you found some of these tips helpful!

Kitchen Reveal!

The last few months have brought some big changes in our family. The biggest and best of all being the birth of our sweet baby girl! I have been spending my days soaking in every moment and enjoying motherhood more than anything! During this time another change has taken place in our home…we finally finished our kitchen renovation, or as I like to call it, ” kitchen face lift”.

More than a specific look, I wanted to create a feeling when approaching this design. A place where I could picture great conversations, or a cup of coffee in the morning before the sun comes up, or a place to prepare meals for my family with the windows open and music playing on summer evenings. My biggest inspiration for this project, actually came from movies. Specifically, Nancy Meyers movies. You may recognize her work from The Holiday, Something’s Gotta Give, and Father of the Bride, to name a few. In fact, her sets have become so popular that the term “A Nancy Meyers Kitchen” has been coined. They are not only beautiful, but are lived in, family homes that are never too fussy. I wanted to incorporate some of this into my design. Below are some examples of her work:

In a previous post I discussed the extent of work we wanted to accomplish. Here are some things to consider when approaching a renovation in your home:
1. How long will we live in this house?
2. What is the resale value in my neighborhood?
3. What style sells in this area?
4. What style is true to the homes existing architecture?
5. How long do I want the construction process to last?
For our project, we knew that we don’t want to live here long term, and that the resale in our neighborhood wouldn’t account for things like stone countertops and new cabinets. We also have an infant and didn’t want to be without a kitchen for too long. This led us to working with a smaller budget and reasonable scope of work. Even with the limited parameters, I think we were able to achieve a dramatic result! Here are the before and afters:

When we first moved in, our house was a palette of orange, flesh, and band-aid tones. I wanted to lighten things and create a cohesive pallet. We started with replacing the floors ourselves and then hired out the work for new laminate counters, shiplap, and a new sink. The whole process was completed in just a few days.

In order to open the space a bit, we replaced the cabinet next to the sink with floating shelves. True to a Nancy Meyers film, I styled them with neutral dishes, that we actually use everyday.

We carried the shiplap from the kitchen through the entryway in order to create the illusion of a more expansive space.

I set up our coffee station on this leather tray and picked some of my favorite things to store coffee filters, coffee grounds, tea spoons, and sugar.

I try to cover outlets when I can, and used a serving board here to cover where I plugged in this lamp. (I think every kitchen could benefit from having a small lamp on the counter!)

For our fridge, I purchased these lightweight frames for family photos.

Big changes around here- and we couldn’t be happier!

Thank you for reading! I hope you enjoyed our budget makeover!

When you Wish Upon a Star…Baby Girl Nursery!

Creating a nursery for our daughter has been such a joyful experience. Hard to believe that in just a few short weeks she’ll be here, we are so excited!

When I began preparing for her arrival, I knew I had to start getting a space ready for her. Our spare room, which had our storage hidden behind a closed door, would need to be organized and cleaned out. After a Saturday emptying the space and giving it a good clean, it was ready to be transformed. I started by making a mood board to give myself a direction for the design.

Over the next few months, we slowly ordered and installed things.

I was liking how everything was coming together, but when the room was 99% done, I thought it just wasn’t quite right. I decided the missing piece was a pink wainscotting. Without wanting to delve into a project with wood and backing board, I settled on painting the lower half of the walls for the same effect.

I picked a pale pink called melted ice cream and had it painted on the bottom 2/3’s of the wall.

When it was done, I finally felt like everything was tied together!

Something that was important to me when creating a nursery was the lighting. I wanted a cozy environment with calming, twinkling lights for bedtime. Here a few photos of night verse day in her room.

The previous owner also used this space a bedroom, and I love seeing how far it has come since our final walk through! Here are some before and afters of the same angle.

before
after
before
after

One of my favorite corners of her room is this desk area we created for her to grow into. The desk came from my grandmother, and the chair from Nick’s grandpa – I love that she has pieces from them in here. We hung this plug-in light over top and bought her a chalkboard that I wrote her a message on.

I also hung an accordion rack for her to hang jackets, towels, and for now, her diaper bag.


Another detail is this clothing rack she got from her shower – maybe a fun spot for her to play dress up one day!

When it’s time for her to sleep in her crib, we’ll take out all the pillows and blankets for safety. But for now they sure look cute!

A nursery may be the most fun room to design! Lots of room for creativity and whimsy. I hope she enjoys spending time in here as much as I do.

Thank you for reading!

We Got a Pool! Summer Backyard on a Budget

For as long as I can remember, I have dreamed of having a pool! Of course, I love inground pools with waterfall features, diving boards, water slides, and all the bells and whistles, but I would have been happy with anything I could swim in. This summer Nick and I decided to take the leap and get a pool for our family. We looked at different budget friendly options and decided on an above ground that we (okay Nick and his dad) could install ourselves.

We started by picking the perfect spot – the flat area right off the deck. Where we get full sun, and the most privacy.

We ended up finding out that the “flat” piece of yard we chose for the pool was actually sloped about 9 inches. I thought we could just pop the pool up and call it a day, but soon realized that the yard would need to be tilled and leveled, and sand would need to be put down. The project ened up being a bit more involved than I originally anticipated, but I knew it would all be worth it!

Once the ground was level, putting the pool together was fairly easy. We worked together and assembled it in about an hour.

Next, we filled the water about a couple of inches and Nick worked his way around getting the wrinkles out of the bottom.

Once it was filled, we were ready to kick our feet up and enjoy our new pool! One problem -shortly after being full, the ground sunk causing the pool to still be sloped, and therefore unsafe to swim in. I include this detail to say that not every DIY project goes according to plan, and that’s okay. Sometimes things are a learning curve. We accepted that the pool had to be drained, moved, releveled, and filled again. A detour that set us back a couple weeks, but thankfully we had a cool spell that meant we weren’t dying to get in the water.

Nick made some changes that ensured the sloping wouldn’t happen again. I may write a separate post about some things we learned the second time around. Now it was done right and ready to go!

The full sun heated the pool quickly meaning we were able to enjoy the water sooner. This is the year we figured out how to correctly install the pool and operate it, next year I will work on “beautifying” with stones, plants, etc.

Once the water had been filled and everything was ready to go it was time for the fun part – decorating! We didn’t need (or want) to purchase much, just a place for towels and some loungers that we could read, dry off, and relax on. Looking forward to creating a space we can enjoy with family and friends!

We hung some towel hooks on our garage at “kid height” so they would be easily accessible for guests. I wanted a convenient place to access a clean, dry towel, and somewhere to hang it when you were done.

Finding outdoor furniture can be a challenge – it tends to be poorly made or very expensive. After searching online for days, I found these great chairs from Walmart. They were a bit tough to put together but were the best deal I could find and are super comfortable. We have been very happy with them.

I love how this area is completely private, tucked between the pool and garage. Makes it a comfortable place to relax in the sun after a swim.

Having the pool right off the deck makes it easy to keep an eye on swimmers as our family grows.

Thank you for reading! I hope you are enjoying your summer!

Kitchen Mood Board

My first ever blog post (which you can read here) was about the plans we had for the exterior of our home. I love being able to look back at how that vision translated into reality – what ideas we kept, and what changed once we got started. Below shows my design “mock-up” vs. what it looks like today.

The next big project we are going to tackle is our kitchen. I thought I would start this one off by sharing the plans as well!

We had always planned on doing some minor improvements to the kitchen but our motivation really kicked in when the linoleum floors started shredding and peeling in several spots. We knew it was time to look at some new options. After some research we found a waterproof flooring that my husband and I are going to try and install ourselves! Then we will replace the counters, sink, hardware, and backsplash. The scope of work will probably be done in several phases as we save up funds and energy between tasks.

Here is what the kitchen looked like when we bought the house:

A bit yellow, dark, and just not my style. Since moving in we have painted the walls and added our own touches of decor, but haven’t really put too much else into it.

Below is a recent photo of my sweet sister helping me make a brunch for our family that shows the kitchen’s current state. Even without the room looking “perfect” I have been so grateful for how well it has functioned.

Originally, I planned on taking on a much larger scope of work that involved painting the cabinets, but I was able to find some photos of dark wood cabinets that inspired me to make ours work. Below are some examples that helped me see the potential in what we have:

The key will be lighter counters, a white backsplash, and some warm metal accents – all totally doable on a budget!

Below is my inspiration board for the room. I made sure to include some things that won’t be changing, like the wallpaper in our connected eat in kitchen, to see how everything flows. Just a few simple adjustments and it will completely transform it into our style.

Thank you for reading! I’ll be posting as we complete different phases of this room, and hope you enjoy following along.

Getting Ready For Summer…Exterior Refresh

It’s finally here! Longer days, sunshine, warmth, and that newfound energy that always seems to come this time of year. After the months of snow turned rain finally broke, I found myself outside soaking up the sun and staring at our exterior, excited to get started on a summer refresh.

Last year, we did a total DIY, exterior overhaul, which you can read about here. The final result from where we started was so rewarding and I was happy with how everything turned out! Well…mostly everything. From the first day it was complete I knew I had picked the wrong color for our window boxes and pergola. I lived with it for about a year but was ready to repaint both this spring. I enlisted the help of my husband, mom and sister to vote on the new color. The choices were, a) the siding color or b) the front door color.

I swatched both on the window boxes and ultimately decided on white. When I had finished painting this time I knew for sure that I had made the right choice.

With the fresh paint acting as a new blank canvas, I knew exactly what I wanted for the window boxes. Lots of greenery, white, and pops of red. I love how the vibrant red contrasts against the other colors. The plants have already been growing and I look forward to how they continue to blossom this summer.

To finish our project, Nick and I headed to the store and picked up some hydrangeas, a lilac bush, and some mulch for a garden refresh. After some pizza and homemade lemonade, we spent our evening getting everything planted, a perfect Friday if you ask me!

Another detail I wanted to add this summer was a couple of Adirondack chairs in the front yard for a welcoming place to sit.

When we finished, I was so thrilled! It finally looks exactly how I had been picturing it in my head- a mix of beach, cottage, and a bit of Charleston SC (our honeymoon destination that I was so inspired by).

Our final project on the front of the house will be new steps that Nick will be building this summer. We will be doing wood stairs with a railing and adding an additional step to make the front door more accessible. I will post about that project when we do it, but for now we are still using our painted concrete steps.

Thank you for reading! Have you started getting ready for summer? Let me know what you’re planting or any fun projects you are working on this season.

Christmas Time is Here – A quick Christmas home tour

It’s the coziest time of year! Lots of twinkle lights, Christmas movies, snow falling, and time with the people you love. I have been so excited to decorate our house for the first time this year. Like most thigs in our home, our decorations are a mix of new and old. It has been fun picking out new things we like, and sharing memories with each other as we put out items from our childhood.

Outside

I want to keep most of the outside decorations up for the entire winter season, so I avoided choosing anything that would be out of place in February. We kept it simple with a string of lights along the top of the house and garlands with lights in the window boxes. Can you spot the Olaf in our garden?

Instead of a wreath, I added bells to the door and kept them from falling off with a zip tie. On the steps I added a small lantern, a gnome from my grandma’s garden, and a metal terrarium that I plan on filling with birch branches. Next year we plan on building wood steps here and adding a railing.

Kitchen

I didn’t do much in the kitchen, mostly because there are bigger projects in here I want to focus on! But for a little bit of cheer, I placed a few bottle brush trees to the top of our shoe cabinet with battery tea light candles.

On the left of our shoe cabinet I hung this “merry” marquee sign that was a gift from my mom. On the other side I filled the baskets on our wall with some holiday greenery.

Living Room

I took pictures of the same angles at mid day, and then at sunset to show how the room changes as the sun goes down.

1. We have the same sconces hung in our hallway and were happy to be gifted two more. Just like in the hallway, they are not hardwired. All we did was hang them on the wall and then used puck lights inside, gives you the look without the cost of installing two fixtures! On the bench we displayed Nick’s nutcracker collection and mixed in some candles.

daylight
sunset

2. We had to do some rearranging to fit the tree in the corner, and love the new layout. Moving the chair next to the TV opened the room up a lot. This is our favorite place to play games, get work done, and relax. Lot’s of layers and textures make it an extra cozy space.

3. Picking out our fist tree together this year was great Christmas memory. The decorations on it are a collection from Nick’s childhood as well as ornaments from each trip we take. It’s a fun way to reminisce about our travels while decorate. I bought our stockings from Homegoods, I wanted them to work well together, but not necessarily match.

daylight
sunset

Extra Details

You might be able to see in the corner of this picture that I painted our door white…the third time I have painted it since we moved in and back to the color it was when we bought the house! Sometimes its best to go back to square one, I really like the neutral color in here.

Close up of the Christmas village that sits on our media stand. These wood houses were from my grandma and I love them! To light them up safely, we use battery candles.

Thank you so much for reading! I hope you enjoyed our Christmas tour and have a great holiday season!