I have been gone from my blog for a couple weeks, hard at work on a big project…the back of our house! After many hours, we are nearly finished. I am so excited to share the before and afters!

As you may know, this summer I set out to redo the exterior of our home. Starting with the garage (which you can read about here), and then working my way around the house. The next phase of this plan was our back deck.
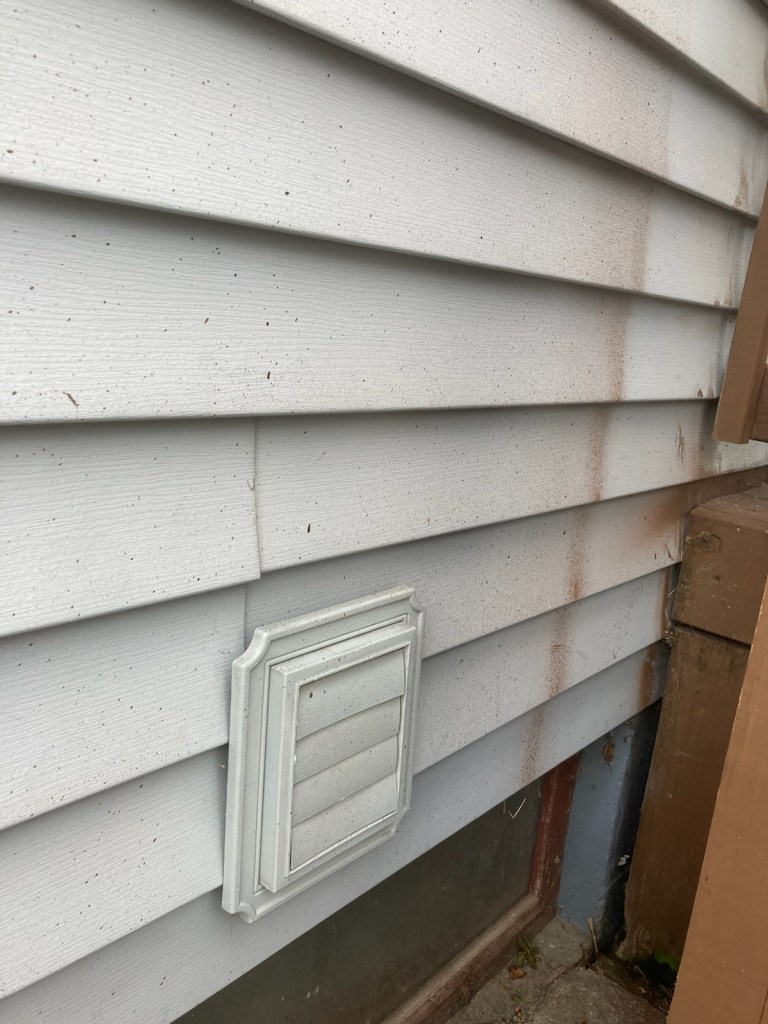
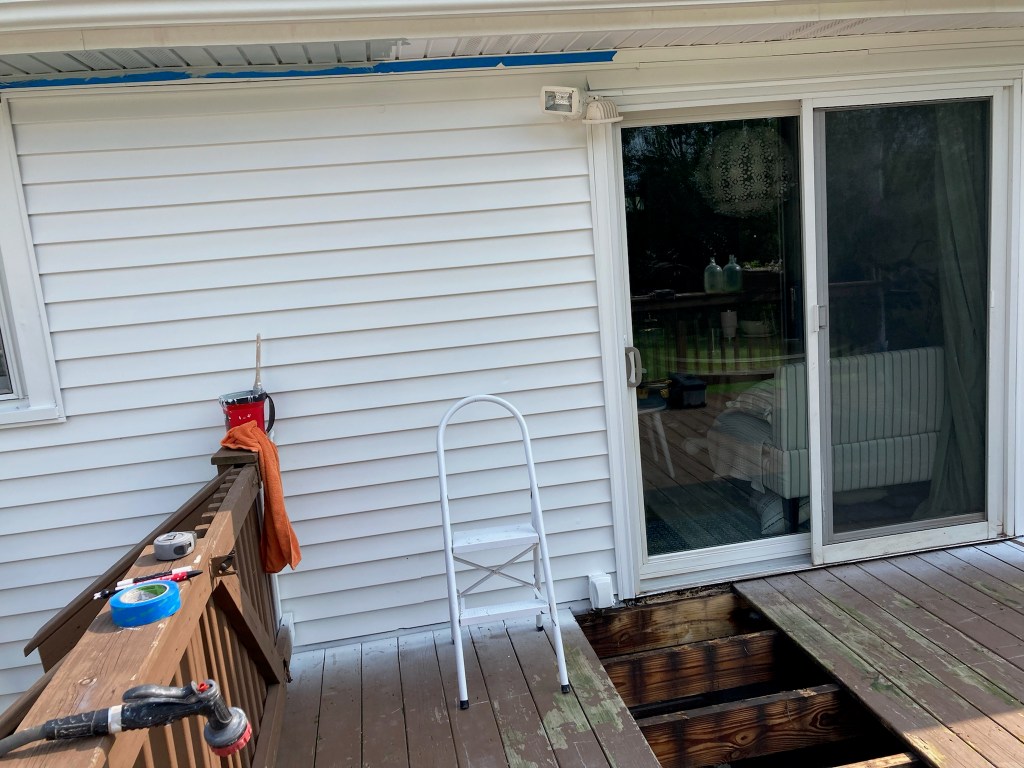
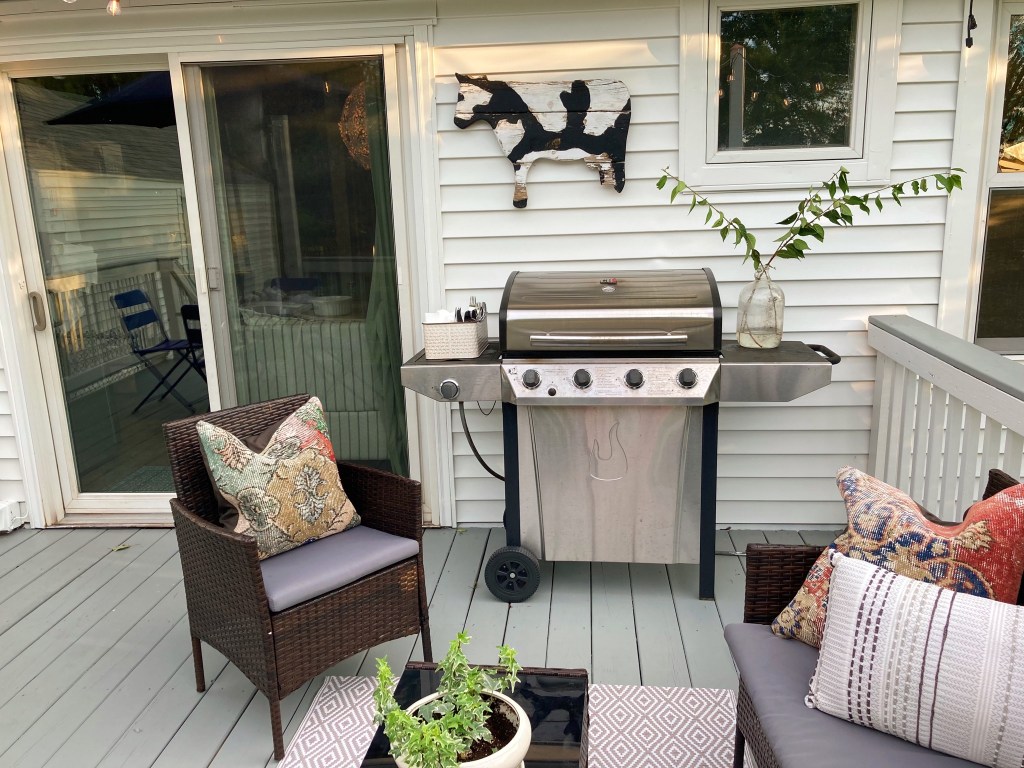
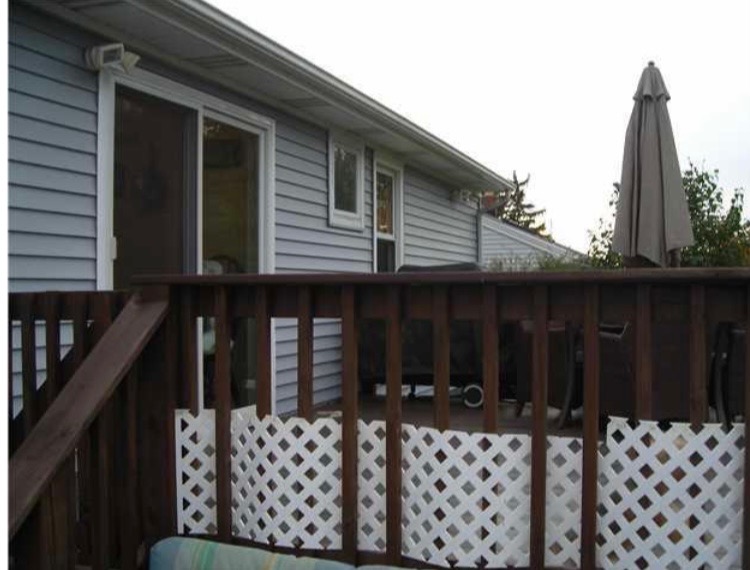
I will start by saying the back of the house was in ROUGH shape. The siding had been warped from the grill, was splattered with old deck stain, and had that chalky residue old vinyl can accumulate. New siding isn’t in our budget, or even desire for this home, so we knew a good scrubbing and fresh coat of paint was the first order of business. Here is a close up of what we were working with. A messy “before” always leads to a more rewarding “after”!
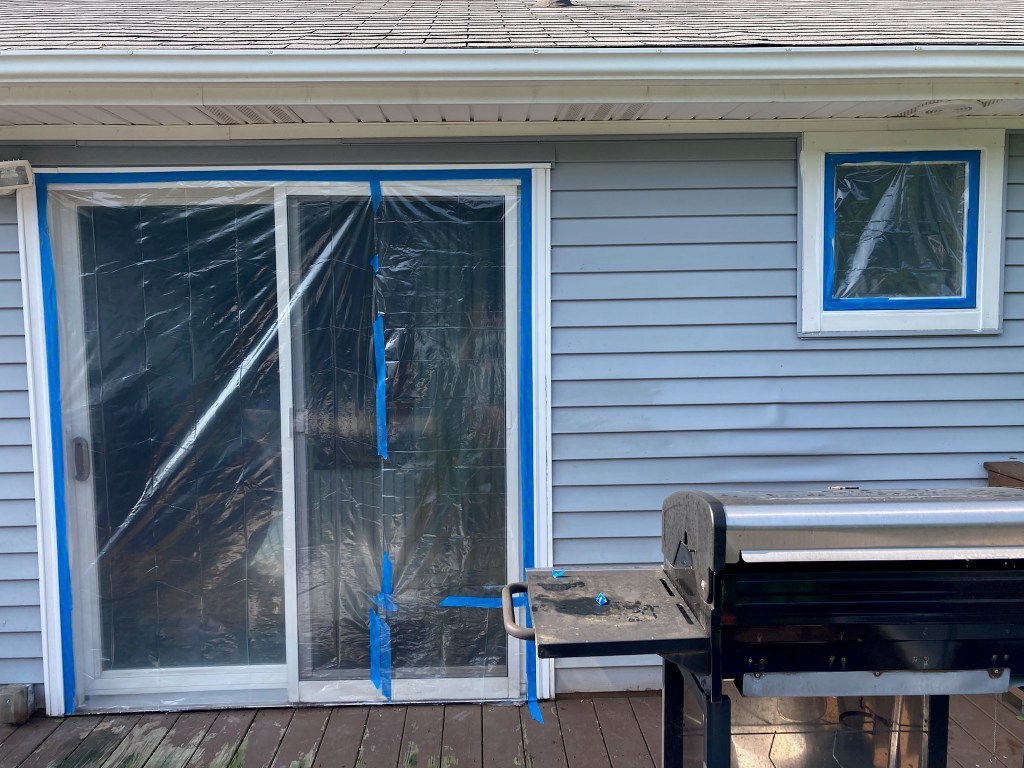
After washing the siding with a vinyl cleaner, I taped off the areas that I didn’t want to get paint on. Then I sprayed everything Pure White by Sherwin Williams. When painting a ranch house like ours, using the same color on the foundation will give the illusion of height, so I sprayed that as well.
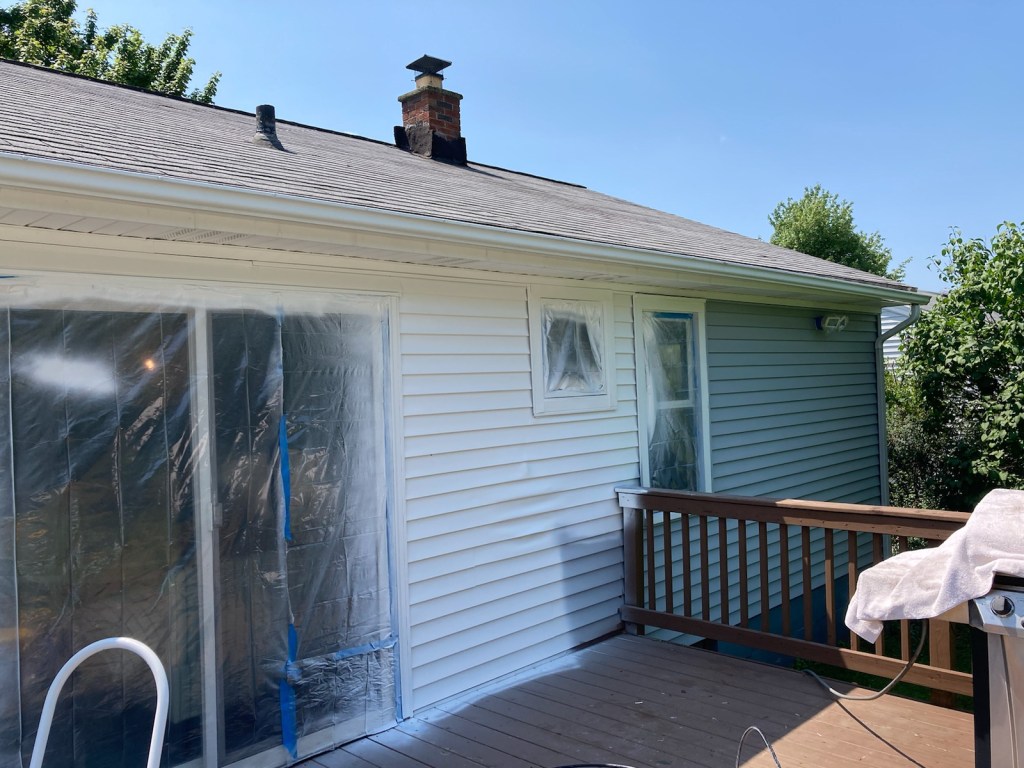
Nick and I honeymooned in Charleston, SC and had so much fun taking in the architecture of the old city. Inspired by our trip, I painted the underneath of our soffit blue as a nod to the blue porch ceilings in the south. It is a subtle detail that made a huge impact, and added a needed bit of color.
After the house was painted it was time to replace some deck boards that had become spongy and brittle. In reality the whole deck could probably be replaced, but weeding out the weakest links will give this one a few more great years.
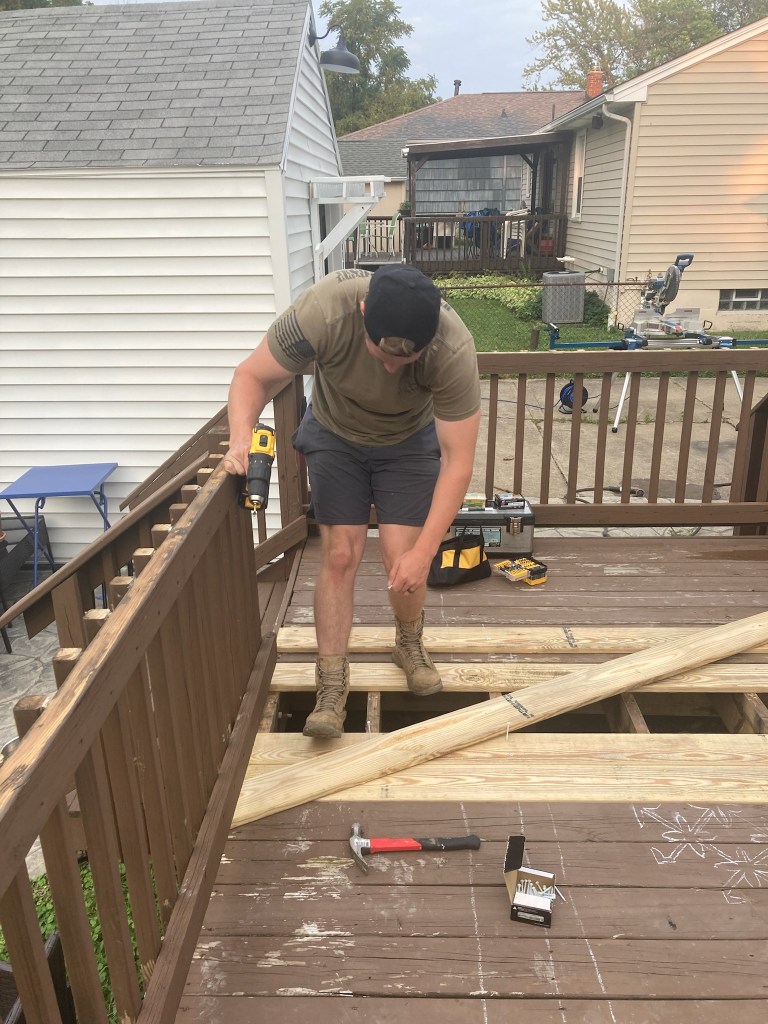
One of the reasons the old boards failed was a lack of space between them for water to drain after a rain. Nick added space between the boards to prevent future rot, meaning one board had to be cut slimmer that the rest. After a coat of paint this was barely noticeable.

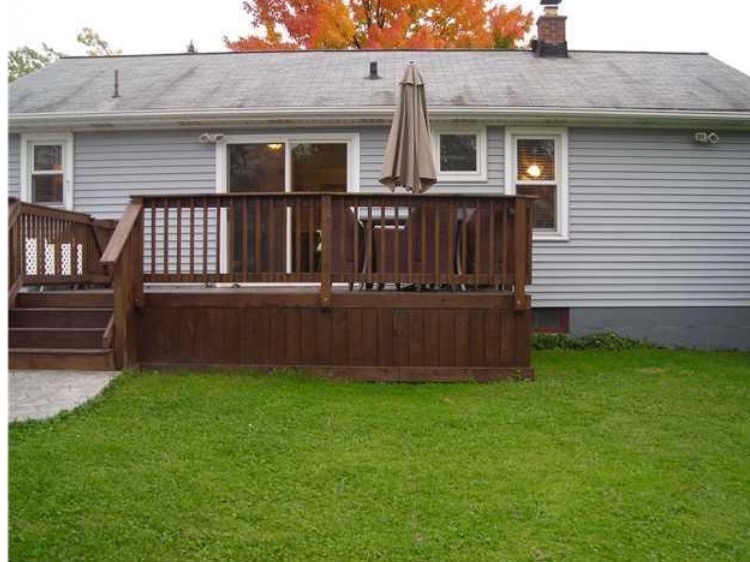
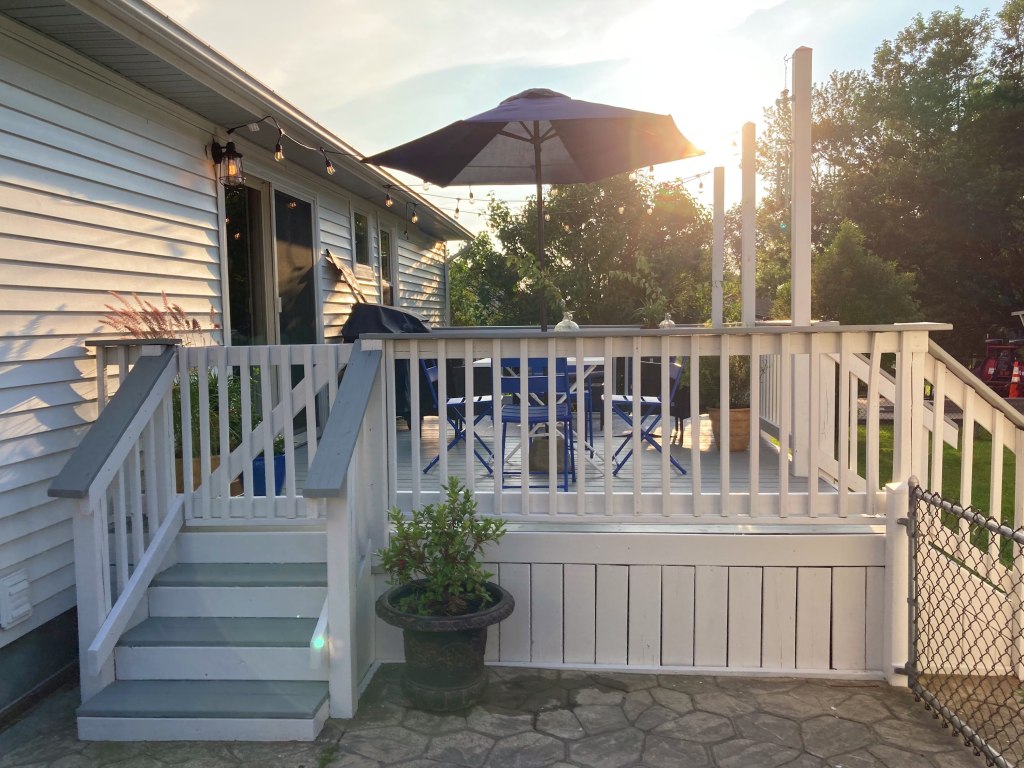
Which leads me to the longest part of the project…painting the deck. I love painting! But after a week of doing it everyday in the sun I was ready to be done with this. Each spindle of the railing needed two to three coats of paint for coverage and it ended up taking much longer than I anticipated. In the end, it was all so worth it! Here is a before and after of the deck painted. (The “before” picture was actually a listing photo from ten years ago when the deck was “fresh”. Since then it had faded quite a bit.)

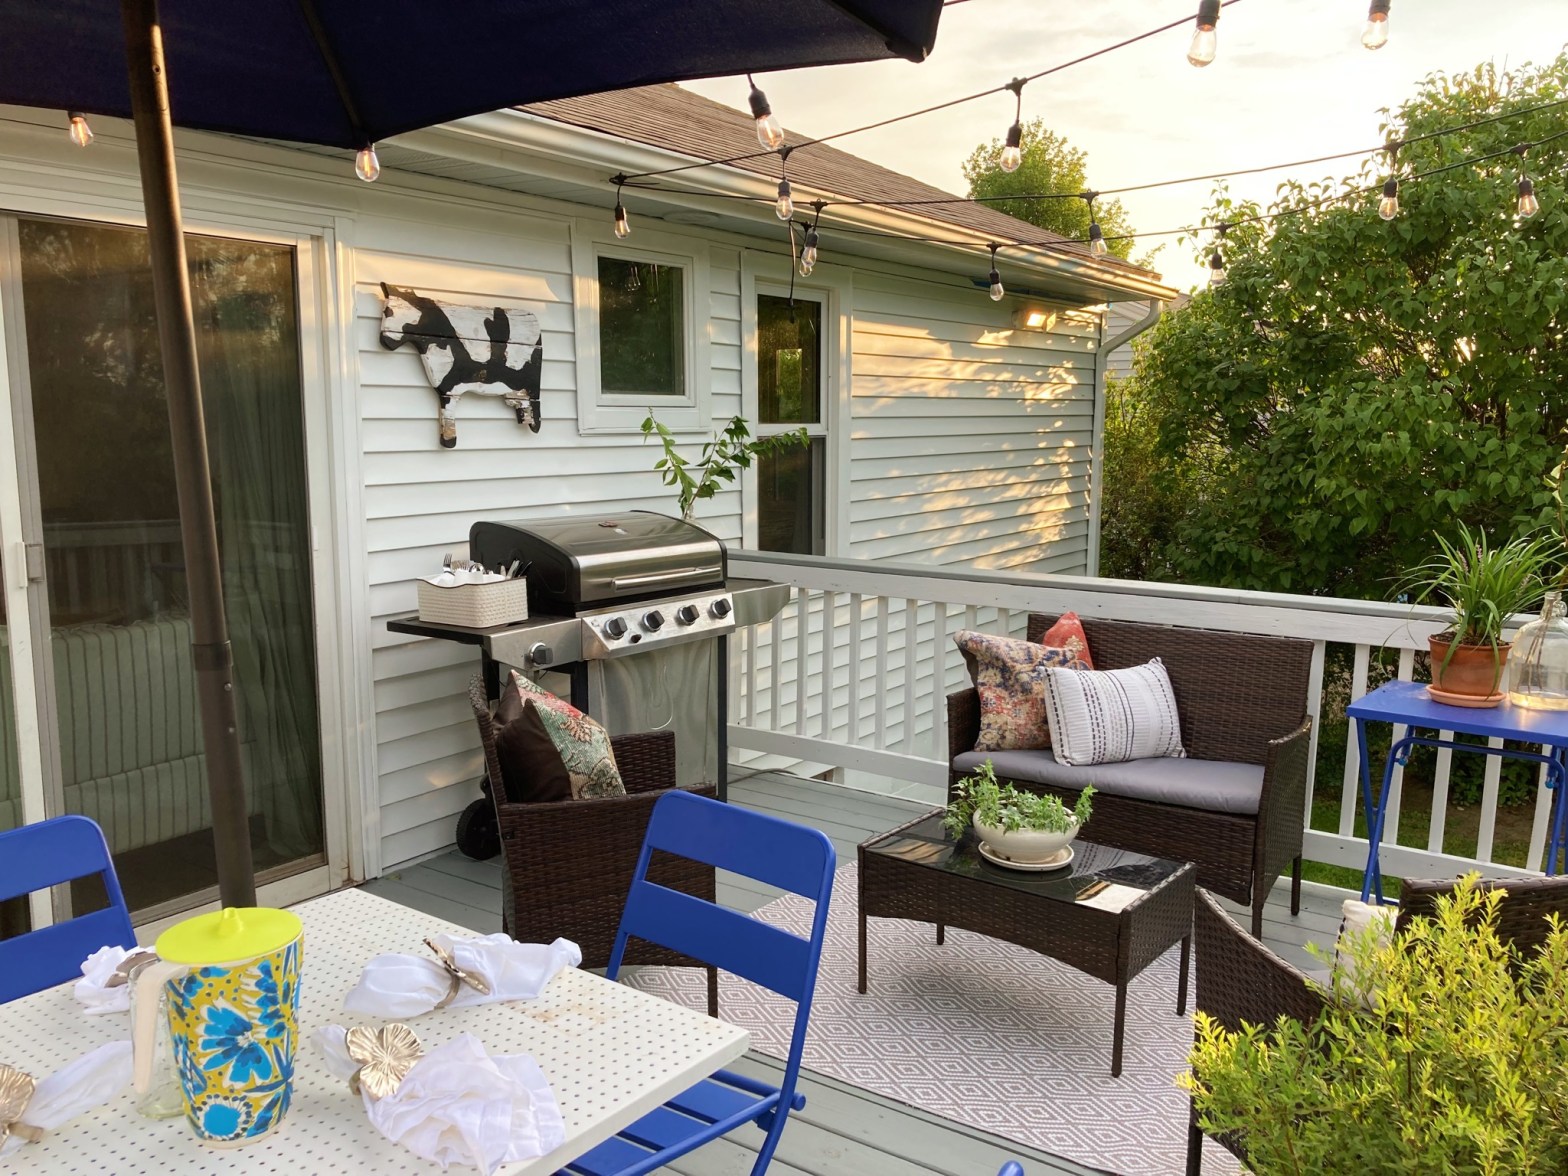
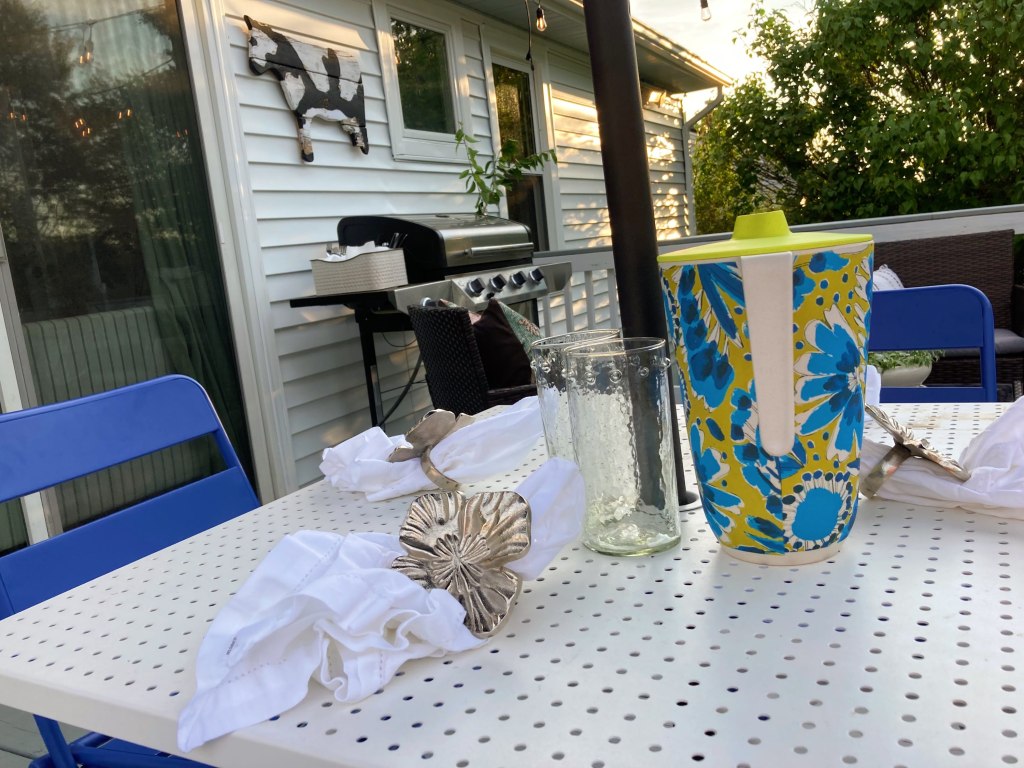
Finally came my (isn’t it everyones?) favorite part…decorating!
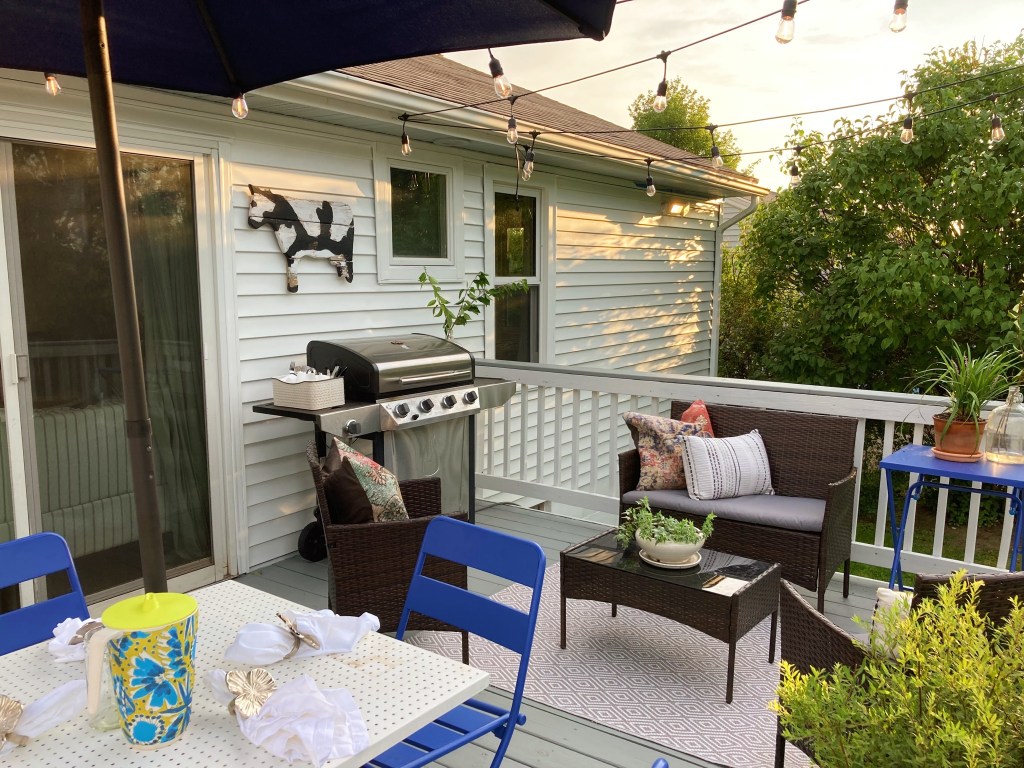
A couple of the biggest changes were in the form of lighting. Nick replaced the old flood light by the door with this cute sconce and we strung up bistro lights across the porch for a cozy feel.
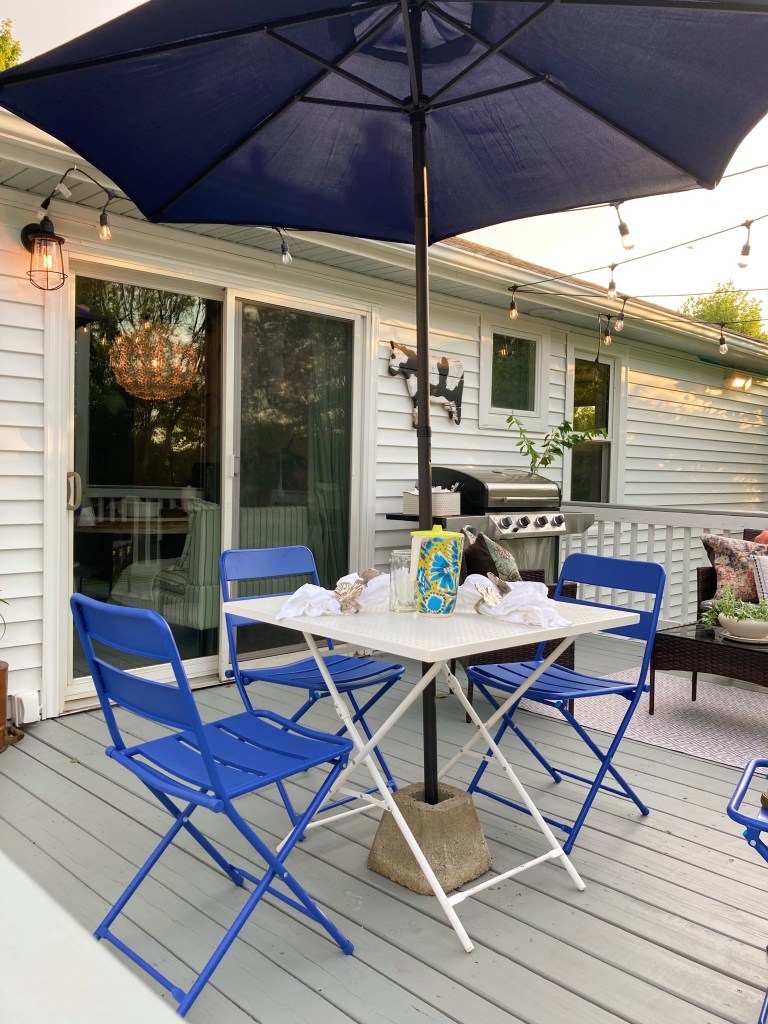
There was some trial and error in deciding on the best way to hang the bistro lights. We tried a few options, and ended up using 3, 4″x4″ posts that were 8′ tall. We strung the lights on hooks from the house to those. I painted the posts white and we added brass caps to them for an extra detail.
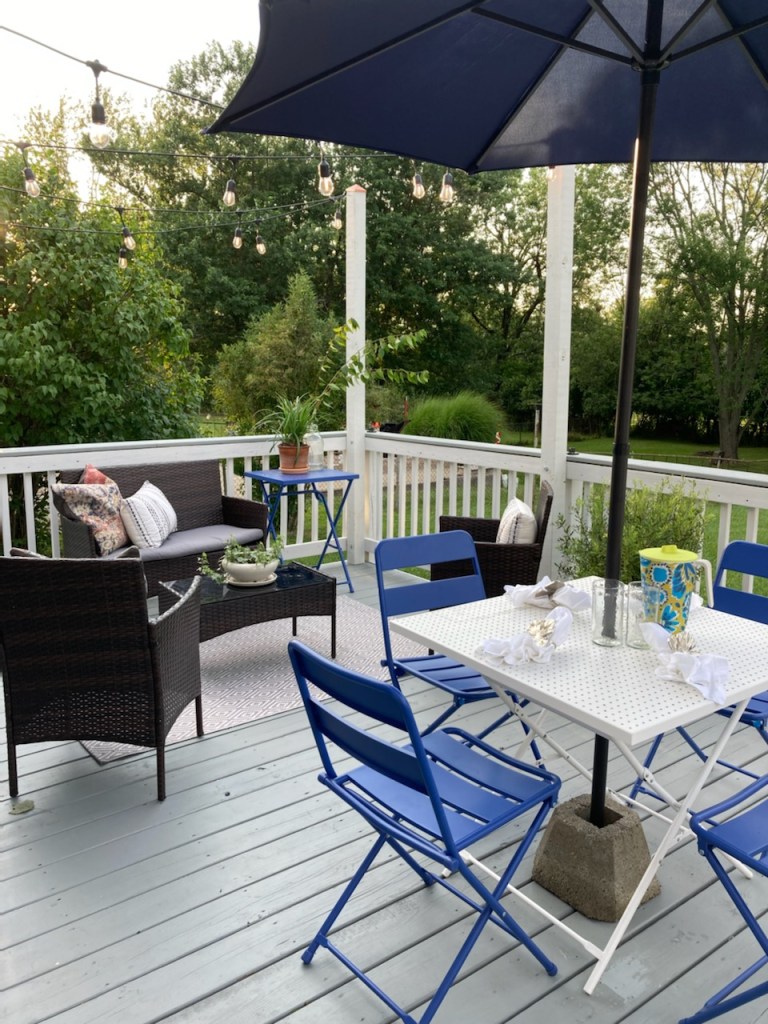
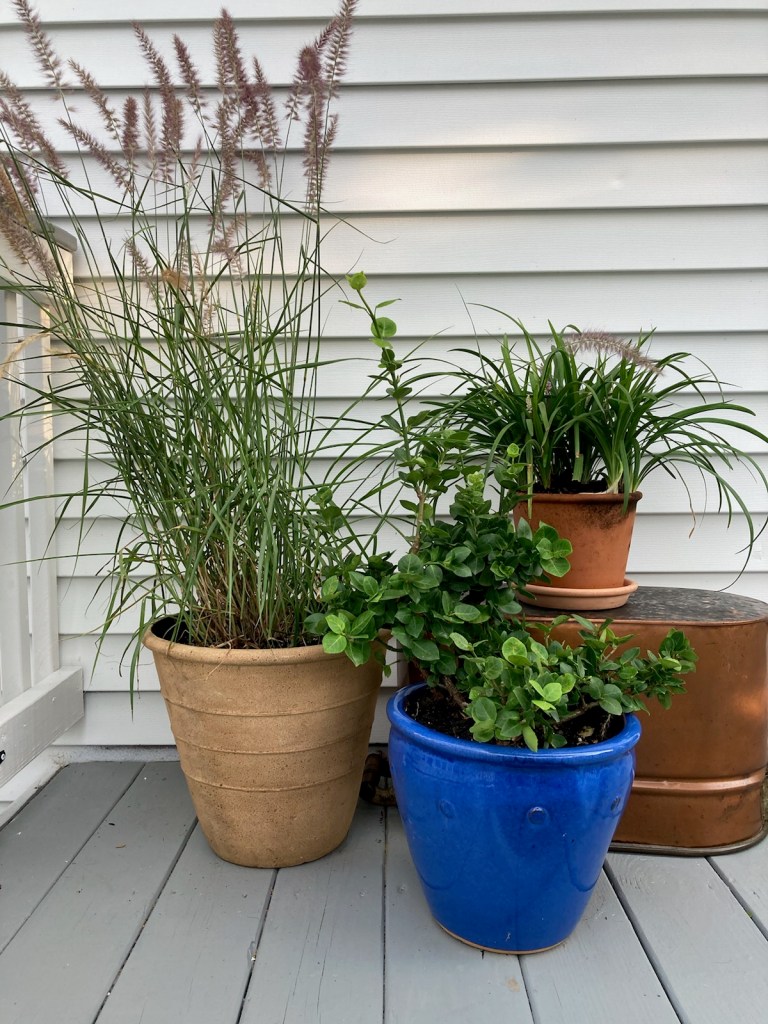
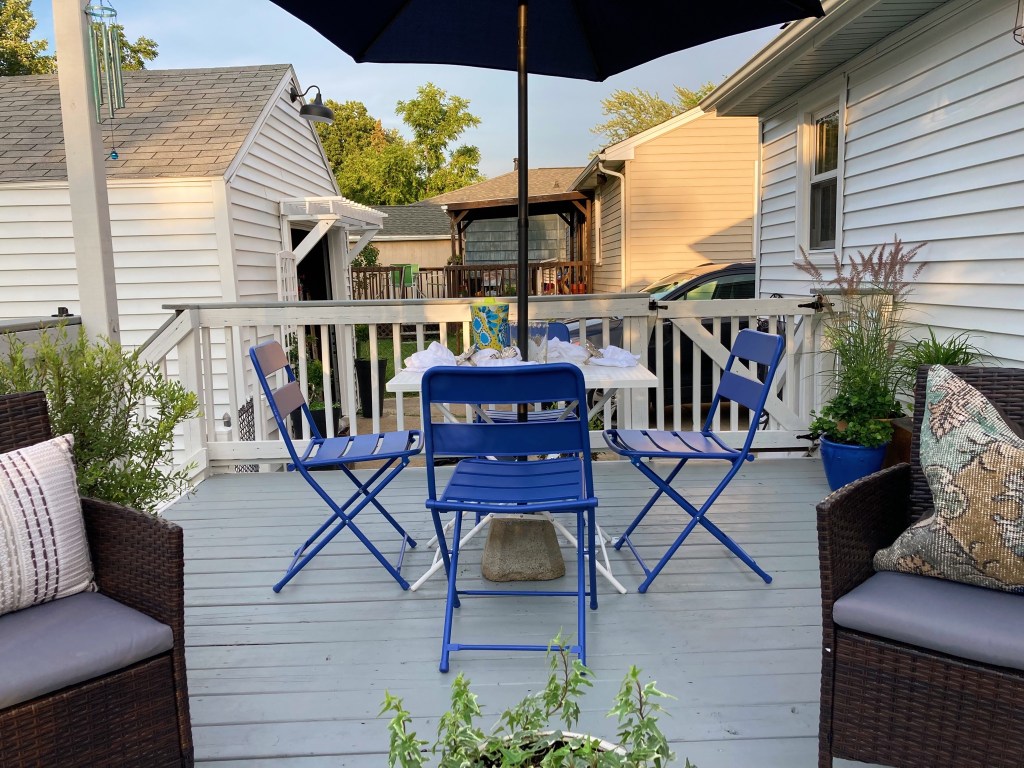
This week I purchased a variety of plants to place around the porch, then potted them in different size and style pots for an eclectic feel. The plants truly pulled it all together! Choosing something large scale is especially important when working outside, as there is more visual space to fill and you don’t want your plant to get “lost”.
Next were the fun details like this hanging cow I got from my mom. It used to belong to a farmer who sold yogurt and I absolutely love it! All of the furniture had been gifted to us for our wedding, which gave us a great starting point to work with. I dug the pillows out of our basement storage and was so happy with how they tied it all together.
Although these don’t sit out all the time, I brought out these napkin rings that we bought on our honeymoon from a little boutique by the beach. It’s all about the staging!
Here is what approaching the deck from our driveway looks like now vs. before.
Nick will be building a privacy wall right here this weekend. The other side of the deck has tall shrubs between us and the neighbors so we wont any added privacy, but we have a plan for this side. Right now we can see all the way to two houses down. Stay tuned for the final phase of this project, and as always, thank you so much for reading!

I have such a Talented Wife! You did a beautiful job Honey! 🙂
LikeLike
Thank you for all your help! 🙂
LikeLike
Love, love your deck!! It has completely become transformed. Can’t wait to read more!
LikeLike
Thank you so much!
LikeLiked by 1 person
Wow! Another fantastic transformation, I love it! The deck floor is absolutely gorgeous, so is all the painting you did. Love those blue ceilings in Charleston, what a great touch to bring in. I’m such an admirer of your design eye and your DIY skills and boldness!
LikeLike
Thank you! The blue ceiling is one of my favorite details because of the memory attached, I’m glad you liked it too!
LikeLike
Wow, nice work, this looks so good!!
LikeLike
Thank you!
LikeLike